

Shopping Cart
(0)

Steps for Sandblasting Setup Using Hobby Sandblasting Kit

Sandblasting is not an easy task, as it requires patience, proper control, patience, and correct application. Whether you are a beginner or professional in the field, it still comes with mild to severe, and may even be life-threatening. Hence, it is vital to understand its functions before starting and learn how to set them up correctly. You can start by learning how it works and following tips and reminders for the setup process. If you want to learn about the best sandblasting application with your Hobby Sandblasting Kit, then continue reading the quick guide below.
The Works of Sandblasting Kits
Dealing with rust, grimes, or even old paints can be troublesome, especially if it has been stuck on a surface or material for many years. It is where sandblasters like hobby sandblasting kits come to the rescue for your home projects. Unlike traditional or manual cleaning of rust or old paints, sandblasters can help you save time with the best result possible.
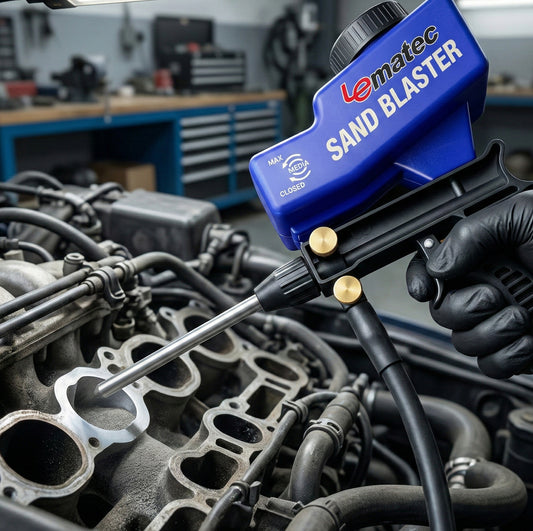
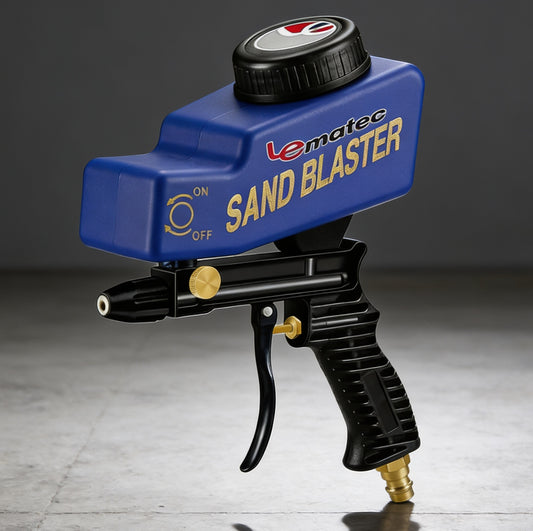
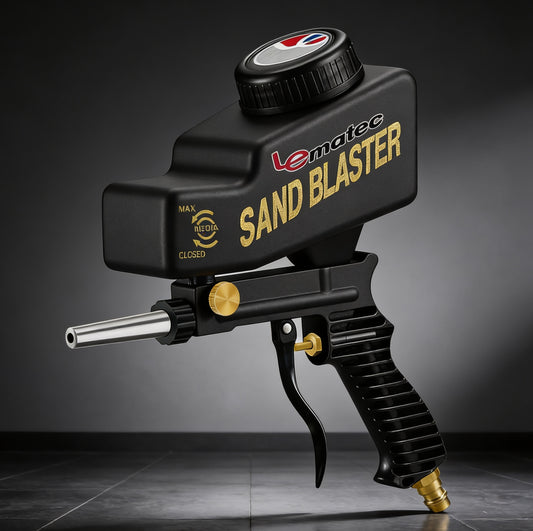
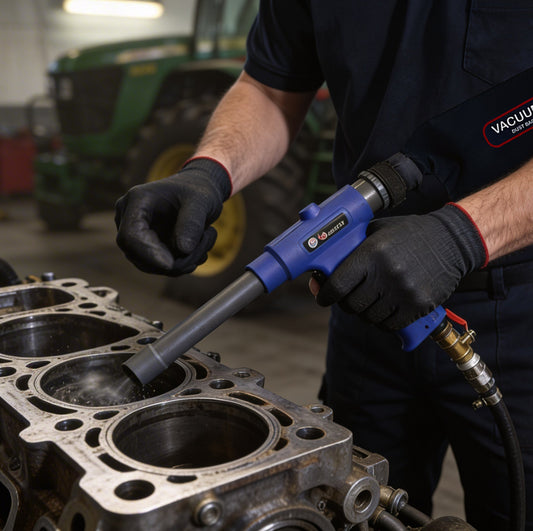
Whether you think the stains seem hard to drive away, then you can rely upon the best portable sandblasters from the product line of Le Lematec Portable Sandblasters. These sandblasters are perfect for hobby or workshop needs by providing both the functions of a gravity feed sandblaster and a siphon feed sandblaster in one single sandblaster gun. By having these air tools, you can indeed tackle any sandblasting needs with high-quality results.
Steps for Sandblasting Setup
One of the more challenging tasks when working with air tools like hobby sandblasting kits or portable sandblasting units is the setup. Although the visual look of sandblasters seems easy to handle without learning much about its function, it is always necessary to follow the proper procedure to ensure the best application.
Once you have decided to proceed with your sandblasting project, you already have desired outputs that you wanted to achieve, no matter what. But before turning on your air compressor and holding your sandblaster, make sure all the necessary materials are ready and so the surface you will be sandblasting. You also need to ensure your hobby sandblasting kit is appropriately assembled and aware of proper or safe handling. We understand how tricky it may be for first-time encounters, so we gathered a list of reminders you need to know when setting up your sandblaster.
Prepare the things you need.
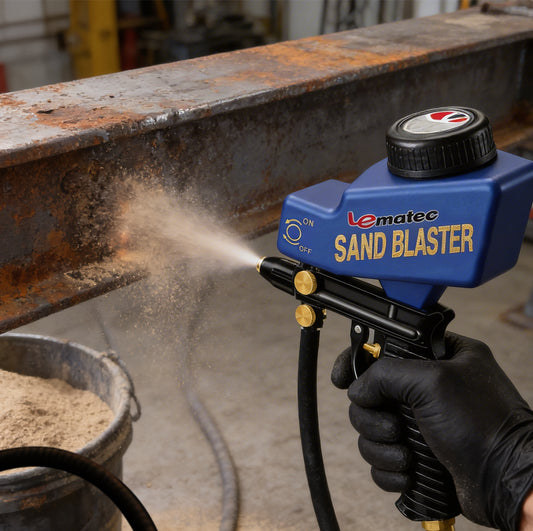
The sandblasting process doesn't start immediately after you’ve turned your air compressor on; it follows the preparation of the necessary materials, including sandblasting equipment, sandblasting media, safety protections, surface, and material to collect sand. Do not forget to dedicate an ample space or open area when you start with the sandblasting process. Having a spacious area allows you to work conveniently, and enough space will let you move around if needed.
Prepare the surface.
Now that your materials are ready, the next thing you need is to prepare the surface. Note that proper sandblasting setup is necessary to ensure a smooth process when blasting the surface. Whether you are sandblasting a car, old material, or panel, you need to prepare and provide the intended part is ready, while other details that you won't be blasting are covered.
As for cars, sandblasting can be damaging to windows; thus, you need a cover sheet to ensure it won't be affected due to the pressure impact released by the sandblaster.
Get your hobby sandblasting kit ready.
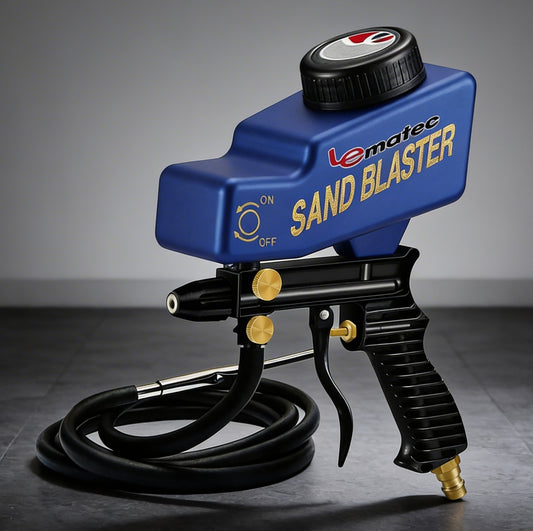
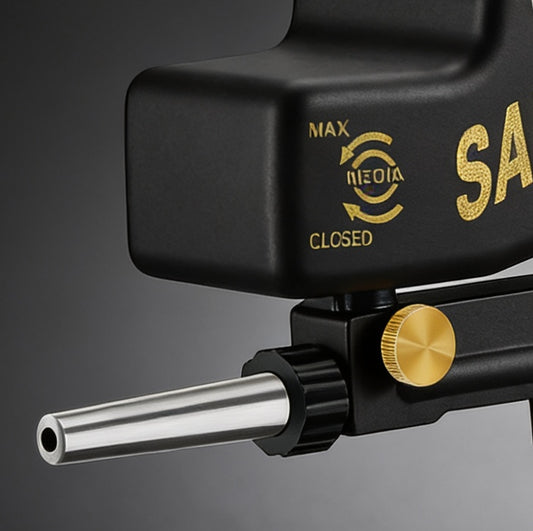
Of course, before you started your project, you have probably chosen your sandblaster to use already. When you choose one, it helps get a portable sandblaster that can work as gravity-feed and siphon-feed alternatively. Happily, Le Lematec Portable Sandblasters have this feature, making it more convenient for the user to shift from gravity-feed to siphon feed or vice versa in just a switch. It also has auto-shutoff features that make sure the sandblaster is set to OFF to avoid accidents.
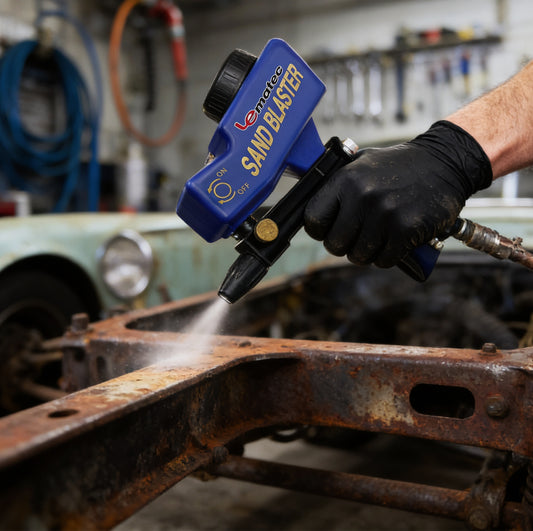
Safe handling.
Before you finally start your sandblasting:
- Make sure you know the safe handling process. You must wear safety protection equipment such as goggles, a protective mask, breathing mask, safety clothing, and hearing protection as the process can be noisy.
- As you start, step a few feet away from the surface, then start getting closer slowly.
- Keep in check the status of the material and avoid high-pressure spray to get closer as it may cause damage to the results.
Le Lematec Tools - Your Partner for Quality Works!
Aside from sandblasting, Le Lematec also offers different air tools like air sanders, air grinders, impact wrenches, HVLP spray guns, air blowguns, and so much more. If you have a list of tasks for home use or professional workshops, you have various options to choose from here at Le Lematec. We always make sure to provide our valued customers the high quality performing air tools through our well-engineered features on each one. If you want to buy sandblaster or other air tools, discover your best partner for quality works, the Le Lematec!
🛒 Shop Sandblasting Equipment
Factory direct from Le Lematec — professional quality, competitive prices.
Frequently Asked Questions
What PSI do I need to start sandblasting with my hobby kit?
Most hobby sandblasters work at 40-80 PSI depending on nozzle size and media. Start low (around 50 PSI) and increase gradually until you get the cutting speed you want. Too much pressure can cause excessive wear on small nozzles, heat buildup, and wasted media. Set your regulator to the minimum effective pressure, then fine-tune from there.
What air compressor do I need for a hobby sandblaster?
A hobby kit with a 3/32" or 1/8" nozzle typically needs 10-20 CFM at your working PSI. A basic shop compressor rated for 15-20 SCFM at 90 PSI will handle intermittent hobby blasting. For continuous work, step up to 25+ CFM. Always check your kit's specs and ensure your compressor has enough capacity, or you'll fight pressure drop during use.
How do I prevent media from clogging the hopper?
Keep media dry—moisture clumps fine media and causes flow blockages. Use dry blasting media and store it in sealed containers. If hopper flow slows, clean the media feed tube and check that the nozzle isn't partially clogged with hardened media. A small vibrator on the hopper helps prevent bridging on longer sessions.
Tags:
Previous
Maximizing the Performance of Your HVLP Gravity Feed Spray Gun Kit
Next
Maximizing the Performance of Your HVLP Gravity Feed Spray Gun Kit
Related articles

Pneumatic Cutoff Tool for Sheet Metal
Jun 13 2026
Compressed Air Tool Buying Guide
Jun 11 2026
9 Best Pneumatic Tools for Garage Work
Jun 09 2026

Sandblasting Cabinet vs Siphon Blaster
Jun 07 2026
How to Choose Blast Hose Size Right
Jun 05 2026


