
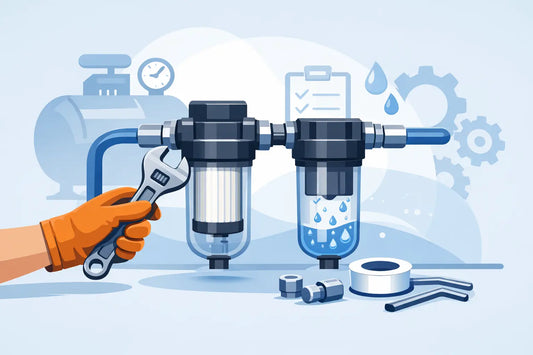
How to Set Up an Air Compressor Filter, Regulator & Lubricator (FRL) System
If you've ever noticed water droplets in your spray paint finish, oil residue on a freshly sanded surface, or inconsistent pressure causing uneven results, the problem almost certainly traces back to your air supply. An air compressor filter, regulator, and lubricator (FRL) system solves all three issues at once—and setting one up correctly is one of the most impactful upgrades you can make to your pneumatic workshop.
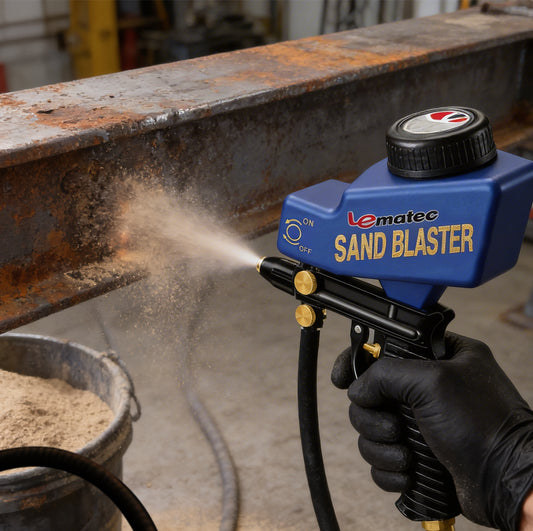
In this guide, we'll walk you through exactly how to choose, install, and maintain an FRL setup so every tool in your shop gets clean, dry, precisely regulated air. Whether you're running a spray gun, sandblaster, needle scaler, or air hammer, this is the foundation that makes everything else work better.
What Is an FRL System and Why Does It Matter?
FRL stands for Filter, Regulator, Lubricator—three components that condition compressed air between your compressor tank and your tools. Each component handles a specific job:
- Filter (Water Separator): Removes moisture, oil aerosol, and particulate debris from compressed air. Compressors naturally produce condensation as they pressurize ambient air, and that moisture wreaks havoc on spray guns, causes rust inside air tools, and contaminates sandblasting media.
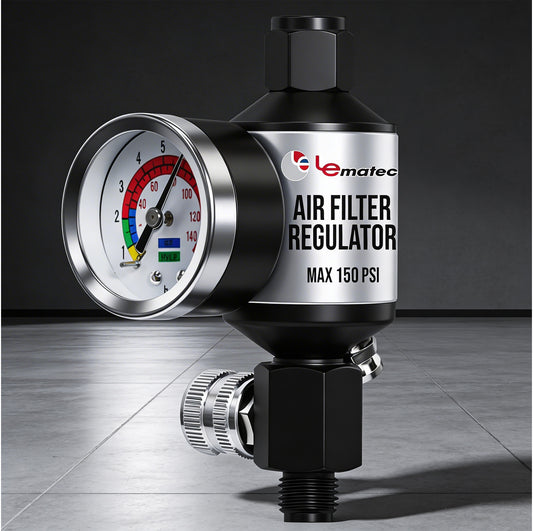
- Regulator: Controls downstream air pressure to match what each tool requires. Running a spray gun at 90 PSI when it needs 30 PSI wastes air and ruins your finish. A regulator with a gauge lets you dial in the exact pressure for every application.
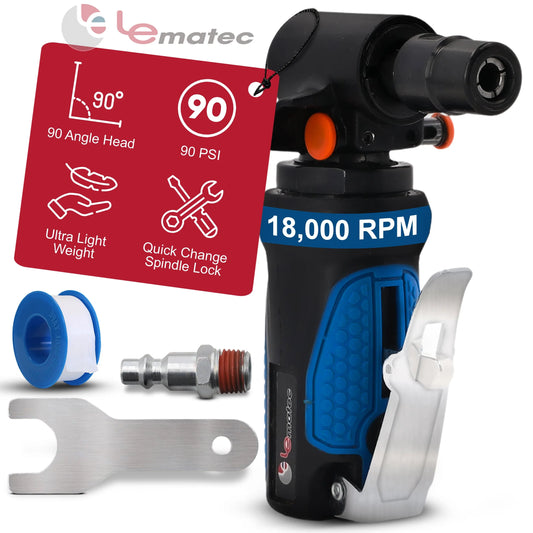
- Lubricator: Adds a fine mist of pneumatic oil into the air stream to keep air tools' internal components lubricated. This extends tool life dramatically—especially for impact wrenches, air hammers, and die grinders that have moving metal parts.
Not every setup needs all three components. Spray guns and sandblasters, for example, should never have a lubricator inline because oil contaminates the output. But a filter and regulator are essential for virtually every pneumatic application.
Choosing the Right Components for Your Setup
Air Compressor Filters: Inline vs. Bowl-Type vs. Desiccant
The type of filter you need depends on how dry and clean the air must be:
Standard inline filters like the Le Lematec ZN312 Inline Filter remove bulk water and particles down to about 5 microns. They're the workhorse of most garage setups and include auto-drain bowls so collected moisture doesn't back up into the line. For general air tool use, sanding, and inflation, a standard inline filter is all you need.
Compact inline filters such as the AI-304 Ultra-Slim Inline Filter are designed to mount directly at the tool connection point. They're ideal as a secondary filter right before a spray gun or sandblaster where you want one last line of defense against moisture. At 200 PSI rated, they handle more pressure than most shop setups will ever produce.
Desiccant dryer filters like the ZN312-D Desiccant Dryer or the ZN312E-3 Desiccant Filter go a step further by chemically absorbing moisture vapor that mechanical filters miss. These are essential for automotive painting, powder coating, and any application where even microscopic moisture causes defects. The color-indicating desiccant beads tell you exactly when it's time to replace the media.
Air Pressure Regulators: Analog vs. Digital
Every regulator does the same fundamental job—reduce and stabilize downstream pressure—but the precision and convenience vary significantly:
Analog regulators like the AR-01 High Flow Regulator (89 SCFM at 150 PSI) use a mechanical diaphragm and a traditional pressure gauge. They're reliable, affordable, and have no batteries to worry about. The AR-01's high flow rating makes it suitable as a main-line regulator feeding multiple tools. For point-of-use regulation, the AR-02 Compact Regulator at 140 PSI is a popular choice for individual workstations.
Digital regulators like the DAR03B Digital Regulator or the DAR02B Digital Regulator display pressure on an LCD screen with multi-unit readout (PSI, BAR, kPa, kg/cm²). Digital models eliminate parallax reading errors and make it easy to set pressure precisely—critical for spray painting where 2 PSI can mean the difference between a perfect finish and orange peel. They're also invaluable in production environments where operators need to quickly verify settings.
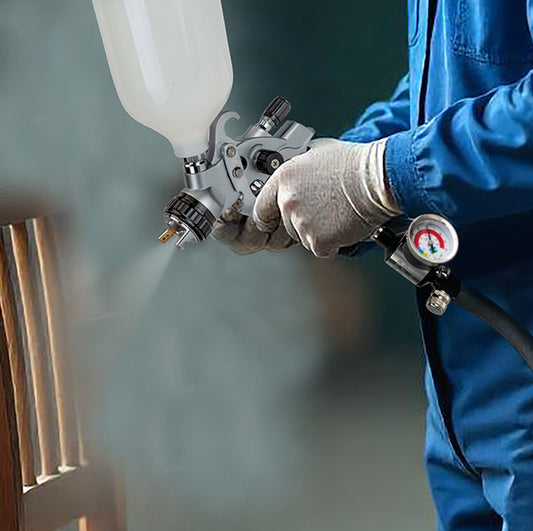
For spray gun applications specifically, the AR-08 Spray Gun Regulator mounts directly to the gun's air inlet, giving you pressure control right at the tool without running back to the wall regulator.
Combo Units: Filter-Regulator Systems
If you want the simplest possible setup, a filter-regulator combo combines both components into a single unit. The AI303-R1 Filter-Regulator Combo (1/2" NPT, 160 PSI) is a heavy-duty option for main-line installation. For more compact setups, the AI303-R1 Filter-Regulator (1/4" NPT, 140 PSI) or the AI303-R2 Digital Filter-Regulator (160 PSI with digital gauge) combine filtration and regulation in one compact package.
Combo units save space, reduce connection points (fewer potential leak sites), and cost less than buying separate components. They're the most popular choice for home garages and small shops.
Step-by-Step: How to Set Up Your FRL System
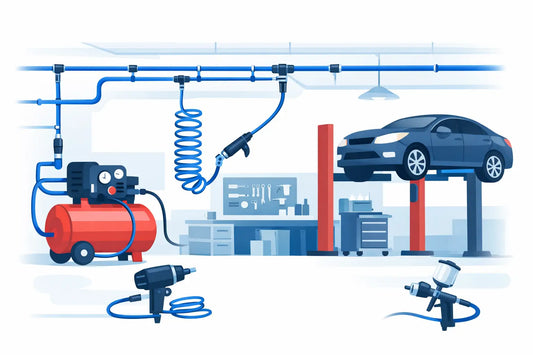
Step 1: Plan Your Layout
Before you buy anything, map out your air line from compressor to tools. The ideal layout follows this order:
Compressor Tank → Main Line → Primary Filter → Regulator → Secondary Filter (optional) → Tool
Key considerations:
- Mount the primary filter as close to the compressor outlet as practical, but after an aftercooler or at least 10-15 feet of pipe. Air cools as it travels through pipe, and cooler air releases more moisture. Filtering too early means moisture forms downstream of your filter.
- Place the regulator after the filter so it receives clean air. Debris and water accelerate wear on regulator diaphragms.
- If you're running spray guns, add a desiccant dryer or secondary inline filter as the last component before the gun.
- Use the largest NPT size your system supports. Undersized fittings create pressure drops that waste compressor capacity.
Step 2: Prepare Your Connections
Wrap all male NPT threads with PTFE (Teflon) tape—3-5 wraps in the direction of thread tightening. This seals the tapered threads and prevents leaks. For higher-pressure applications (above 120 PSI), use pipe thread sealant compound in addition to tape.
Always match your thread sizes. Most home-shop air tools use 1/4" NPT connections, while main lines often use 3/8" or 1/2" NPT. Reducers and adapters are available, but fewer adapters means fewer potential leak points. Our 15-Piece Fittings Kit includes the most common adapters and quick-connect fittings for a complete setup.
Step 3: Install the Filter
Mount the filter vertically with the bowl pointing down—gravity helps collected water drain to the bottom where the auto-drain valve can evacuate it. If your filter has a manual drain (petcock valve), orient it so you can easily reach it for daily draining.
Check the filter element before first use and note the replacement interval. Standard 5-micron elements typically last 6-12 months in a home shop, less in dusty commercial environments. Desiccant media changes color from blue/orange to pink/clear when saturated and needs replacement.
Step 4: Install the Regulator
Mount the regulator downstream of the filter. If using a wall-mounted setup, position the gauge at eye level for easy reading. Digital regulators like the DAR series can be mounted at any angle since the LCD display adjusts.
Set initial pressure to your most-used tool's requirement. For spray guns, that's typically 25-35 PSI at the gun. For sandblasters, 60-90 PSI depending on media and nozzle size. For air hammers and needle scalers, 90 PSI is standard. You can reference our Pneumatic Tool CFM & PSI Requirements Chart for specific tool settings.
Step 5: Test for Leaks and Verify Operation
Pressurize the system and check every connection with soapy water. Bubbles indicate leaks. Tighten or re-tape as needed. Then:
- Verify the gauge reads zero when the line is depressurized and reads correctly when pressurized.
- Open the drain valve on the filter bowl to confirm the drain mechanism works.
- Connect a tool and verify pressure holds steady under load. If pressure drops dramatically when the tool activates, your supply line or regulator may be undersized for the tool's CFM requirement.
Common FRL Mistakes and How to Avoid Them
Mistake #1: Installing the filter after the regulator. This subjects the regulator to unfiltered air, accelerating diaphragm wear and causing erratic pressure readings. Always filter first, then regulate.
Mistake #2: Using a lubricator with spray guns or sandblasters. Oil contamination ruins paint finishes and can clog sandblasting nozzles. Only use lubricators on air tools with moving parts (impact wrenches, air hammers, die grinders). For tools that shouldn't have oil, filter and regulate only.
Mistake #3: Ignoring drain bowls. A filter bowl full of water stops filtering and starts spraying water into your air line. Drain it at the start of every session, or better yet, use a filter with auto-drain like the AI303 Inline Filter.
Mistake #4: Undersizing the system. A 1/4" NPT filter on a 3/4" main line creates a bottleneck that starves high-CFM tools. Match your FRL components to your largest line size, then step down only at individual tool connections.
Mistake #5: Setting it and forgetting it. Check and adjust regulator pressure when switching between tools. What's right for a blow gun (30 PSI) will starve a sandblaster (80+ PSI). A quick adjustment takes seconds and protects both your tools and your work.
Recommended FRL Configurations by Application
Spray Painting & Automotive Finishing
This application demands the cleanest, driest air possible. Use a primary inline filter (ZN312 or AI303) plus a desiccant dryer (ZN312-D), followed by a digital regulator for precise pressure control. Add an AR-08 spray gun regulator at the tool for fine-tuning. Total investment pays for itself with the first defect-free paint job.
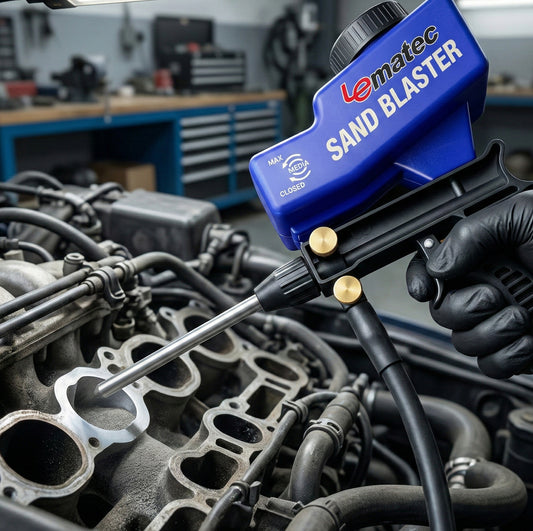
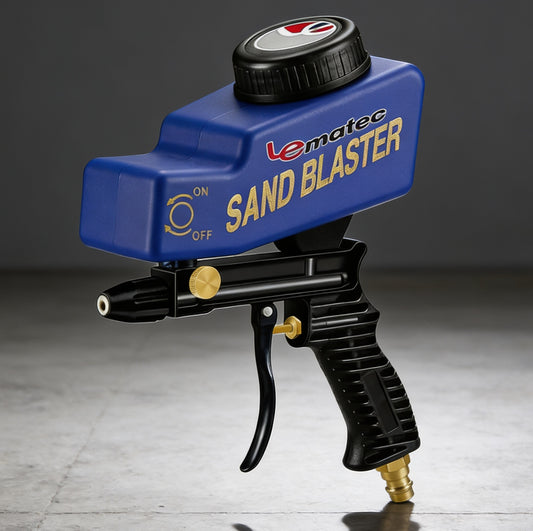
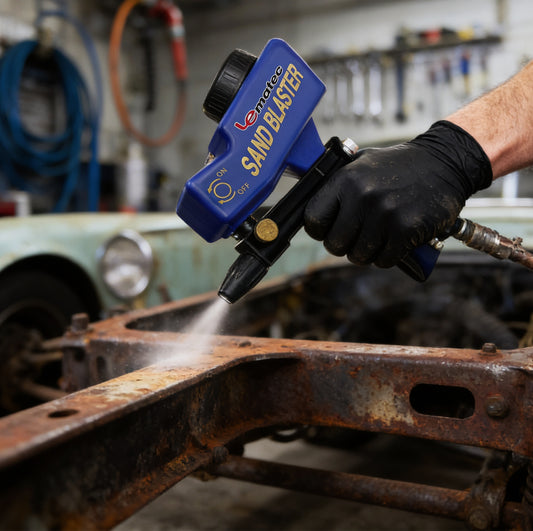
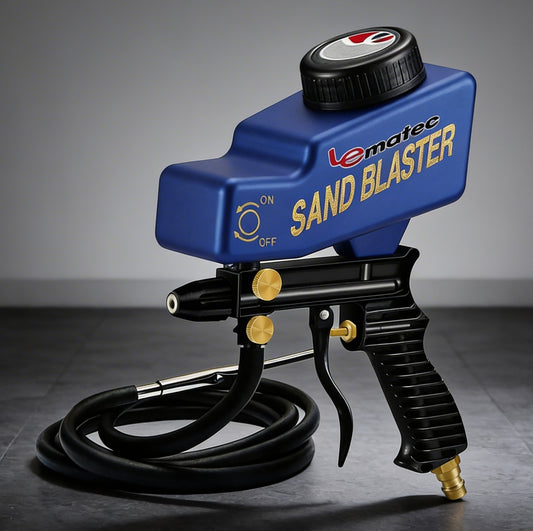
Sandblasting & Surface Preparation
Sandblasters need high CFM at moderate pressure (60-90 PSI). Use a high-flow filter-regulator combo (AI303-R1 at 1/2" NPT) and make sure your air line can deliver the CFM your blaster requires. Check our sandblaster CFM guide for specific requirements by gun type. No lubricator needed.
General Air Tool Use (Impact Wrenches, Die Grinders, Air Hammers)
A standard filter-regulator combo (AI303-R1 or AI303-R2) handles most general tool use. Add an inline lubricator or manually oil tools before each use. Set pressure to 90 PSI for most tools; check the manufacturer's recommendation for specific models.
Home Garage & DIY
Start with a combo unit like the AI303-R1 filter-regulator. It handles tire inflation, blow guns, brad nailers, and light sanding. If you add a spray gun later, add a desiccant dryer between the combo unit and the gun. This staged approach lets you build up your system as your needs grow.
Maintenance Schedule for Your FRL System
Proper maintenance keeps your FRL system working reliably for years:
- Before every session: Drain filter bowl (if not auto-drain), check gauge accuracy, verify proper pressure setting for today's tools.
- Monthly: Inspect filter element for discoloration or clogging. Check all connections for leaks. Clean external surfaces of regulators and gauges.
- Every 6 months: Replace standard filter elements. Check desiccant media color and replace if exhausted. Inspect regulator knob and diaphragm for smooth operation.
- Annually: Full system leak test with soapy water. Replace any questionable seals or gaskets. Verify gauge accuracy against a known reference.
For help choosing the right connections for your setup, see our air compressor fittings compatibility guide.
Frequently Asked Questions
Do I need both a filter and a regulator for my air compressor?
Yes, for most applications you should have both. The filter removes moisture, oil, and debris that damage tools and contaminate your work. The regulator controls pressure to match each tool's requirements—running tools at incorrect pressure causes poor performance and accelerated wear. A filter-regulator combo unit like the AI303-R1 combines both in one space-saving package.
What order should air compressor filter, regulator, and lubricator be installed?
Always install in this order: Filter first, then Regulator, then Lubricator (F-R-L). The filter cleans the air before it reaches the regulator's sensitive diaphragm. The regulator sets pressure before the lubricator adds oil mist. Reversing this order causes premature wear on components and reduces system effectiveness. Remember that lubricators should only be used with air tools that have internal moving parts—never with spray guns or sandblasters.
How often should I replace my air compressor filter element?
Standard particulate filter elements should be replaced every 6-12 months depending on usage and environment. In dusty shops or with heavy daily use, check monthly and replace when visibly discolored. Desiccant dryer media (like in the ZN312-D) has a color indicator that changes when the media is saturated—replace when the beads change from their original color. Auto-drain bowls should be emptied before each work session, or use a filter with automatic drain functionality.
What PSI should I set my air compressor regulator to?
The correct PSI depends on the specific tool you're using. Spray guns typically require 25-35 PSI at the gun. Sandblasters need 60-90 PSI depending on the media and nozzle. Air hammers, needle scalers, and impact wrenches generally run at 90 PSI. Brad nailers and finish nailers need 70-90 PSI. Always check the manufacturer's recommendation and adjust your regulator each time you switch tools. Using a digital regulator makes precise adjustments easier and more accurate.
Can I use a single filter-regulator combo for my entire shop?
A single combo unit works well for small shops with one workstation. For larger shops or when running multiple tools at different pressures, install a main-line filter-regulator (like the 1/2" NPT AI303-R1 Combo) near the compressor, then add individual point-of-use regulators at each workstation. This gives you centralized filtration with independent pressure control for each tool. For spray painting stations, add a secondary desiccant filter before the gun regardless of your main-line setup.
Build Your FRL System
Ready to upgrade your air supply? Browse our complete selection of air compressor filters and pressure regulators to find the right components for your setup. All Pro Air Tools / Le Lematec FRL components ship factory direct with free shipping and are backed by our satisfaction guarantee.
Need help choosing the right configuration? Check out our related guides:
Tags:
Related articles

Choosing Air Hose for Shop Layout
Jun 01 2026

How to Set Air Regulator Pressure Right
May 30 2026
Air Filter Water Separator Installation Tips
May 28 2026
Guide to Shop Air Line Layout That Works
May 26 2026
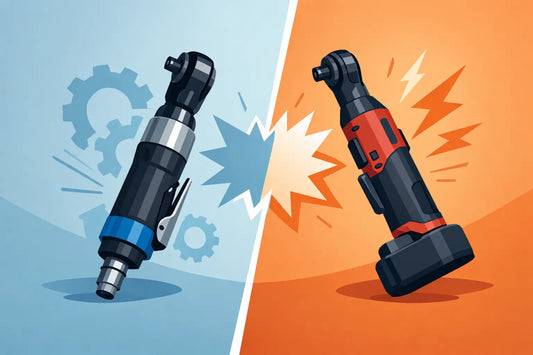
Air Ratchet vs Electric Ratchet
May 24 2026
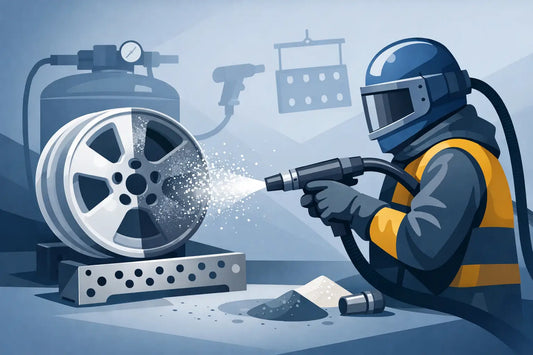
Media Blasting for Powder Coat Removal
May 22 2026


