


Shopping Cart
(0)

The Art of Etching: Key on How to Sandblast A Glass

With the pandemic still on-going, today’s generation see it as an opportunity and successfully found their new hobby, arts and crafts. Of course, this kind of task is fun to do and, not to mention, a stress reliever. It is easy, especially when you know How To Sandblast or use a sandblaster gun. That’s why it is not that surprising to see that many discovered their artistic nature while creating their masterpiece, like etched glass art.
Etching as a form of art
Primarily, etching is commonly done on a metallic surface to create a design. People use a strong acid and apply it to the unprotected area, resulting in the etched design. This method was popularized and was used for decorating in the fourteenth century. After that, etching was also used for printmaking not until the early days of the sixteenth century.
After that, several etching methods have emerged that shows the vitality of this art to human life. Like today, in the 21st century, another way for etching has emerged with the use of technological innovation. Through the use of air tools such as sandblaster guns, etching is easily accomplished, even on glass.
What makes a sandblaster perfect for etching?
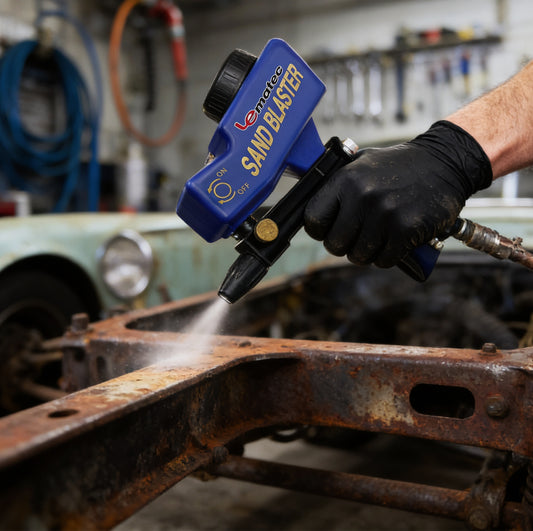
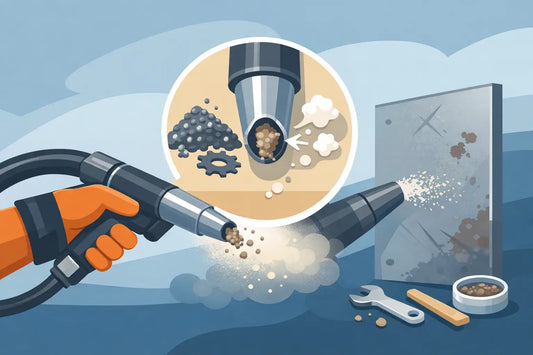
To fully understand etching by using a sandblaster, we must first learn more about the process of sandblasting in general. Sandblasting is a process that is commonly known as abrasive sandblasting. It offers service and assistance when it comes to smoothing rough surfaces.
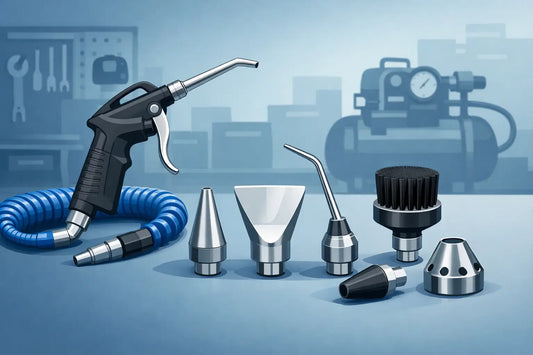
Meanwhile, a sandblaster can also be used for cleaning and maintaining your household. Its high-blasting power ensures that any stain, rust, and even grease on your kitchen tools will fade away. What’s more, most sandblaster guns in the market can use several sandblasting materials. This makes them ideal to use due to their versatility.
How to Sandblast a glass surface?
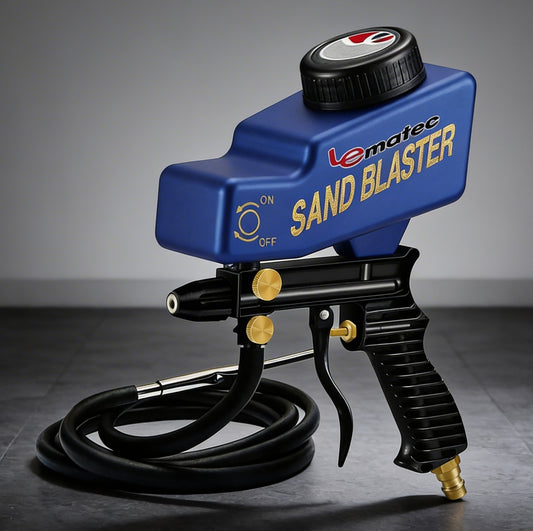
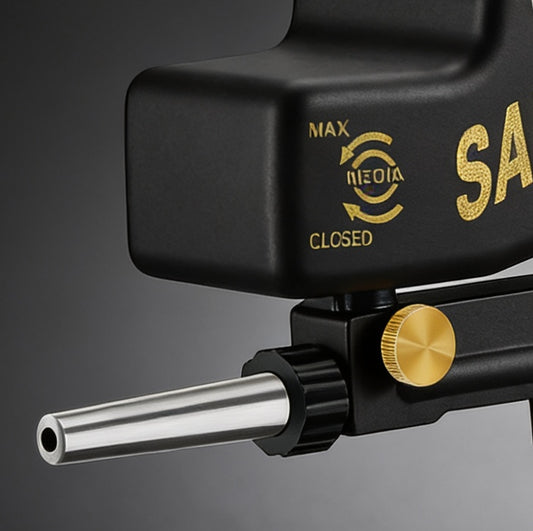
We know that you are curious about this new hobby that emerged during the quarantine. However, this art has already existed even before the pandemic. Like other air tool companies, Lematec Sandblaster had introduced us to this way of etching without the use of acid or other liquid materials. Through the use of a sandblaster gun and sandblasting material, you can create art by blasting the glass.
Let’s dwell on the step-by-step process to understand how to accomplish this art, glass etching.
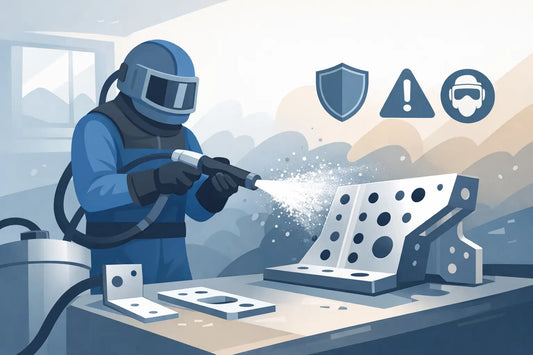
Always think about your safety
As mentioned, we’re still in the middle of the pandemic. This is why you and your family’s health should always be your number one priority. To proceed with glass etching, you must first secure and collect all the gear that you may need to keep you safe from inhaling the blasted materials from the job. (e.g., mask, goggles, gloves, tarp sheets, etc.)
On the other hand, you should also consider doing the job in an area where you can easily clean up after etching your glass. By doing so, you can ensure that the sand won’t contaminate your household and can be disposed of in a snap after the job is done.
Prep your glass
After preparing the location and the protective gears that you must use, the selected surface, or the glass should be prepped in order to start the etching. It applies to any glass that you have in your household. May it be a mason jar or wine bottle, it will work as long as it has enough space to mark your design.
What you want to do afterwards is to place masking tape atop the glass. It would help to keep some areas untouched as the abrasive hit the glass. If you have a stencil of the design you want, you can also use that and place it on top of the glass.
Carve your design (if you are using masking tape)
With the glass being fully prepped, the next thing to do is cut out the particular parts that you want the sandblaster to hit. You can be as creative as you want in this step; there are no limitations.
However, make sure that you won’t wholly rub off some parts of the masking tape as you won’t be able to see the design. We recommend leaving some thicker pieces of the masking tape to ensure that there will be a division when you lift the tape.
Select the abrasive for the task
For this step, what you want to use is a hard abrasive to complete the look of your glass. We recommend using the abrasive silicon carbide. This sandblasting material is rated as 9.5 in the category, best abrasive, which the 10th is diamond. It is safe to use yet highly effective as well.
Meanwhile, aluminum oxide is a wise choice in terms of sandblasting materials. It has a rating of 9, which is second best from the silicon carbide. Both of them are safe to use, unlike sand abrasive.
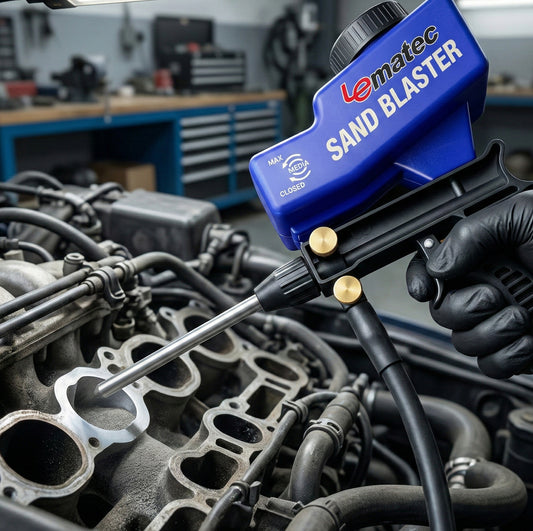
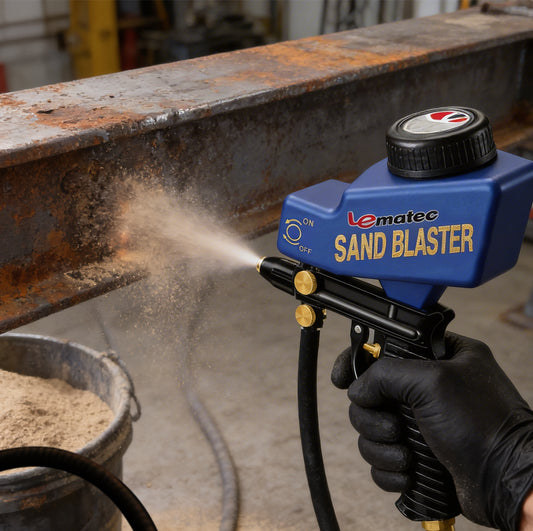
Blast off to create the design on the glass
Lastly, start the sandblaster to create the etched markings on the surface of your chosen glass. Be thorough and leave no openings from your design unmarked. By doing so, you can ensure that the design will pop out more after the process.
After you’re done blasting the surface of the glass, slowly remove the masking tape or the stencil you used. You can see the design slowly emerging as you remove the cover.
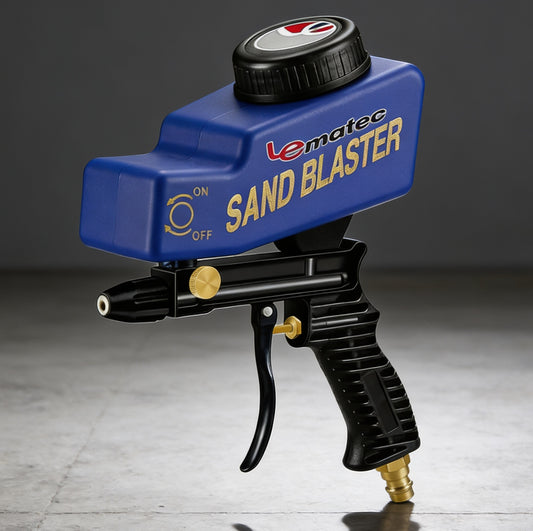
Le Lematec Sandblaster, a holy grail product for arts and crafts
The pandemic had taken its toll on several of us—the uncertainty of being safe created panic and formed anxiety amongst everyone. Fortunately, being in lockdown has somehow helped people discover hobbies that resolved and served as a stress reliever.
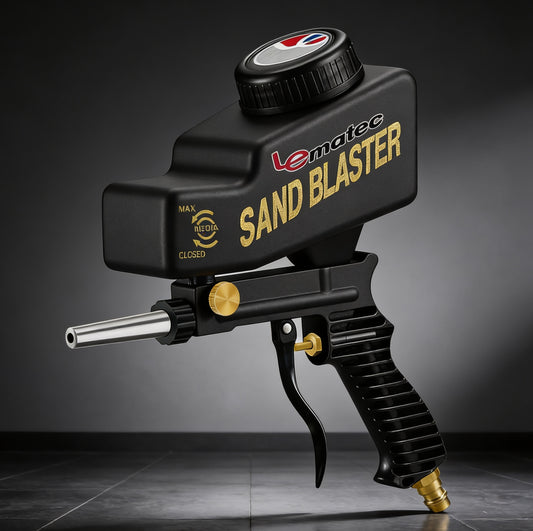
If you want to try out this form of art, glass etching, then you may want to visit Le Lematec’s catalog for sandblaster gun. They offer several types of sandblasters which you can freely choose. Visit us anytime at Le Lematec’s website!
Shop Sandblaster Kits
Factory direct from Le Lematec — professional quality, competitive prices.
Tags:
Previous
Using Oil-Water Separator Filter for Air Compressor
Next
What You Need to Know When Using Portable Blaster Kit at Home
Related articles

How to Set Air Tool PSI for Reliable Performance
Jul 25 2026

A Guide to Air Tool Maintenance Schedules
Jul 23 2026

How to Reduce Moisture in Blast Air Line
Jul 21 2026

How to Use a Pneumatic Angle Grinder Safely
Jul 19 2026
Best Air Blow Gun Attachments for Shop Work
Jul 18 2026

How to Choose a Pneumatic Sander for Bodywork
Jul 13 2026