


Shopping Cart
(0)

How to Dry Compressed Air Lines Right
Water in an air system usually shows up at the worst possible time. Your impact starts hitting soft, your blast media clumps, or a fresh coat of paint gets fisheyes because moisture made it past the line. If you're figuring out how to dry compressed air lines, the fix is not one magic part. It's a system that cools air, separates water, and keeps the line clean all the way to the tool.
Why compressed air lines get wet in the first place
Every compressor pulls in ambient air that already contains humidity. Once that air is compressed, the water vapor gets concentrated. As the air leaves the pump and starts cooling in the tank and piping, that vapor turns into liquid water.
That is why moisture problems can get worse on hot, humid days and in shops that run long cycles. It is also why a small compressor used hard can spit out more water than people expect. The issue is not just the compressor. It is heat, humidity, run time, and what happens to the air after it leaves the tank.
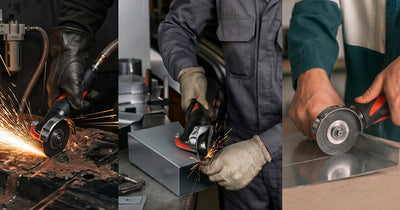
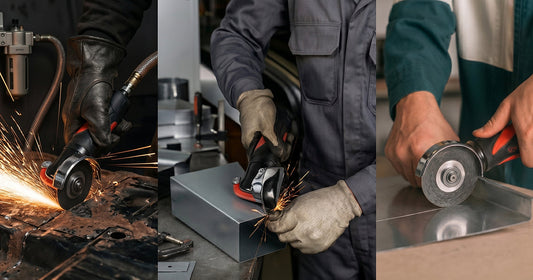
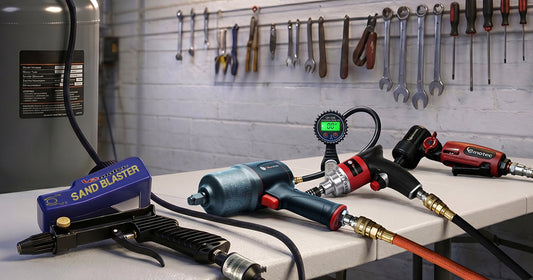
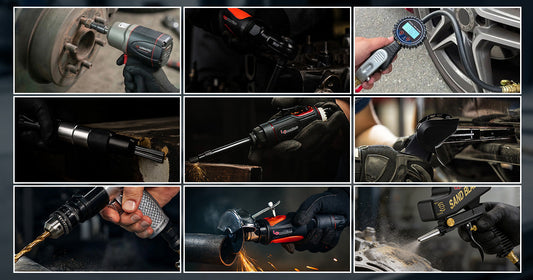
If you run sandblasting equipment, paint tools, die grinders, or tire inflators, wet air costs you in different ways. Blasting media can cake up, regulators can become inconsistent, internal tool parts can rust, and finished surfaces can suffer. Dry air is not a luxury if you want predictable results.
How to dry compressed air lines: start with cooling and drainage
The first step in how to dry compressed air lines is to get hot compressed air to cool down before it reaches your point of use. Hot air carries more moisture. If you try to filter it before it cools, a lot of that moisture will stay in vapor form and pass right through.
That is why layout matters. Give the air some distance after the compressor and tank so heat can drop out before fine filtration. In many shop setups, hard pipe helps more than a short rubber hose because it gives heat somewhere to go. Sloping the line slightly and adding drip legs at low points lets condensed water collect where you can remove it instead of pushing it downstream.
Tank drainage is the other basic step people skip. Even a good setup will fail if the receiver tank fills with water and starts sending that moisture back into the system. Manual draining works if you actually stay on top of it. Automatic drains are better for busy shops because they remove one more thing that gets missed during a long day.
The equipment that actually removes moisture
Drying compressed air usually takes more than one component. The right setup depends on your air volume, duty cycle, and how dry the air needs to be.
Aftercoolers
An aftercooler lowers the temperature of compressed air right after it leaves the compressor. That cooling forces a lot of water to condense early, where it can be separated and drained off. If your compressor runs hot and often, an aftercooler can make the rest of the system work much better.
This is a practical upgrade for shops that use blast cabinets, larger air tools, or longer run times. It is not always the first thing a light DIY user needs, but once moisture becomes a repeated problem, it starts making sense fast.
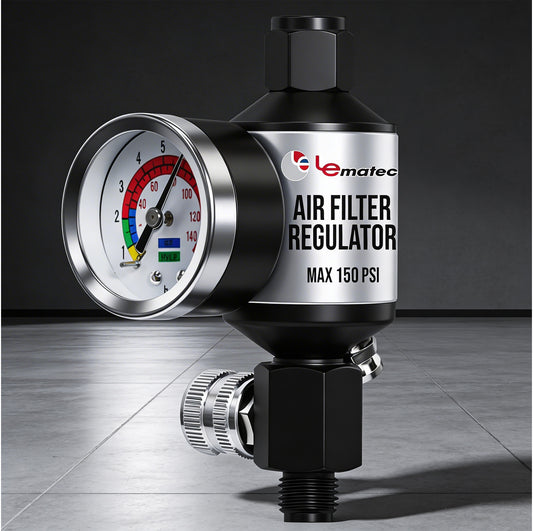
Water separators and filter regulators
A water separator catches bulk liquid water before it reaches your tool. A filter regulator then helps clean and control the air pressure going downstream. For many general-purpose air tool setups, this combination handles everyday moisture better than running straight from tank to hose.
There is a limit, though. Separators work best on condensed liquid, not invisible vapor. That is why they perform better when installed after the air has cooled. Put another way, location matters almost as much as the component itself.
Refrigerated air dryers
If you want a reliable, shop-wide answer to moisture, a refrigerated dryer is often the most practical choice. It chills the compressed air enough to condense water out, then sends drier air through the system. For automotive work, fabrication, and general tool use, this is a strong balance of cost and performance.
It will not usually get you ultra-dry instrument-grade air, but most shops do not need that. They need dry enough air to stop water from ruining tools, contaminating paint prep, or turning blasting into a mess. Refrigerated dryers are built for that kind of real-world use.
Desiccant dryers
If you need very dry air for painting, plasma systems, sensitive controls, or certain blasting conditions, a desiccant dryer can get you lower dew points than a refrigerated dryer. It uses drying media to remove water vapor that other components might leave behind.
The trade-off is operating cost and maintenance. Desiccant has to be replaced or regenerated, and if your system is poorly set up upstream, you will burn through it faster than you should. For some users, that extra dryness is worth it. For others, it is overkill.
Line layout matters more than most people think
A lot of moisture problems come from bad plumbing, not bad parts. If the air line comes straight out of the tank and directly to the tool, water has no reason to drop out before use. The result is predictable - wet air at the worst point in the system.
A better layout sends air up from the tank first, then through piping that allows cooling, then into separators and filters. Drop legs should pull from the top of the main line, not the bottom, so pooled water keeps moving to drains instead of going to your tool hose. If you have multiple workstations, each one may need local filtration even if the main system already has drying equipment.
Hose choice matters too. Long hoses on the floor can become low spots that collect water. In some cases, quick-connect fittings also become little traps for moisture and debris. If you are chasing a stubborn issue, look at the entire path, not just the compressor room.
Matching the drying setup to the work
The right answer depends on what you are doing with the air.
For impact wrenches, ratchets, inflators, and general shop air, good tank drainage, a water separator, and a filter regulator may be enough if your compressor is not oversized for the job or run continuously. For small garages and home shops, that is often the most cost-effective setup.
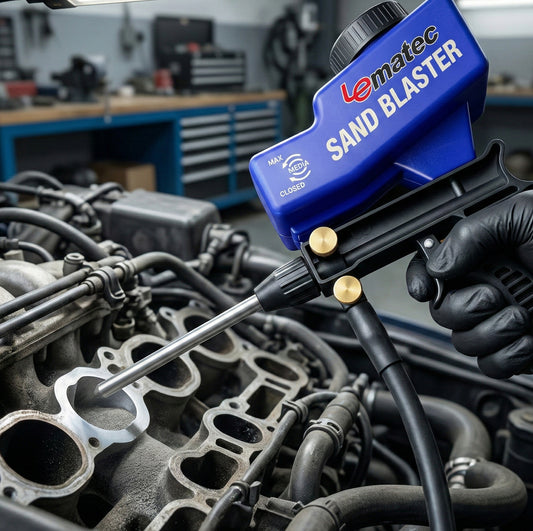
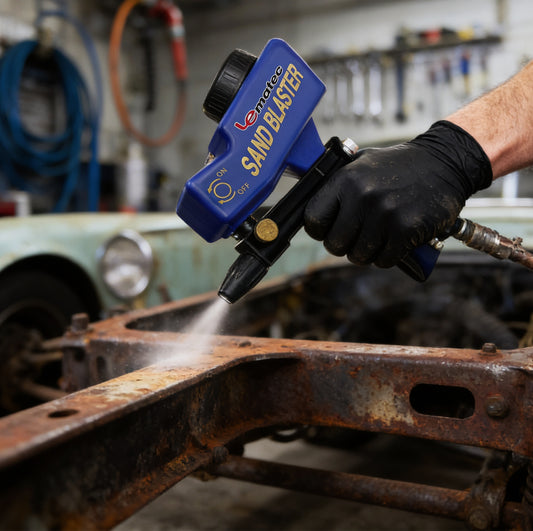
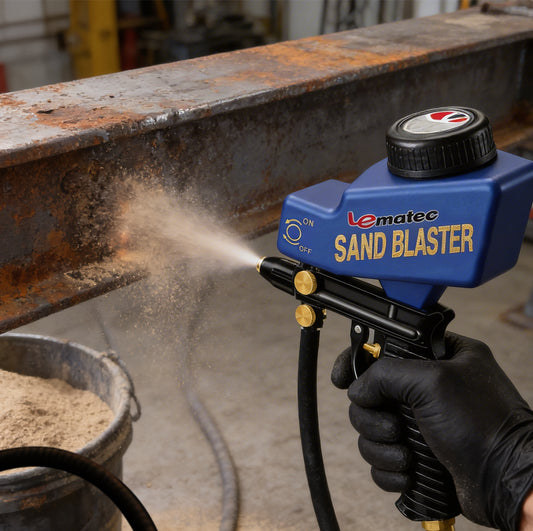
For blasting, the bar is higher. Sandblasting moves a lot of air, creates long run times, and reacts badly to moisture. Wet air can clump media, interrupt flow, and reduce cutting performance. If blasting is a regular part of the workload, you will usually want more cooling and more serious moisture removal than a basic filter can provide.
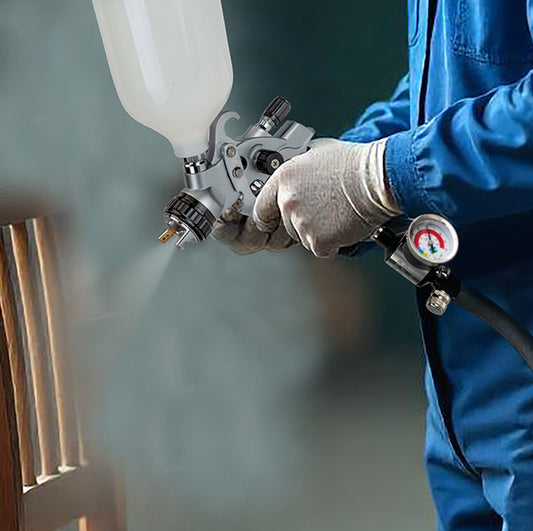
For paint and finish work, cleaner and drier is always better. Even when a line looks fine for a grinder or impact, it may still be too wet for paint. That is where staged filtration and a dryer start paying for themselves.
Common mistakes that keep lines wet
The biggest mistake is expecting one cheap inline filter at the wall to solve everything. If the air is still hot, vapor passes through. Then it condenses later in the hose, gun, or tool.
The second mistake is ignoring drains. Tanks, separators, drip legs, and dryer drains all need attention. If they fill up, they stop protecting the line.
The third is undersizing components. A separator or dryer that cannot keep up with your compressor's CFM will let moisture through during heavy use. This is common in shops that upgrade tools or blasting setups without upgrading air treatment.
The fourth is placing filters too far downstream or too close to the compressor without enough cooling in between. You want staged removal, not wishful thinking.
A practical setup for most shops
If you want a straightforward path on how to dry compressed air lines, build in layers. Start with consistent tank draining. Add hard pipe or a cooling loop after the compressor if possible. Install a water separator and filter regulator after the air has cooled. If moisture still affects results, step up to a refrigerated dryer. If your work is especially moisture-sensitive, finish with a desiccant stage near the point of use.
That approach costs more than a single filter, but it solves the actual problem instead of masking it for a week. It also protects the rest of your investment. Air tools last longer, blasting stays consistent, and you spend less time chasing contamination issues.
For buyers who want shop-ready parts without a lot of guesswork, Pro Air Tools focuses on practical air system components and accessories that make setup easier and downtime less likely. That matters when the real goal is not buying another part. It is getting back to work with air you can trust.
Dry air is one of those things you notice only when it is missing. Get the layout right, use the right stages, and your whole system gets more predictable from the compressor to the tool.
Tags:
Related articles
Air Needle Scaler Review: What Matters
Jun 17 2026
Air Angle Grinder Disc Selection Made Simple
Jun 15 2026
Pneumatic Cutoff Tool for Sheet Metal
Jun 13 2026
Compressed Air Tool Buying Guide
Jun 11 2026
9 Best Pneumatic Tools for Garage Work
Jun 09 2026