


Shopping Cart
(0)

Guide to Air Compressor Moisture Control
Water in your air line usually shows up at the worst time - halfway through paint prep, inside a blasting cabinet, or right when an impact wrench starts acting lazy. This guide to air compressor moisture control is built for people who need their setup to work every time, whether that means keeping a shop moving or getting through a weekend project without rework.
Compressed air always carries some moisture. The moment air gets squeezed, heated, cooled, and pushed through a tank and hose, water starts forming. You cannot stop that process completely. What you can do is control where that moisture goes, how much of it reaches your tools, and how much damage it causes.
Why moisture is such a problem
A little water might not seem like a big deal until you see the results. In air tools, moisture strips away lubrication, encourages rust, and shortens service life. In painting and surface prep, it can ruin finish quality fast. In sandblasting, wet air can clump media, interrupt flow, and turn a straightforward job into a stop-and-clean cycle.
Moisture also creates inconsistency, which is what most buyers are really trying to avoid. One day the tool hits hard, the next day it feels weak. One panel sprays clean, the next gets fisheyes or contamination. That is why moisture control is less about chasing perfection and more about protecting uptime and predictable performance.
What creates moisture in a compressed air system
The biggest factor is simple: warm air holds more water than cool air. When your compressor pulls in humid shop air and compresses it, that air gets hot. As it cools in the tank and lines, the water vapor condenses into liquid.
That means summer weather, long run times, and undersized systems usually make the problem worse. A compressor working hard and running hot will push more moisture downstream than one with enough capacity for the job. Line layout matters too. If hot compressed air goes straight from the pump to the hose reel with no chance to cool and separate, a lot of that water stays in the system until it reaches your tool.
The core idea behind a good moisture-control setup
A good setup handles moisture in stages. First, let hot air cool. Then remove bulk water. After that, filter the finer mist and oil. If the application is sensitive, dry the air further before it reaches the tool or spray gun.
This is where people often waste money. They buy one small in-line filter and expect it to solve everything. It will not. If the air is still hot when it hits the filter, water can stay suspended and move right past it. Moisture control works best as a system, not a single add-on.
Guide to air compressor moisture control by setup level
Basic setup for general air tool use
If you mainly run impact wrenches, ratchets, inflators, and other everyday pneumatic tools, you do not always need lab-dry air. You do need to keep liquid water out of the line and protect the tools from corrosion.
Start with the tank itself. Drain it often. On some jobs, that means daily. If your compressor sits in a humid garage or runs for long stretches, check it more than you think you need to. The tank is your first collection point for condensed water, and ignoring it lets that moisture move downstream.
Next, add a water separator and regulator at a sensible point in the system, not jammed right against the compressor outlet. Give the air some line length to cool first. Even a modest run of metal pipe can help more than people expect. Then use quality hose and keep couplers clean. A lot of air-system problems get blamed on the compressor when the real issue is a wet, neglected line.
Better setup for blasting, prep, and longer duty cycles
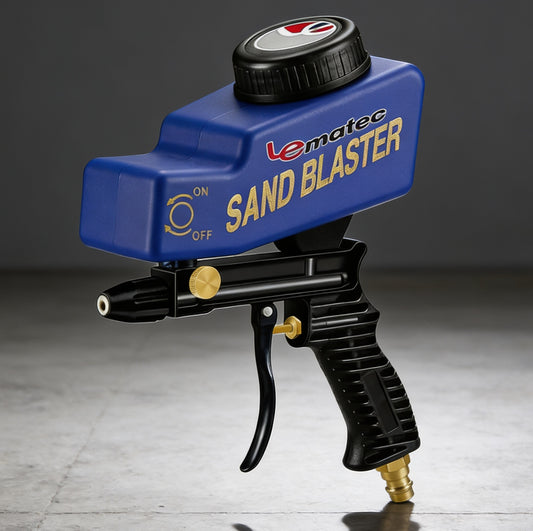
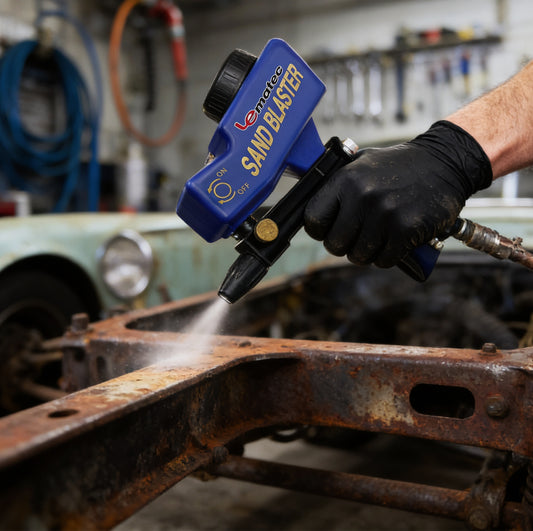
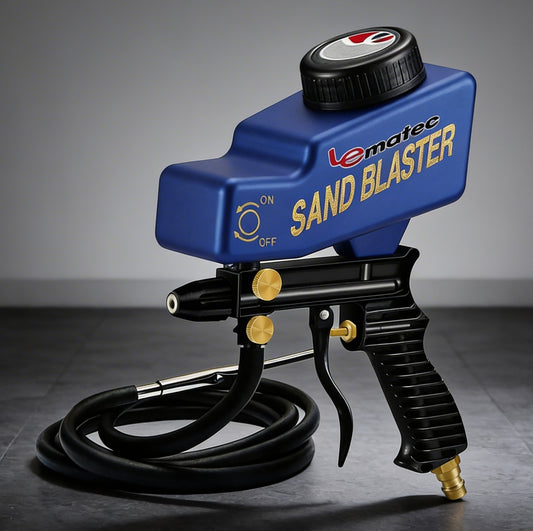
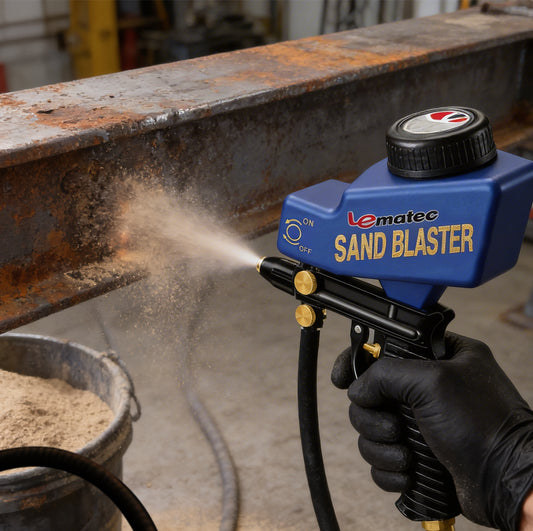
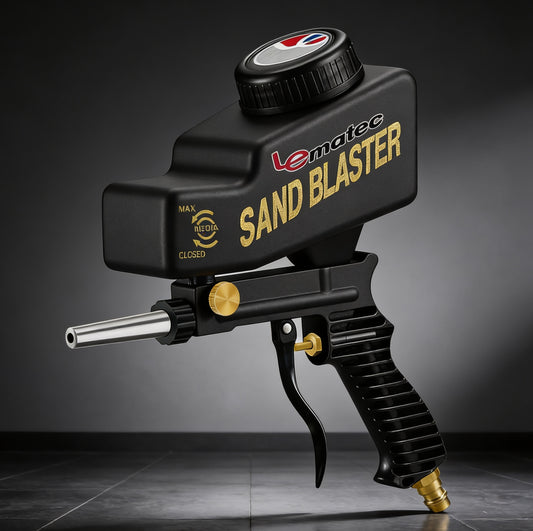
Sandblasting and extended tool use put more stress on the system. High airflow means more moisture moving through the line, and blasting media does not forgive wet air. Once media starts clumping, production drops fast.
For this kind of work, a separator plus a filter is usually the minimum. You want to remove bulk water first and then catch the finer carryover. If your compressor is small for the demand, moisture will become more noticeable because the pump runs hotter and longer. In that case, improving drying may help, but so will correcting the sizing mismatch.
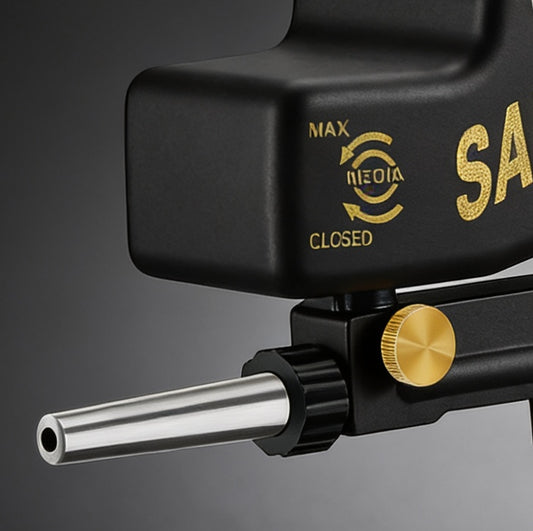
Line design matters here. Use a layout that encourages cooling and drainage before the air reaches the point of use. Drops, drains, and distance can all help. If you run blasting equipment, it also makes sense to place a final moisture-control device closer to the tool, because long hoses can still pick up condensation depending on temperature conditions.
Higher-control setup for paint and finish-sensitive work
Paint work is where moisture problems get expensive. You are not just protecting the tool. You are protecting the finish. Water in the line can show up as defects, poor atomization, or adhesion issues that force rework.
For paint and other finish-critical applications, many users need more than a separator and standard filter. This is where an air dryer earns its keep. Refrigerated dryers are common for shop systems because they cool the compressed air enough to condense and remove moisture efficiently. Desiccant dryers can get the air even drier, which is useful for very sensitive work, but they come with media replacement costs and more maintenance.
There is always a trade-off. If you only paint occasionally, a full dryer setup may be more than you need. If painting is part of your weekly workflow, it usually pays for itself by preventing material waste and redo time.
Where to place filters, separators, and dryers
Placement is half the battle. If you install a separator too close to the compressor, the air may still be too hot for effective water removal. Let the air cool first, either through pipe length, an aftercooler, or both. Then separate the condensed water.
After that, use filtration based on the job. General tool use may only need standard moisture separation and regulation. Blasting and prep usually benefit from another stage near the application. Paint work often needs drying plus final filtration near the spray gun.
Keep in mind that every restriction affects flow. More components are not automatically better. If you overbuild the line with undersized filters and fittings, you can create pressure drop that hurts tool performance. The best setup balances dryness with airflow.
Maintenance is what makes moisture control work
Even the right hardware fails if nobody services it. Drain tanks, separators, and filter bowls on schedule. Replace filter elements when they are loaded. Check automatic drains to make sure they actually open and close. If you use a desiccant dryer, watch for signs that the media is spent.
This is also where a lot of hidden cost shows up. A cheap filter that clogs early or cracks under shop use is not a bargain. Reliable components save time because they keep the air system predictable. That matters if you rely on your compressor to support daily work and do not want downtime chasing contamination problems.
Common mistakes that keep moisture in the line
The most common mistake is assuming the compressor tank drain is optional. It is not. Another is installing filtration without giving the air any chance to cool. People also underestimate how much humid weather changes system behavior. A setup that feels fine in January can become a problem in July.
Undersizing the compressor is another major issue. If the unit runs nearly nonstop, it generates more heat and pushes more moisture into the system. No filter setup completely fixes a compressor that is being asked to do more than it was built for.
Finally, some users buy for price alone and ignore support, replacement parts, and warranty coverage. Moisture-control components are working parts. When they fail, you want straightforward replacements and equipment you can trust to hold up.
Choosing the right moisture-control approach
The right answer depends on what you run most often. For general pneumatic tools, disciplined draining and a good separator-regulator setup cover a lot of ground. For blasting, expect to add more control because airflow demand and media sensitivity raise the stakes. For painting, dry air is part of finish quality, not a nice extra.
If you are building or upgrading your system, think in terms of outcomes. Do you need to protect an impact wrench from internal rust, keep blasting media flowing clean, or avoid repainting a panel? Once the job is clear, the hardware choice gets easier.
At Pro Air Tools, that practical approach matters because buyers are not looking for guesswork. They want tools and accessories that solve the problem, ship fast, and keep the job moving.
The best moisture-control system is not the most complicated one. It is the one that matches your workload, gets maintained, and keeps bad air from ruining good work.
Tags:
Related articles

Sandblasting Cabinet vs Siphon Blaster
Jun 07 2026
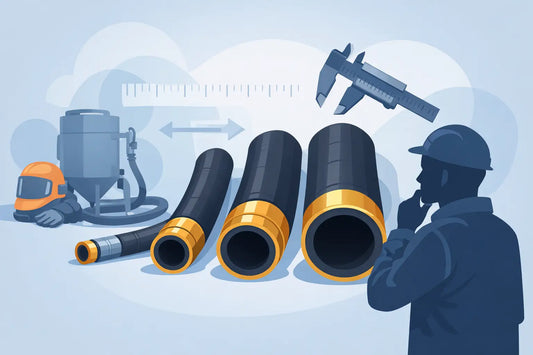
How to Choose Blast Hose Size Right
Jun 05 2026

High Torque Impact Wrench: How Much Is Enough?
Jun 03 2026

Choosing Air Hose for Shop Layout
Jun 01 2026

How to Set Air Regulator Pressure Right
May 30 2026
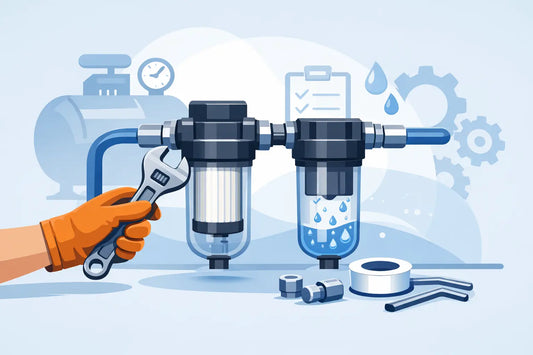
Air Filter Water Separator Installation Tips
May 28 2026