
Shopping Cart
(0)


 AIR REGULATORS

 ACCESSORIES

How to Prevent Sandblaster Clogging at the Nozzle
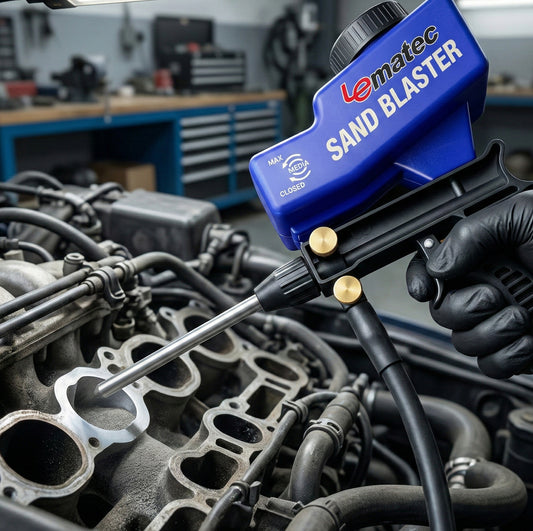
A sandblaster that suddenly spits, surges, or stops feeding media can turn a quick cleanup job into a frustrating teardown. If you want to know how to prevent sandblaster clogging, start with the two things that cause most blockages: moisture in the air supply and contaminated or mismatched blasting media. Fix those at the source, and your cabinet, pressure pot, or siphon blaster will run more consistently.
Clogs are rarely random. They are usually a sign that the air system, media, hose, nozzle, or setup procedure needs attention. The good news is that most of the prevention work is simple, inexpensive, and faster than clearing a packed nozzle halfway through a job.
Why Sandblasters Clog
A sandblaster depends on clean, dry compressed air to move abrasive media at a controlled rate. When water enters the line, fine media absorbs it and starts to clump. Those clumps can bridge inside a hopper, stick in a pickup tube, or lodge in the nozzle. Even a small amount of moisture can create trouble with fine abrasives such as aluminum oxide, glass bead, baking soda, or crushed glass.
Media contamination is the other common culprit. Rust flakes, paint chips, shop debris, paper fragments, and oversized pieces of abrasive can all restrict flow. Reusing media is practical for many cabinet blasting jobs, but it needs to be screened and stored correctly. Once media has picked up too much dust, oil, or broken-down abrasive, it no longer flows like it should.
Pressure matters too. Low or unstable air pressure may not provide enough pull for a siphon-feed system, while excessive pressure can increase media breakdown and wear components faster. A clog can also come from a nozzle that is too small for the media, a worn pickup tube, a damaged hose, or an air leak that disrupts the system's feed.
Keep Moisture Out of the Air System
The fastest way to improve blasting reliability is to dry the air before it reaches the blaster. Your compressor naturally creates condensation as it pulls humid shop air in and compresses it. That moisture travels through the tank and hose unless you give it a place to drop out and remove it.
Drain the compressor tank before blasting and again after the job. On humid days or during long blasting sessions, drain it more often. A tank with standing water will send moisture downstream when airflow increases, which is exactly when a sandblaster needs clean, steady air.
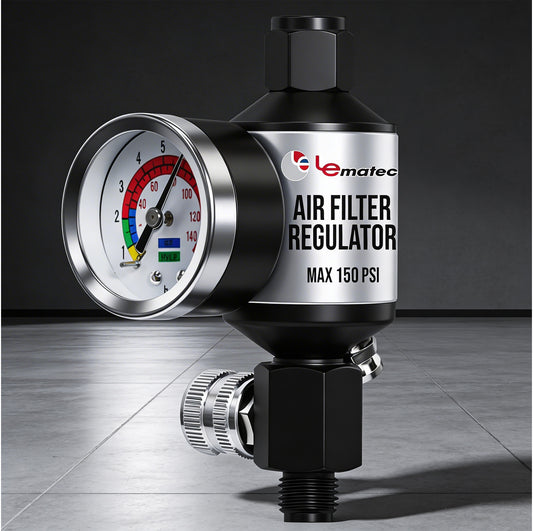
Install a water separator close to the compressor, then use a regulator and filter near the blasting equipment. For regular blasting work, an inline moisture filter at the blaster provides another layer of protection. The closer the final filter is to the blast cabinet or pressure pot, the less hose length there is for condensation to form after filtration.
Air dryers are worth considering for shops that blast frequently, operate in humid conditions, or need consistently clean results for paint prep. A basic water separator handles liquid water, but it will not remove all water vapor. Depending on your compressor size, duty cycle, and climate, a refrigerated or desiccant dryer may be the better long-term answer.
Do not overlook hose routing. Keep air hoses out of wet areas and avoid running them directly across cold concrete when possible. A long hose can cool compressed air and create new condensation farther down the line. If your setup uses a long run, add a drain point or secondary moisture trap before the blaster.
Use Clean, Dry Media in the Correct Size
Blasting media should be dry, free-flowing, and sized for the nozzle and machine you are using. Opening a fresh bag in a damp garage and leaving it unsealed is an easy way to create future clogs. Store unused media in a sealed container off the floor, especially in areas with high humidity.
Before filling the hopper or pressure pot, inspect the media. It should pour easily without visible lumps. If it feels damp, contains chunks, or has obvious debris, do not run it through the machine. Break up minor dry clumps and screen the media if appropriate, but replace media that has absorbed moisture, oil, or excessive contamination.
Match the media grit to the nozzle orifice. Fine media can run through smaller nozzles, but larger grit needs a larger opening. Trying to force coarse abrasive through a small nozzle causes repeated blockage and can make the machine seem underpowered. Check the specifications for both the blaster and the abrasive rather than guessing based on what happens to be in the shop.
Reclaimed media deserves extra attention. A blast cabinet makes media recovery convenient, but every cycle adds dust and broken abrasive. Use a screen to remove large particles and foreign material. If the media produces heavy dust, clogs frequently, or cuts much slower than it used to, replace it. Reuse saves money only when the media still performs.
Set Pressure and Airflow for Your Blaster
A sandblaster needs more than a compressor that reaches the advertised PSI. It needs enough continuous CFM at the working pressure. When the compressor cannot keep up, pressure drops during blasting and media feed becomes inconsistent. That can look like a clog even when the nozzle is clear.
Set the regulator based on the blaster's recommended operating range, then check pressure while the trigger is pulled. Static pressure on the gauge does not tell the whole story. If the pressure falls sharply once you start blasting, the compressor, hose diameter, fittings, or regulator may be restricting flow.
Use adequately sized air hose and high-flow fittings where the equipment calls for them. A small, restrictive hose may be fine for inflating tires or running a light air tool, but blasting is an air-hungry job. For longer hose runs, a larger inside diameter helps preserve airflow at the blaster.
There is a trade-off with pressure. Raising PSI can improve cutting speed when the system has sufficient CFM, but it also consumes more air and wears nozzles faster. If you are blasting delicate parts, thin sheet metal, or soft surfaces, use the lowest pressure that gives the result you need. Stable pressure is more useful than simply running the highest number on the regulator.
Inspect the Feed Path Before Every Job
A quick pre-job inspection prevents most surprise stoppages. Check the hopper or pressure pot for dry media and make sure the lid, gasket, and fittings are seated correctly. On a siphon blaster, inspect the pickup tube for cracks, wear, and buildup. A leak in the pickup tube can reduce suction enough to cause erratic feed.
Look through the blast hose for kinks, soft spots, and internal wear. A damaged hose can trap media or restrict airflow. Make sure the hose has a gradual path from the blaster to the work area instead of tight bends that can collect abrasive.
Inspect the nozzle closely. Ceramic nozzles wear over time, and a worn nozzle changes airflow and media consumption. Steel, tungsten carbide, and boron carbide nozzles have different service lives, but every nozzle should be replaced when wear affects performance. If a nozzle is partially blocked, remove it and clear it carefully. Do not hammer or aggressively pry at it, since damage to the bore can make feed problems worse.
For pressure-pot systems, confirm that the metering valve is not set too rich. Too much media entering the airstream can overwhelm the line and cause surging. Start with the manufacturer's baseline setting, then adjust in small increments until the stream is even. You want a consistent blast pattern, not the maximum possible volume of abrasive.
What to Do When a Clog Starts
If media flow becomes weak or stops, release the trigger and shut off the air before disassembling anything. Depressurize a pressure pot completely. Trying to force a blockage out with more pressure can compact wet media deeper into the hose or nozzle.
Start at the simplest points: check the moisture trap, inspect the media in the hopper, and remove the nozzle. If the nozzle is clear, inspect the pickup tube or metering valve, then work backward through the feed path. Clearing the immediate blockage without finding the moisture, debris, or setup issue behind it usually means the problem returns a few minutes later.
Keep a small supply of clean, dry media and common wear parts on hand if blasting is part of your regular workflow. A replacement nozzle, pickup tube, filter element, and hose fittings cost far less than lost time on a repair, restoration, or paint-prep job.
Build a Setup That Keeps Work Moving
The best prevention plan is not complicated: drain the tank, filter the air, protect the media, match the nozzle and abrasive, and verify working pressure before you start. These steps matter whether you are stripping a wheel, cleaning weld scale, restoring a bracket, or preparing panels for coating.
A reliable blasting setup is also easier to maintain when its components are matched from the start. Pro Air Tools carries sandblasting equipment, media, filters, regulators, and accessories for putting together a practical system without adding unnecessary guesswork. Keep the air dry and the media clean, and your sandblaster can spend more time cutting surface contamination and less time fighting its own feed line.
Tags:
Related articles
How to Choose a Pneumatic Sander for Bodywork
Jul 13 2026
Guide to Air Tool Quick Couplers
Jul 09 2026
Quick Change Coupler Leaks Fix That Lasts
Jul 07 2026
Portable Sandblaster Review: What Matters
Jul 05 2026
Guide to Blasting Cabinet Setup
Jul 03 2026
Air Die Grinder vs Angle Grinder
Jul 02 2026