Shopping Cart
(0)
Free shipping included — no minimum on any US order

Quick Search:




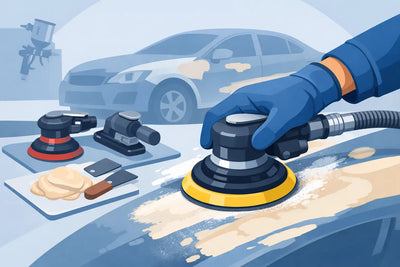
A pneumatic sander for bodywork can make the difference between a panel that blocks out straight and one that shows every repair under fresh paint. The tool is only part of the equation, though. Orbit size, pad type, air supply, abrasive quality, and technique all affect the finish. Choose the wrong setup and you can waste discs, chase swirl marks, or overload a small compressor before the job is halfway done.
For collision repair, restoration, and serious garage projects, the goal is simple: remove material quickly when needed, then refine the surface without putting unnecessary heat or deep scratches into the panel. Here is how to choose an air sander that fits the work in front of you.
“Bodywork” covers several very different tasks. Stripping old paint from a hood is not the same job as feathering primer, leveling body filler, or scuffing a clearcoat for a blend. One sander can handle a wide range of work, but no single setup is the fastest or safest choice for every stage.
A dual-action random orbital sander is the main workhorse for most body shops and home garages. Its pad both rotates and oscillates, so the scratch pattern is less aggressive and less likely to leave obvious directional marks than a straight-line or rotary tool. It is the practical choice for stripping, filler shaping, primer sanding, feather edging, and final paint preparation.
For broad, flat panels where straightness matters most, a long-board or inline air sander still earns its place. It bridges low spots better than a small round pad and helps prevent the wavy look that can show up along doors, quarter panels, and larger repaired areas. Detail sanders, mini random orbitals, and small belt sanders are useful for tight repairs, edges, jambs, and corrosion cleanup, but they are supporting tools rather than replacements for a full-size DA.
Orbit size describes how far the sanding pad moves on each oscillation. It has a direct effect on cut speed and finish quality.
A 3/16-inch orbit is a common all-around choice for automotive work. It removes material at a useful pace while giving enough control for primer and paint-prep work. If you want one pneumatic sander for bodywork, this is usually the safest starting point.
A 3/32-inch orbit is better suited to finish sanding. It cuts more slowly, but it leaves a finer, more controlled scratch pattern. That makes it a smart option for high-grit primer sanding, blend-area prep, and work where minimizing pigtails matters more than fast stock removal.
Larger 3/8-inch-orbit sanders remove filler, old coatings, and heavy primer faster, but they require a more disciplined hand. They can leave deeper scratches and make it easier to round an edge or create heat in one spot. For heavy removal, a larger orbit can save time. For everyday panel work, it can be more tool than the job needs.
Most full-size DA sanders use either a 5-inch or 6-inch pad. A 6-inch pad covers more area, supports common automotive sanding discs, and is the efficient choice for hoods, roofs, doors, and quarter panels. A 5-inch pad gives better control around contours and tighter repair zones.
Pad density matters just as much as diameter. A firm pad supports flatter sanding and faster leveling. A softer pad follows curves more easily and works well for finer grits, but it can telegraph uneven pressure into the surface. For most shops, a medium-density hook-and-loop pad is the sensible everyday setup because disc changes are quick and the tool remains versatile.
Use an interface pad when sanding curved body lines, flexible bumper covers, or fresh primer that needs a gentler touch. The extra cushioning helps the disc conform, but it also reduces leveling ability. It depends on whether you are trying to make a surface flat or simply refine it.
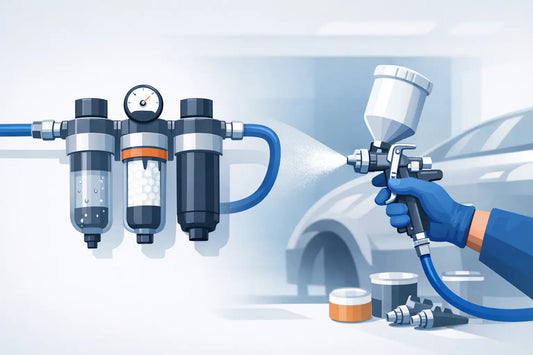
An air sander that feels weak, stalls under light pressure, or constantly changes speed may not be the problem itself. The compressor, hose, fittings, and air treatment often hold it back.
Check the tool’s air-consumption rating in CFM at its specified operating pressure, commonly 90 PSI. Your compressor must deliver that CFM continuously, not just reach the PSI number printed on the tank gauge. A compressor can show 120 PSI and still fail to keep up with a DA sander during a full-panel job.
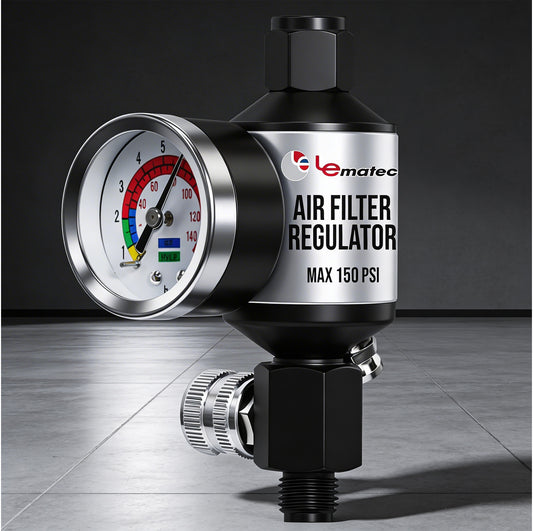
A few setup details make a major difference:
Dust does more than make cleanup miserable. It loads sanding discs, hides flaws, contaminates surrounding work, and can turn a clean paint-prep area into a rework problem. A central-vacuum DA or self-vacuum setup costs more than a non-vacuum tool, but it can pay off quickly if you sand regularly.
For a shop doing primer and paint preparation, vacuum-ready sanding is the better long-term choice. It keeps the cut more consistent because the abrasive stays clearer, and it makes it easier to inspect the panel as you work. It also reduces airborne dust from filler, primers, old coatings, and fiberglass materials.
A non-vacuum pneumatic sander remains a practical value option for occasional repairs, stripping work, or jobs performed outside the paint area. Just plan for proper respiratory protection, cleanup time, and frequent disc changes. Never assume a basic paper mask is enough for every coating or filler dust. Match your respirator and safety practices to the materials being removed.
Sanding problems often come from trying to do too much with one grit. A coarse disc removes material quickly, but it leaves scratches that must be fully refined before primer or paint. Skipping steps can look efficient until the first coat of color reveals sand scratches or repair rings.
For heavy filler shaping, you may begin around 80 grit, then refine through 120 and 180 grit before primer. For feather edging and primer work, 180, 220, 320, and finer grades may be appropriate depending on the coating system and the next step. Always follow the paint and primer manufacturer’s stated grit recommendations when they differ from a general rule of thumb.
Let the sander do the work. Use light, even pressure and keep the pad moving with a controlled overlap. Pressing hard slows a random orbital sander, builds heat, wears discs faster, and increases the chance of uneven sanding. A flat pad contact patch is more effective than leaning the edge into the panel.
A pneumatic DA makes the most sense when you already have a compressor with enough real-world airflow and you want a durable tool for repeated repair, prep, fabrication, or restoration work. Air tools are generally lighter in the hand than many electric alternatives, handle long work sessions well, and have fewer electrical components to worry about in a busy shop.
The trade-off is infrastructure. If your compressor is undersized or your air is wet and poorly regulated, even a quality sander will perform poorly. For a small garage doing one repair at a time, an electric sander can be more convenient. For users already invested in compressed air, a pneumatic setup is hard to beat for speed, control, and daily serviceability.
When buying, look beyond the sticker price. Confirm the CFM requirement, orbit size, pad size, exhaust direction, vacuum compatibility, and included fittings. A dependable warranty also matters because a failed sander can stop prep work cold. Pro Air Tools backs its products with a free 36-month warranty and ships orders in one day, helping keep replacement tools and air-system accessories from turning into a long delay.
The best choice is the one that fits your panels and your air system, not the one with the highest advertised RPM. Set up the air supply correctly, use the right abrasive sequence, and keep your technique controlled. The panel will tell you when the setup is working: it sands evenly, stays cool, and is ready for the next stage without surprises under paint.



 AIR REGULATORS

 ACCESSORIES