


Shopping Cart
(0)

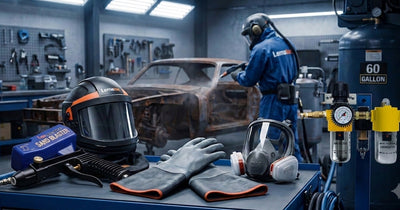
Guide to Blasting Cabinet Setup
A blasting cabinet usually tells you what is wrong within the first five minutes. The gloves feel awkward, visibility drops fast, media clogs the gun, and the compressor runs harder than expected. A good guide to blasting cabinet setup fixes those problems before they slow down your work.
If you are setting up a cabinet for rust removal, paint prep, parts cleaning, or light surface profiling, the goal is simple - steady airflow, clean media flow, clear visibility, and as little downtime as possible. The exact setup depends on your cabinet size, blasting media, and compressor output, but the basics are the same whether you are working in a home garage or a small fabrication shop.
What matters most in blasting cabinet setup
The cabinet itself is only part of the system. A blasting cabinet performs as well as the air supply, moisture control, dust collection, and media recovery behind it. Buyers often focus on the gun and the cabinet dimensions first, but the real performance gains usually come from matching air demand correctly and keeping the media dry.
That is where many setups fall short. If your compressor cannot keep up, blasting pressure drops and cleaning slows down. If moisture gets into the line, the media cakes and the gun sputters. If dust collection is weak, you lose visibility and spend more time stopping than blasting.
A practical guide to blasting cabinet setup should start with those pressure points because they determine whether the cabinet feels productive or frustrating.
Start with the air supply
Most cabinet issues trace back to compressed air. Before you install anything, check the blast gun's air consumption at the pressure you plan to run. Then compare that number to your compressor's delivered CFM, not just the tank size or headline rating. A large tank helps with short bursts, but steady blasting depends on actual airflow.
For smaller cabinets doing detail work, a moderate compressor may be enough. For longer sessions or larger nozzles, undersized air supply becomes obvious fast. The gun loses bite, media flow gets inconsistent, and cycle times stretch out. If your compressor is borderline, you may need to use a smaller nozzle, lower production expectations, or blast in shorter intervals.
Air line size also matters. Restrictive hoses, cheap couplers, and unnecessary bends can choke flow before it reaches the cabinet. Keep the run as direct as possible and use fittings sized for the demand. This is not the place to create a bottleneck to save a few dollars.
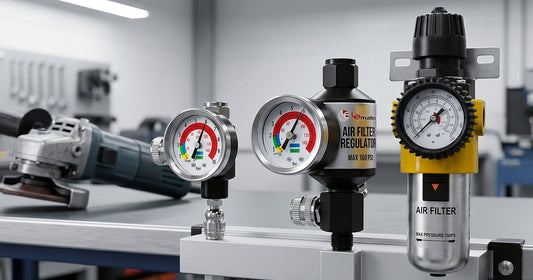
Regulator and pressure control
Install a regulator where you can monitor and adjust pressure easily. That gives you control over aggression and media consumption. Lower pressure can work well for delicate aluminum, soft metals, or thinner coatings. Higher pressure improves speed on rust and scale, but it also increases wear on nozzles, gloves, and window protection.
There is no single perfect PSI for every cabinet. It depends on the media type, nozzle size, and the surface you are treating. If parts are getting peened, etched too heavily, or cleaned unevenly, pressure is one of the first things to revisit.
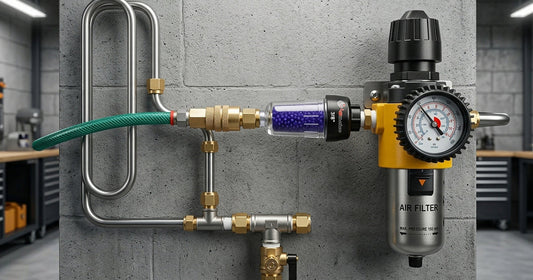
Keep moisture out of the system
Dry air is not optional in cabinet blasting. It is one of the main factors separating smooth operation from constant clogging. As compressed air cools, water condenses in the line. Once that moisture reaches the cabinet, media starts to clump and pickup tubes stop feeding consistently.
At minimum, use a proper moisture separator and drain your compressor tank regularly. In more demanding setups, a filter-regulator combo and additional drying capacity make a noticeable difference, especially in humid shops or during summer months. If you blast for extended periods, moisture control usually needs more attention than first-time buyers expect.
Placement matters here too. A separator mounted too close to a hot compressor may not catch enough moisture because the air has not cooled yet. Giving the air some line length before filtration can improve performance. It depends on your shop layout, but the principle stays the same - remove water before it reaches the cabinet.
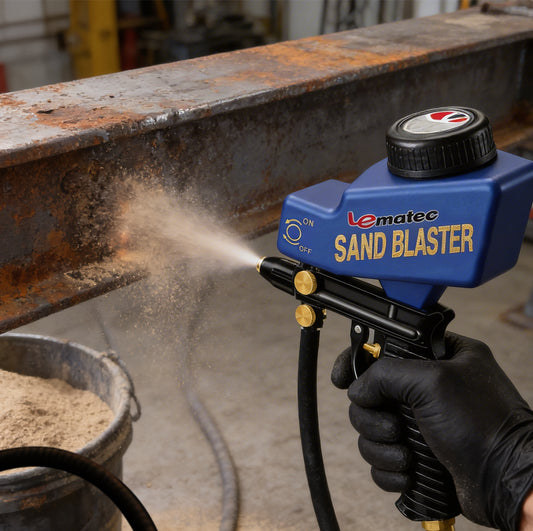
Choose media for the job, not just the cabinet
Blasting cabinets can run a range of media, but your choice should match the material, finish requirement, and cleanup tolerance. Fine glass bead works well for a smoother finish on many metal parts. Aluminum oxide cuts more aggressively and is often better when you need faster coating removal or a stronger profile. Other media can be useful too, but the cabinet, gun, and dust collection all need to be compatible.
The wrong media creates avoidable problems. If it is too coarse for the nozzle or too heavy for the recovery system, flow suffers. If it breaks down too quickly, dust load rises and visibility falls. If you use contaminated or damp media, expect inconsistent results no matter how good the cabinet is.
Fresh, dry media usually performs better than trying to stretch questionable material too far. Reclaim systems help, but not all used media is worth saving. Once it becomes too dusty, too fine, or mixed with rust and paint debris, productivity drops.
Dust collection is part of performance
A cabinet without effective dust collection becomes hard to use long before the media runs out. You need enough airflow to pull suspended dust away from the window and work area without pulling usable media out of circulation. That balance matters.
Weak dust extraction leads to poor visibility, slower work, and more strain on gloves and seals because you are constantly repositioning parts and stopping to check progress. Overly aggressive extraction can remove good media and create unnecessary waste. The right setup keeps the cabinet clear while letting the media do its job.
If your cabinet includes a dust port, treat it as essential, not optional. A good collector also helps keep the work area cleaner and reduces the amount of fine abrasive escaping into the shop. For anyone blasting regularly, this is a productivity issue as much as a housekeeping issue.
Window protection and visibility
Good lighting helps, but it cannot overcome a dusty cabinet or a worn viewing window. Add replaceable window protectors from the start. They take the abuse so the main glass or viewing panel lasts longer. Once visibility starts to haze over, blasting accuracy drops and fatigue goes up.
Internal cabinet lighting should be bright enough to show surface condition clearly without creating glare. That seems minor until you are trying to tell whether you have removed scale evenly from a bracket or cleaned corrosion out of a tight casting.
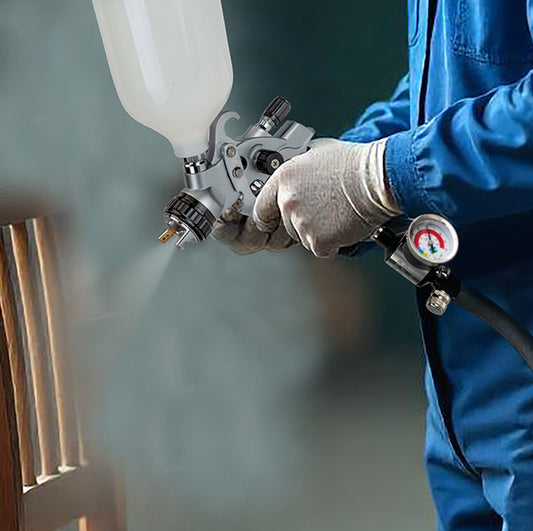
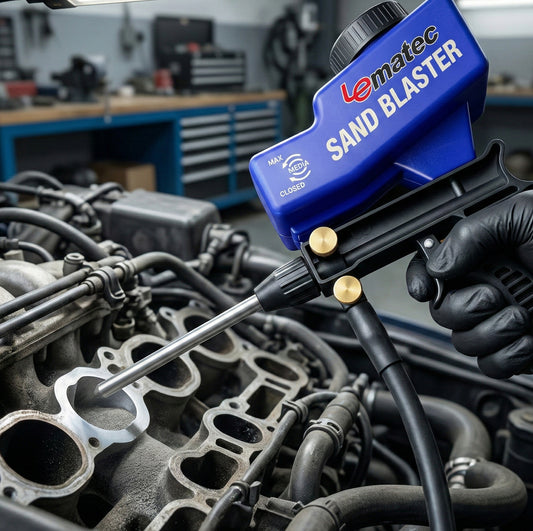
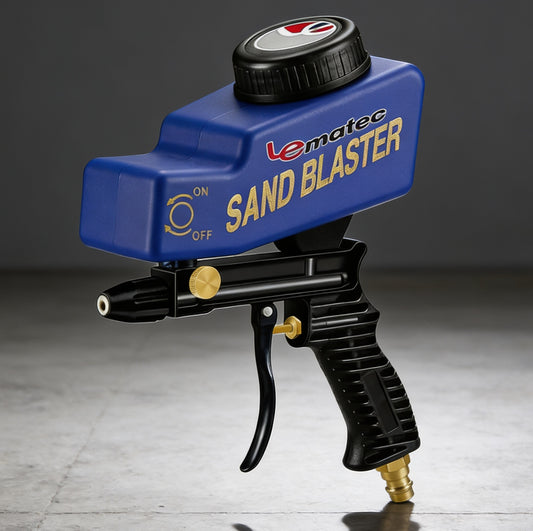
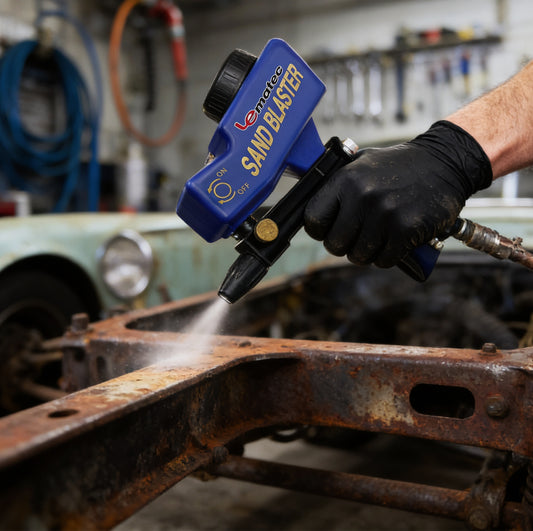
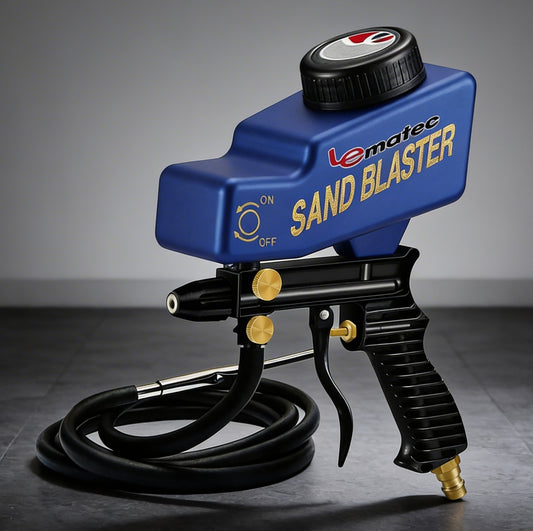
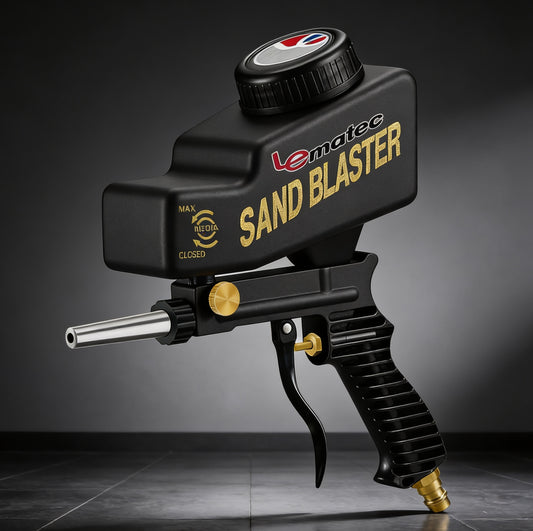
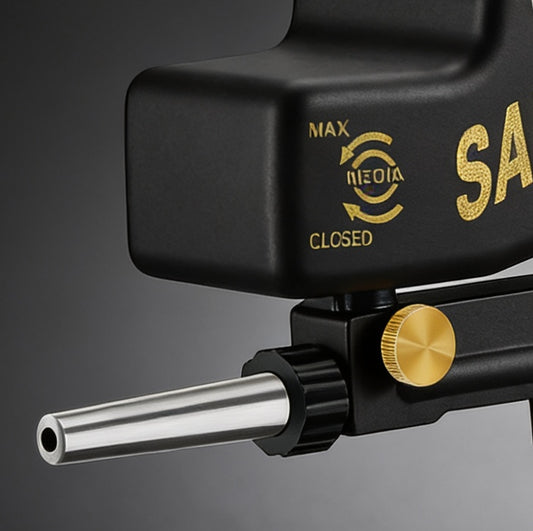
Set up the gun, pickup, and nozzle correctly
The blast gun has to pull media consistently. Check that the pickup tube seats properly in the media and that all connections are tight. Air leaks, loose hose connections, or a cracked pickup line can make the gun behave like the media is bad when the real issue is mechanical.
Nozzle size deserves more attention than it usually gets. A larger nozzle can speed up work, but it also raises air demand. If your compressor is limited, stepping down nozzle size may actually improve real-world performance by keeping pressure stable. There is always a trade-off between peak output and sustained output.
Nozzles also wear over time. As the opening enlarges, air consumption increases and blasting pattern changes. If a setup starts underperforming after previously working well, nozzle wear is a smart place to check.
Cabinet placement and shop workflow
Put the cabinet where it supports the work, not where there was an empty corner. You need space to load parts, open doors fully, service the dust collector, and inspect media. If the cabinet is cramped against a wall, routine maintenance becomes annoying, which means it often gets postponed.
Think about noise, compressor location, and cleanup access too. A cabinet near your air supply may reduce line complexity, but only if moisture control still works. A cabinet near your prep bench may improve workflow, but only if dust is managed properly. Good setup is about reducing friction from one job to the next.
For shops that handle mixed work, keep media storage organized and sealed. Cross-contaminated media causes inconsistent finishes and wasted time. Label containers and keep replacement gloves, window liners, and fittings nearby so small maintenance issues do not stop a job.
Test and tune before real production
Once everything is connected, run a short test on scrap material that matches your actual parts as closely as possible. Watch how quickly the cabinet clears dust, how stable the pressure stays, and whether the media feed remains steady through a full cycle. This is where setup stops being theoretical.
If cleaning is slower than expected, do not assume you need a bigger cabinet. Check pressure at the gun, inspect moisture control, confirm media condition, and look at nozzle wear or sizing. If visibility is poor, focus on dust collection, window protection, and media breakdown. Small changes here often make a bigger difference than replacing major components.
For buyers who want dependable results without wasting shop time, that is the real value of a solid setup. At Pro Air Tools, the advantage is not just getting the cabinet or accessories fast. It is being able to build a system that works together - cabinet, media, filters, regulators, and air tools - so the job moves instead of stalling.
The best blasting cabinet setup is the one that fits your actual workload, keeps air and media under control, and lets you see what you are doing from the first part to the last.
Tags:
Related articles

Air Die Grinder vs Angle Grinder
Jul 02 2026

Guide to Sandblasting Safety Gear
Jun 29 2026

Pneumatic Tire Inflator Gauge Review
Jun 27 2026
Guide to Pneumatic Die Grinder Bits
Jun 25 2026
Gravity Feed vs Siphon Sandblaster
Jun 23 2026
What Size Air Regulator Needed?
Jun 22 2026
How to Dry Compressed Air Lines Right
Jun 19 2026