
Shopping Cart
(0)

Pneumatic Hammers for Rust Removal: When They Win
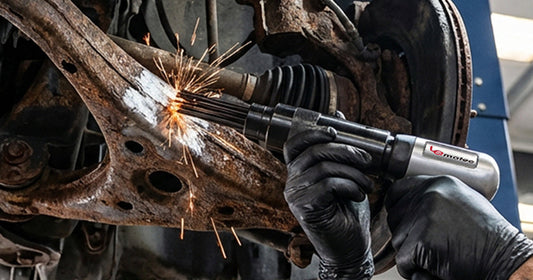
Rust doesn’t fail politely. One day it’s surface haze, the next it’s thick scale that laughs at a wire wheel and turns “quick cleanup” into an hour of sparks and dust. That’s where a pneumatic hammer earns its keep - not as a miracle tool, but as the fastest way to break stubborn rust loose when it’s bonded hard and layered thick.
When a pneumatic hammer for rust removal actually makes sense
A pneumatic hammer shines when you need impact, not abrasion. If the rust is flaky and heavy, especially on steel plate, frames, brackets, suspension parts, farm implements, or structural angles, the tool’s repeated blows crack the scale so it releases in chunks instead of smearing into a polished, still-contaminated surface.It’s also the right move when heat is a problem. Aggressive grinding can blue thin steel, smear rust into pores, or remove more base metal than you intended. A hammer with the right chisel can be more selective: you’re breaking oxide off the top instead of sanding everything down to bare metal.
That said, it depends on the job. If you’re prepping a panel for paint where you need an even finish, a pneumatic hammer is usually step one, not the whole solution. And if you need to clean rust out of pits or a tight inside corner, blasting or a small abrasive tool may beat impact.
What you’re really doing: breaking scale vs “cleaning” metal
Rust removal gets lumped into one phrase, but there are two different problems:Thick scale and delamination needs to be fractured. Impact wins here.
Staining, light rust, and pitting needs to be cleaned out. Abrasion or blasting wins here.
A pneumatic hammer handles the first category better than almost anything else you can hold in one hand. But don’t expect it to leave a paint-ready profile on its own. The goal is to remove the bulk fast, then finish with a secondary method that matches your coating or weld requirements.
Choosing the right tool setup (power and control)
“Pneumatic hammer” can mean anything from a compact air chisel to a heavier-duty air hammer designed for continuous shop use. For rust scale, you want enough energy per blow to crack the layer, but you also want control so you don’t gouge the base metal or dent thin sections.If you’re working on thick steel (frames, heavy brackets, equipment), a stronger hammer is usually a time saver because it pops scale cleanly instead of buzzing it. If you’re on thinner material (sheet metal, body panels, light tubing), control matters more than raw hit - you’ll be better served by lighter blows, a wider chisel, and patience.
Air supply matters as much as the tool. If your compressor can’t keep up, the hammer will feel weak and inconsistent, which pushes people to lean on it harder and lose precision.
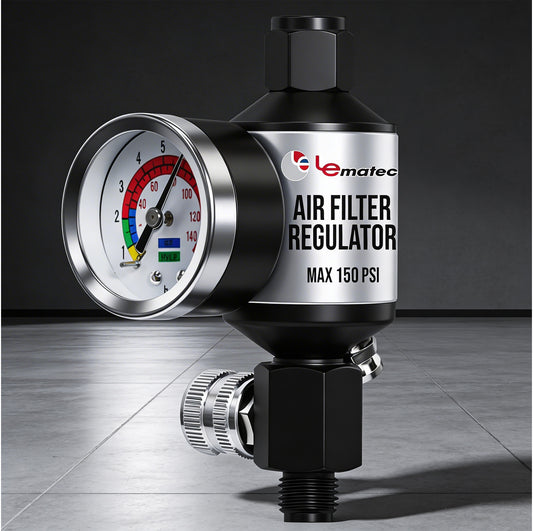
Air pressure: start lower than you think
Most users run too much pressure and then blame the tool for chatter or gouging. For rust scale, you often get better results by starting around 60-80 PSI and increasing only if the rust isn’t fracturing. Higher pressure can hit harder, but it also increases bounce, noise, and the odds you’ll dig into good metal.If you’re trying to preserve edges, stamped numbers, or a machined surface nearby, lower pressure and a wider bit is the safer play.
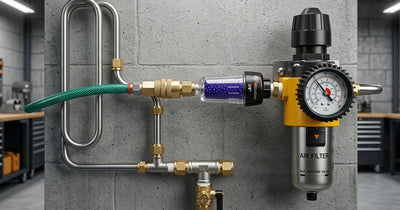
Airflow and fittings: the hidden bottleneck
An air hammer is hungry for airflow. Undersized fittings, restrictive quick-connects, or a long run of small hose can starve the tool even if your regulator says the pressure is fine.If your hammer pulses weakly, check your setup before you assume you need a different hammer. A 3/8-inch hose and high-flow fittings often make the tool feel like it gained a full size class.
Lubrication: don’t skip it
Rust removal is dirty, and that grit makes its way into everything. A few drops of air tool oil in the inlet before you start helps keep the hammer hitting consistently and extends the tool’s life. If you run an inline oiler, keep it adjusted so you’re not fogging oil everywhere - just enough to protect the mechanism.The chisel matters more than the hammer
Most frustration with rust removal comes from using the wrong bit. The bit is the contact point, and it decides whether you’re peeling scale or carving steel.A narrow straight chisel concentrates force and can dig in. It’s useful for seam edges, thick weld spatter, or cracking a stubborn ridge of rust, but it’s easy to leave marks.
A wider “panel” style chisel spreads impact and tends to lift rust without gouging as deeply. For flat areas, it’s usually the best starting point.
A curved or spoon-style bit can follow contours and reduce corner digging.
A needle scaler attachment (if you have it) is a different animal. It’s slower on heavy scale than a broad chisel, but it excels on uneven surfaces, corners, castings, and anywhere you need to get into texture.
If you only buy one extra bit for rust work, a wider chisel is usually the one that pays back immediately.
How to use a pneumatic hammer on rust without wrecking the surface
The technique is simple, but the details change the outcome.First, get the loose stuff out of the way. Knock off flaking rust with a scraper or quick pass of a wire brush so the chisel can get under the scale instead of skating on top.
Hold the tool at a low angle, not straight down. Think of it like lifting the scale, not punching through it. A shallow angle helps the chisel wedge between layers and pop them.
Let the hammer do the work. If you’re pushing hard, you’re more likely to gouge. Use steady control, move in short passes, and keep the bit from dwelling in one spot.
Work from an edge when you can. Scale releases easier when you start at a seam, a corner, or an existing crack. On a flat field, create a small starting break and then peel outward.
Stop before you get greedy. When the scale is gone and you’re down to tight rust staining or pitting, switch tools. Continuing with an air hammer at that point is how you end up with divots and extra finishing time.
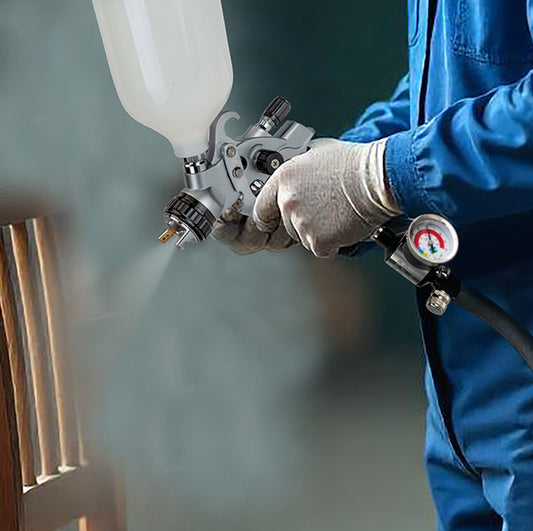
What to do after the hammer: the finish step that makes it “ready”
After impact removal, you’ll usually have a mix of bare steel, dark staining, and pits. Your next step depends on what “done” means.If you’re welding, you need clean metal at the joint. A quick hit with an angle grinder and a flap disc near the weld zone is often enough after the hammer knocks off the bulk.
If you’re painting, you’ll want a consistent surface. Many users follow with a grinder or sander to smooth high spots, then either blast or use a prep disc to even out the profile. If the pits matter, blasting is often the most efficient way to clean them without thinning the surrounding metal.
If you’re applying a rust-converting coating, check the product requirements. Some coatings want “tight rust” and a roughened surface, which means hammering off the loose scale is ideal, but you still need to remove dust and debris so it bonds.
Safety and mess: impact tools throw surprises
Air hammers are loud and they launch chips. Eye protection is non-negotiable, and a face shield is smart when you’re working overhead or inside a wheel well. Hearing protection matters too - the sharp report of an air hammer is the kind of noise that adds up fast.Watch where the chips go. Rust scale can bounce into nearby bearings, seals, and exposed machined surfaces. If you’re working around hubs, brake components, or open assemblies, take a minute to mask or cover what you don’t want contaminated.
Vibration is real. If you’re doing a long session, take breaks and keep your grip firm but not white-knuckled.
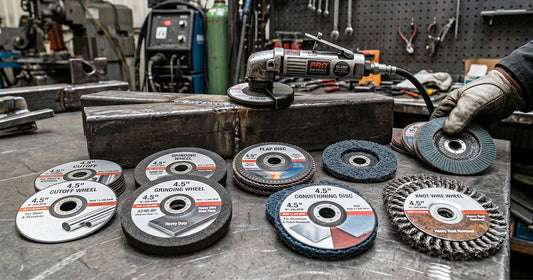
Pneumatic hammer vs grinders vs blasting: a practical comparison
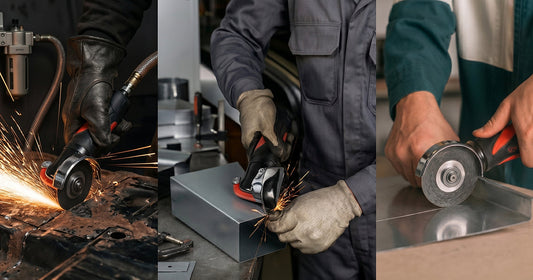
A pneumatic hammer is the fastest way to remove heavy scale on accessible surfaces. It’s also one of the least subtle.Grinders and abrasive discs give you more control over the finish and are better for smoothing and shaping, but they generate heat, dust, and can remove good metal quickly.
Sandblasting is the most thorough for pits, corners, and consistent paint prep, but it takes setup time, containment, media, and a compressor that can support the blast demands.
In a lot of real shops, the best workflow is a combination: hammer to break and peel, then grind or blast to finish. That’s how you keep the speed without paying for it later in rework.
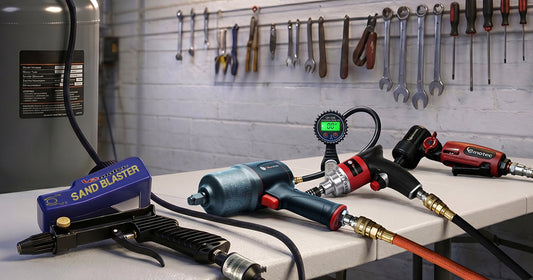
Getting a reliable setup fast
If you’re building out a rust-removal setup and want a predictable experience, focus on the whole air system: a hammer that matches your work, a bit selection that makes sense, and airflow that doesn’t starve the tool. That’s the difference between “this thing is awesome” and “why is it just rattling.”For shoppers who want pneumatic tools and rust-prep gear in one place, Pro Air Tools positions the process the way most working people actually buy - tools, accessories, and consumables together, backed by a 36-month warranty and 1-day shipping so you’re not stuck waiting mid-project.
Rust work is never fun, but it can be predictable. Set the hammer up right, choose the bit that lifts instead of gouges, and stop impact work when the scale is gone. The best feeling isn’t “perfect metal” - it’s watching the stubborn stuff finally let go so you can get back to the part of the job that actually moves forward.
Shop Impact Tools
Factory direct from Le Lematec — professional quality, competitive prices.
Tags:
Related articles
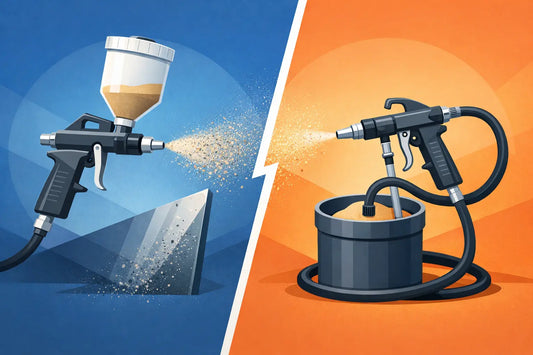
Gravity Feed vs Siphon Sandblaster
Jun 23 2026
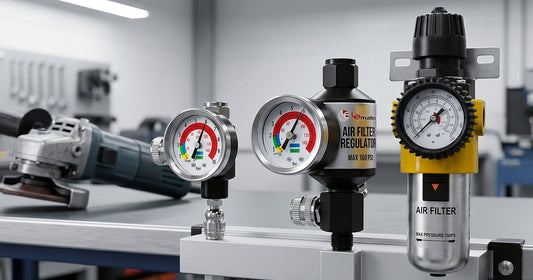
What Size Air Regulator Needed?
Jun 22 2026
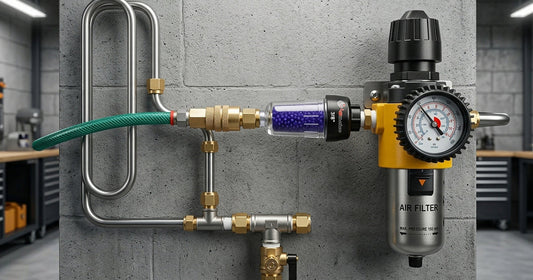
How to Dry Compressed Air Lines Right
Jun 19 2026
Air Needle Scaler Review: What Matters
Jun 17 2026
Air Angle Grinder Disc Selection Made Simple
Jun 15 2026
Pneumatic Cutoff Tool for Sheet Metal
Jun 13 2026
Compressed Air Tool Buying Guide
Jun 11 2026
9 Best Pneumatic Tools for Garage Work
Jun 09 2026