


Shopping Cart
(0)

How to Stop Water in Air Lines
Water in your air line usually shows up right when you can least afford it. A paint job starts fisheyeing, a blast cabinet clumps media, an impact wrench loses power, or a tool that worked fine yesterday starts spitting moisture. If you use compressed air for real work, moisture is not a minor annoyance. It costs time, finish quality, and tool life.
The good news is that fixing it is usually straightforward once you know where the water is coming from and where to stop it. If you are trying to figure out how to stop water in air lines, the answer is rarely one single part. It is the whole setup - compressor temperature, piping layout, tank drainage, filtration, and how much air your job is actually demanding.
Why water gets into compressed air lines
Every compressor pulls in air that already contains humidity. When that air gets compressed, the moisture concentration rises. As the compressed air cools, that moisture condenses into liquid water inside the tank, piping, hose, and tools.
That is why water problems often get worse in hot, humid weather, during long compressor run times, or when you are using high-CFM tools like sandblasters, grinders, and paint equipment. The compressor is doing more work, the air is heating up more, and the system has more moisture to deal with.
A lot of users assume the tank is the main problem. The tank matters, but it is only part of it. Water forms throughout the system as hot compressed air cools after it leaves the pump. If your line goes straight from compressor to hose to tool with no chance to cool and no moisture separation, that water is heading downstream.
How to stop water in air lines at the source
The best fix is to remove moisture in stages instead of expecting one filter to do everything.
Start with daily tank drainage
If you are not draining the compressor tank, start there. This is the first and easiest step. Condensed water settles in the tank, and if it stays there, it takes up space, promotes rust, and gets pushed back into the air stream.
For a home garage setup, draining at the end of each day is usually enough. In a busy shop or humid climate, you may need to drain it more than once a day. If your compressor runs hard for long stretches, manual draining gets old fast. That is when an automatic tank drain starts making sense.
This step alone helps, but it will not solve everything if the air is still hot and wet moving into the lines.
Give the air time to cool
Hot air carries more moisture. If you send that hot air directly from the compressor into a short hose and then straight to the tool, condensation happens later in the line, often right where you do not want it.
A better layout gives compressed air room to cool before final filtration. In a fixed shop, that usually means hard piping with some run length between the compressor and the point of use. Copper or black iron works better than a long rubber hose for cooling the air. As the air cools in the pipe, moisture condenses where you can separate and drain it.
If you are working with a smaller garage setup, even a short cooling loop or a longer metal run before the filter can make a difference. The key is simple: cooler air is easier to dry.
Use a drip leg and proper piping layout
Line layout matters more than many people realize. If the pipe slopes incorrectly or drops straight to your outlet, water follows gravity right into your hose.
A proper setup uses a slight slope in the main line, with drip legs at low points and before key workstations. Take your outlet from the top of the line, not the bottom. That way, condensed water keeps moving to the drip leg instead of feeding directly into your tools.
This is especially important in automotive, fabrication, and blasting setups where air demand is steady and moisture builds fast.
The filters and dryers that actually help
Once the air has cooled enough to drop moisture, you need equipment that separates and removes it.
Water separators for bulk moisture
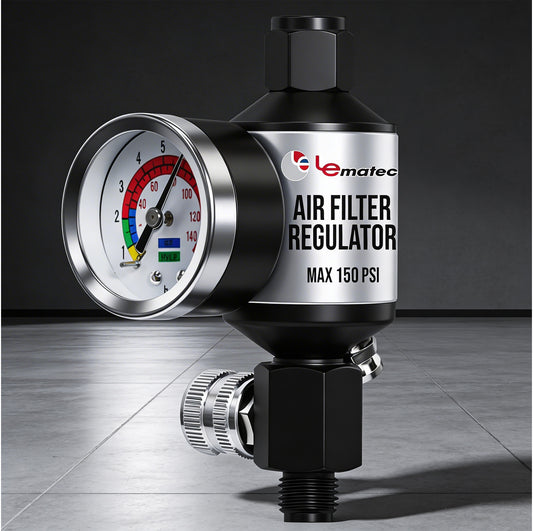
A basic water separator is often the first line of defense after the tank and cooling run. It removes bulk liquid water before it reaches regulators, hoses, and tools. For many air tool setups, this is the minimum requirement.
Placement matters. Put the separator far enough downstream that the air has had a chance to cool. Mounting it too close to the compressor can reduce its effectiveness because the moisture is still vapor at that point.
Coalescing filters for finer moisture and oil
If you are running paint, blasting equipment, or tools that need cleaner air, a coalescing filter gives better moisture and oil removal than a basic separator alone. It catches finer aerosols that a standard water trap can miss.
There is a trade-off here. Finer filtration can create pressure drop if the filter is undersized or neglected. That matters when you are feeding high-demand tools. Match the filter to your actual CFM needs, not just the fitting size.
Refrigerated or desiccant dryers
If your moisture problem is persistent, especially in humid regions or high-use shops, a dryer is often the real fix.
A refrigerated air dryer cools compressed air in a controlled way so water condenses out before it reaches the line. This works well for general shop air and gives consistent performance with less maintenance than some other options.
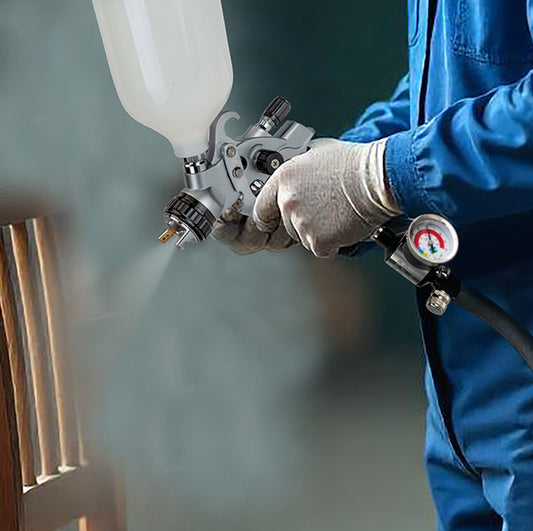
A desiccant dryer goes further and is the better choice when the air must be very dry, such as for paint work, plasma systems, or sensitive blasting applications. The trade-off is ongoing desiccant replacement and a higher attention level. If you only use air tools for intermittent mechanical work, that level of drying may be more than you need. If finish quality matters, it is often worth it.
Match the fix to the job
Not every air system needs the same moisture-control setup.
For impact wrenches, ratchets, inflators, and general service tools, a well-drained tank, cooling distance, and a quality filter-regulator-water separator setup is usually enough.
For sanding, grinding, and long-run pneumatic use, you may need larger filters and better cooling because the compressor runs longer and pushes more moisture into the system.
For paint and sandblasting, moisture control needs to be tighter. Wet air can ruin finish quality, cause abrasive media to clog, and create inconsistent results. This is where adding a coalescing filter or dedicated dryer moves from nice-to-have to necessary.
If your system works fine for short bursts with an impact gun but fails during blasting or paint prep, that does not mean the filter is bad. It usually means the moisture load is higher than the current setup can handle.
Common mistakes that keep water problems coming back
A lot of moisture issues come from setup shortcuts.
One common mistake is using a small inline water trap right at the tool and expecting it to fix everything. That can catch some moisture, but if the air has not been cooled and separated earlier, the trap is doing cleanup work it was never sized for.
Another mistake is undersizing filters and regulators. A restriction in the system can cause pressure loss, poor tool performance, and more frustration even if moisture removal improves. Always size components for the real airflow demand of your biggest-use application.
Neglected maintenance is another big one. A clogged filter element, full separator bowl, saturated desiccant, or stuck tank drain can put you right back where you started.
Hose choice also matters. Long hoses in hot areas, hoses lying on wet floors, or lines routed with low spots can all create places for water to collect and then slug downstream.
A practical setup that works for most shops
If you want a reliable starting point, build the system in layers. Drain the tank regularly. Run the air through metal pipe or a cooling section. Add a drip leg. Install a quality water separator and regulator at the right point in the line. If your work needs cleaner air, add a coalescing filter. If you are still seeing moisture during long runs or humid conditions, step up to a refrigerated or desiccant dryer.
That approach is more effective than chasing the problem with disposable inline fixes at the tool end.
For buyers who want to get the system right without wasting time on trial and error, this is where choosing the right filters, regulators, and air accessories matters. Pro Air Tools carries the core air system parts that help keep shop air cleaner and tools working the way they should, without adding guesswork to the setup.
If water keeps showing up in your air lines, treat it as a system problem, not a one-part problem. Once you cool the air, drain the low points, and size your filtration to the job, compressed air gets a lot more predictable - and so does the work that depends on it.
Shop Impact Tools
Factory direct from Le Lematec — professional quality, competitive prices.
Tags:
Related articles

How to Choose a Pneumatic Sander for Bodywork
Jul 13 2026
Guide to Air Tool Quick Couplers
Jul 09 2026
Quick Change Coupler Leaks Fix That Lasts
Jul 07 2026
Portable Sandblaster Review: What Matters
Jul 05 2026
Guide to Blasting Cabinet Setup
Jul 03 2026
Air Die Grinder vs Angle Grinder
Jul 02 2026
Guide to Sandblasting Safety Gear
Jun 29 2026