Shopping Cart
(0)
Free shipping included — no minimum on any US order

Quick Search:
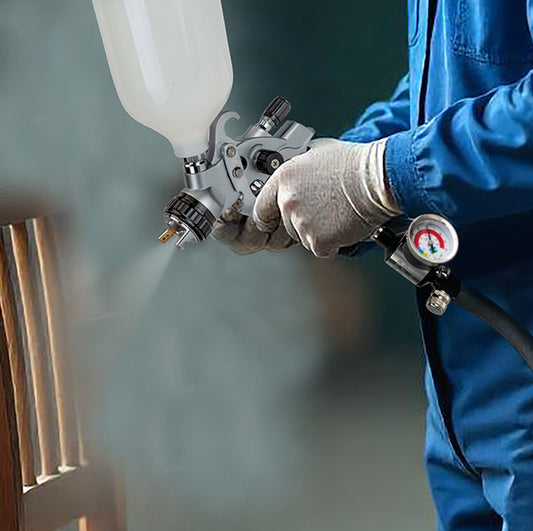
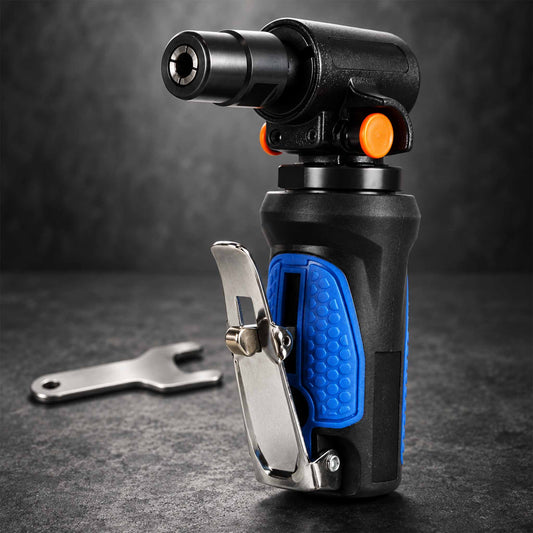




A body filler repair can look straight under shop lights and still show a low spot the moment primer hits it. The right air sander for body filler shaping helps prevent that problem by cutting filler evenly, following the panel correctly, and giving you enough control to stop before you sand into surrounding metal or paint.
For most repair work, the best setup is not one sander doing every stage. A dual-action pneumatic sander handles the broad shaping and refining work, while a smaller tool or hand block handles tight contours, edges, and final checking. The goal is not simply to remove filler fast. It is to make the repair disappear after primer and paint.
Body filler shaping changes from one job to the next. A flat quarter panel, a door skin body line, and a curved fender all demand different control. That is why choosing by advertised RPM alone usually leads to the wrong purchase.
Think about the filler stage you are working in. Freshly cured filler needs controlled material removal to establish the panel shape. Once the repair is close, you need a sander that refines the surface without digging random grooves into the filler. After glazing putty or finishing filler, the job becomes even more about scratch control.
A pneumatic dual-action sander is the practical core tool for this work because it combines rotation with an orbital motion. That action removes material more smoothly than a grinder, while still moving faster than hand sanding on broad surfaces. It is the right balance for most automotive repair areas.
Orbit size is one of the first specifications to compare. A 3/16-inch orbit is a common all-around choice for body filler work. It cuts efficiently enough to shape a repair, but it is still manageable as you move into finer grits and primer prep.
A larger orbit removes filler faster, which can be useful on wide, flat repairs. The trade-off is a greater chance of creating waves, sanding through an edge, or leaving deeper scratches that take more time to remove later. Larger-orbit sanders are best in experienced hands and on panels where there is room to keep the pad flat.
A smaller orbit is easier to control and better for finishing work, but it can feel slow during the first shaping passes. If you are buying one general-purpose air sander, a 3/16-inch orbit is usually the smart middle ground.
A 6-inch pad is the standard choice for most automotive body filler repairs. It covers enough area to help level broad surfaces and accepts widely available sanding discs. It is especially useful on doors, hoods, quarter panels, and larger sections of a fender.
A 5-inch pad offers more control around smaller repairs, body lines, and curves. It can also make sense if you work on motorcycles, compact panels, or localized rust repairs. The smaller pad does not automatically create a better finish, though. On a large panel, it can encourage short, uneven sanding patterns that leave the repair wavy.
For most shops and serious DIY garages, start with a quality 6-inch dual-action sander and keep a smaller sanding option available for detail work.
A good pneumatic sander is only as consistent as the air supply behind it. Dual-action sanders commonly need roughly 10 to 15 CFM at 90 PSI when running continuously. Check the tool's stated air consumption, then compare it to your compressor's delivered CFM, not the tank size or the motor's peak horsepower claim.
If the compressor cannot maintain pressure, the sander slows down. That causes uneven cutting, longer work time, and more pressure from the operator trying to make up for weak tool performance. Too much hand pressure is one of the fastest ways to create low spots and pad marks.
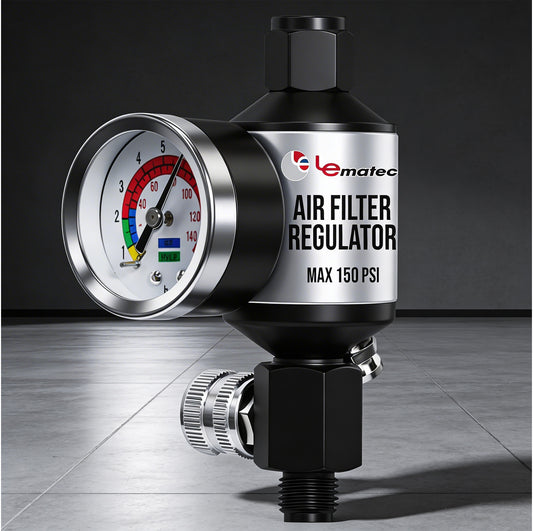
Use a properly sized hose and fittings that do not restrict flow. A 3/8-inch air hose is a solid choice for most bodywork sanding setups. Keep a regulator, water separator, and filter in the air line as well. Moisture and oil contamination can damage the sander and cause trouble once the panel reaches the paint stage.
A low-price sander is not a deal if it beats up your hands or becomes difficult to hold flat after ten minutes. Look for a balanced tool with a comfortable grip and manageable vibration. This matters most when you are shaping several repairs in a day or working on large panels.
A well-balanced pneumatic sander lets you guide the tool rather than force it. Let the abrasive do the cutting. Keep the pad flat where possible, move in overlapping passes, and avoid parking the sander in one spot. The repair will come out straighter, and you will use fewer discs.
The sander is only part of the result. Abrasive choice determines how quickly you shape the filler and how much cleanup is required before primer. Start coarse enough to level the repair, but do not stay coarse longer than necessary.
For typical cured body filler, 80-grit is a common starting point. It cuts quickly and gives you a clear view of the repair shape. If the filler is heavy or the surface needs major leveling, 60-grit may be appropriate, but use it carefully. Deep 60-grit scratches take time to remove and can telegraph through a poor prep job.
Once the profile is close, move to 120-grit or 150-grit to refine the repair. For finishing putty and primer preparation, 180-grit to 220-grit is often the next practical range, depending on the coating system and repair procedure. Follow the filler, primer, and paint manufacturer's requirements when they differ from a general grit schedule.
Do not skip two or three grit stages just to finish faster. A repair sanded aggressively with coarse paper may look smooth to the touch while still holding deep scratches. Primer may fill some of them, but it is cheaper and faster to remove the scratch pattern before the panel enters the booth.
Keep the pad moving in a steady, overlapping pattern. Work across the repair and extend slightly beyond it so the filler feathers into the surrounding panel. Avoid making tight circles over the center of the repair. That approach cuts a shallow bowl and leaves the edges high.
Use light, even pressure. A DA sander should run on the panel, not be pushed into it. Heavy pressure slows the pad, adds heat, and can make the tool cut unevenly. If the filler is not coming down fast enough, use a fresh disc or step down one grit rather than leaning harder on the tool.
Guide coats are worth the few extra minutes. Apply a light guide coat over the repair, then sand until it reveals highs and lows. Dark spots that remain are low areas. Areas that sand through immediately are high. This gives you a clear decision: add a small amount of filler, refine the high, or move to a block for more precise leveling.
A DA sander does not replace hand blocking. On a large flat panel, a sanding block confirms whether the repair is truly straight. The pneumatic sander gets you close quickly; the block prevents the final wave that becomes obvious in glossy paint.
The most common mistake is using an angle grinder as a body filler shaper. A grinder is useful for stripping paint, removing welds, and cutting metal, but it is too aggressive for most filler contour work. It can remove a lot of material before you have time to read the panel.
Another mistake is sanding with a worn backing pad. A pad that has lost its flatness, hook-and-loop grip, or edge support causes discs to wobble and cut inconsistently. Replace it before it turns a simple repair into a rework job.
Also watch for restricted air flow, dirty filters, and water in the line. If the sander suddenly feels weak or inconsistent, check the air system before blaming the tool. A clean, regulated air supply protects your investment and keeps sanding predictable.
For dependable pneumatic sanding equipment, abrasives, regulators, and air-line accessories, Pro Air Tools helps keep a bodywork setup focused on uptime instead of tool hunting.
The fastest cutter is not always the fastest way to finish a repair. A properly matched dual-action air sander, a stable compressor supply, a fresh backing pad, and a sensible grit progression will save more time than raw aggression ever will. Shape the filler with patience, check the panel often, and let the surface tell you when it is ready for the next step.







 AIR REGULATORS

 ACCESSORIES