Shopping Cart
(0)
Free shipping included — no minimum on any US order

Quick Search:

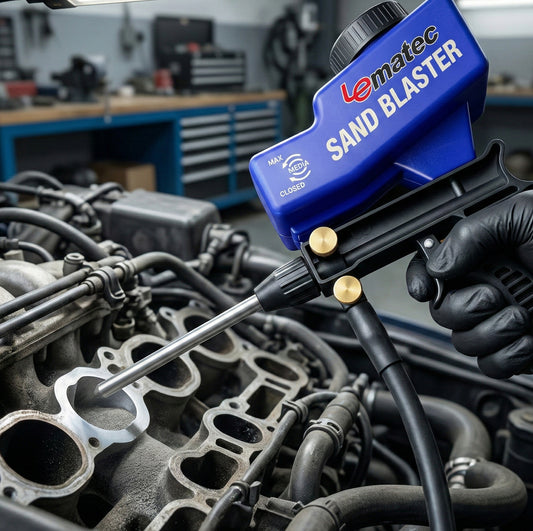
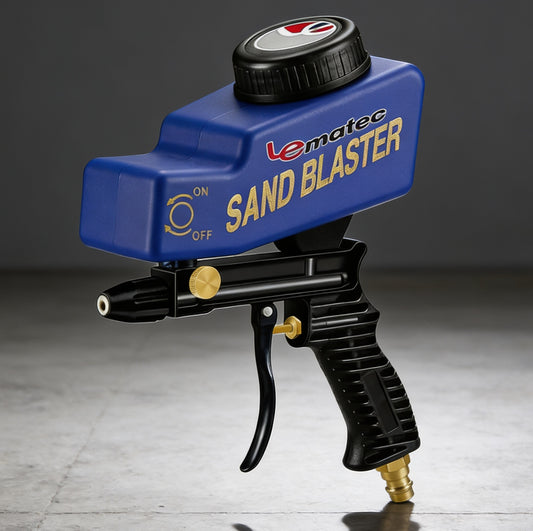

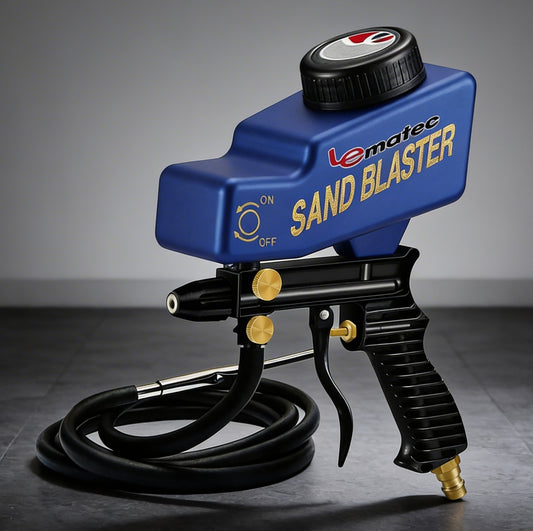

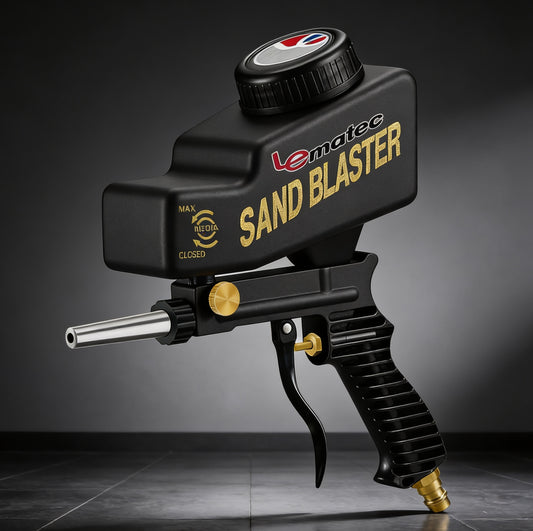
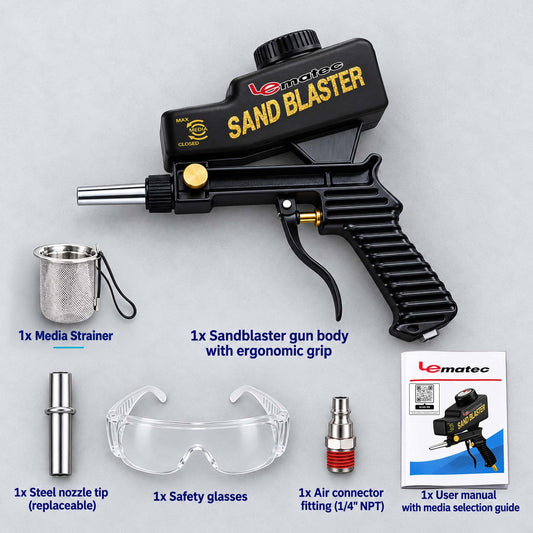

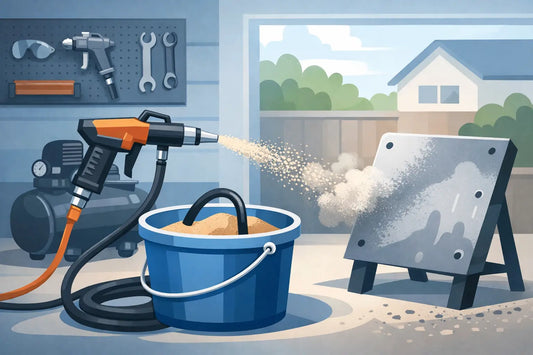
A sandblaster rarely quits without warning. More often, the blast pattern gets uneven, media flow turns inconsistent, or your compressor runs harder than it should. This sandblaster parts replacement guide helps you identify what is wearing out, replace it before it stops the job, and avoid the common mistake of ordering a part that does not match your setup.
For automotive cleanup, rust removal, paint prep, and fabrication work, uptime comes down to a few high-wear components. Keep those parts in working order, and your blasting setup stays productive instead of becoming the reason a project gets delayed.
Replacing parts at random costs time and can hide the real problem. Start by watching what changed while blasting. A weak or pulsing stream may point to a clogged nozzle, damp media, a leaking pickup tube, or insufficient airflow. A worn nozzle can also make a capable compressor seem undersized because the enlarged opening consumes more air than it should.
If the gun will not pull media, inspect the pickup tube, hose connections, and the media itself before replacing the gun. Fine media packed with moisture will bridge in a hopper or pot and restrict flow. On a pressure blaster, a worn or contaminated metering valve can create the same stop-and-start behavior.
Air leaks deserve attention early. A loose fitting, cracked hose, damaged gasket, or worn valve seal lowers pressure at the nozzle. You may still see a blast stream, but cleaning speed falls off and media use goes up. Find leaks with the air off first, then confirm connections are properly sealed and tightened for the equipment.
Abrasive media is designed to remove material. It also wears the parts it travels through. Inspection intervals depend on media type, pressure, nozzle material, and how many hours the equipment runs. Aggressive media such as aluminum oxide and steel grit generally wears components faster than softer media like soda or walnut shell.
The nozzle is the first part to check when performance drops. Its internal bore gradually enlarges, reducing velocity and increasing air demand. You may notice a wider blast pattern, slower stripping, or a compressor that cannot maintain operating pressure.
Compare the bore to the manufacturer’s stated size when possible. If the opening is visibly oval, chipped, or noticeably larger than spec, replace it. Do not select a nozzle solely because its threads fit. Nozzle size must match your compressor output and the air hose feeding the blaster.
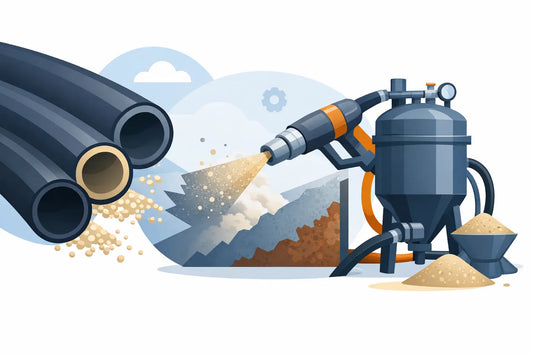
Nozzle material is a practical trade-off. Ceramic nozzles cost less and work well for occasional jobs, but they wear quickly under heavy use. Tungsten carbide and boron carbide cost more upfront but last far longer in frequent production blasting. For a shop that blasts regularly, a longer-life nozzle often costs less over time because it holds its size and keeps performance predictable.
On siphon-feed equipment, the air jet and nozzle work as a pair to create the vacuum that pulls abrasive into the airstream. Wear, blockage, or incorrect alignment in either part weakens pickup. Inspect the air jet for debris and damage before replacing the entire gun assembly.
A trigger that sticks, leaks, or will not fully shut off usually needs a valve seal, spring, or complete trigger valve replacement. Inspect the gun body for cracked threads, damaged sealing surfaces, and stripped nozzle connections. A replacement gun can be the faster fix when several internal pieces are worn, but a simple seal kit makes sense when the body and valve components are otherwise sound.
Check hoses from end to end. Replace any hose with soft spots, cuts, kinks that do not relax, worn couplings, or abrasion deep enough to expose reinforcement. A media hose can wear from the inside even when its outside looks acceptable, especially near fittings and bends.
Use a hose rated for abrasive blasting, not a standard air hose. Blast media quickly damages hose that was only designed to carry compressed air. Match the inside diameter to your equipment requirements as well. Restricting the air side with undersized hose can reduce nozzle pressure and make the whole system feel weak.
Siphon tubes wear at the intake end and can develop cracks that prevent reliable media pickup. Replace a tube when it is split, heavily worn, clogged beyond cleaning, or no longer reaches the proper position in the media.
Pressure blasters rely on a metering valve to control abrasive flow. If adjustment no longer changes the mix, inspect the valve for worn seats, packed media, and damaged threads. Hopper lids, tank gaskets, and inspection-port seals also matter. Any air leak above the media reduces the pressure needed to move abrasive consistently.
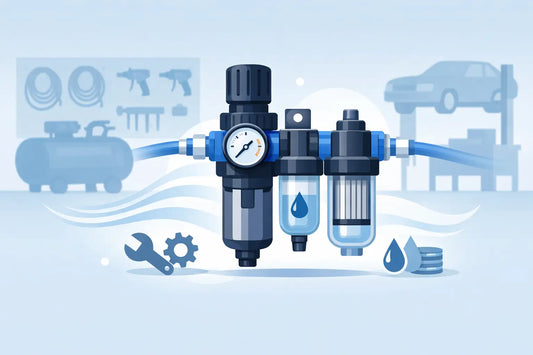
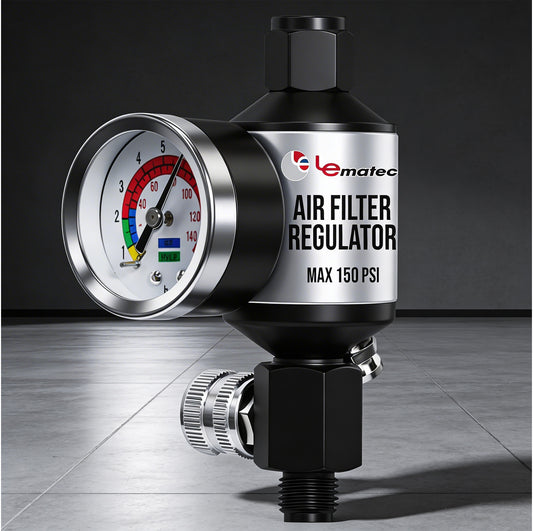
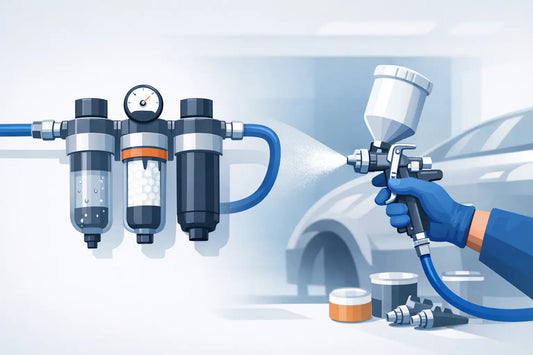
Wet air creates clogs, media clumping, and premature corrosion. If media is sticking in the system, inspect your filter, water separator, drain valve, and regulator before blaming the blaster. Drain the compressor tank regularly and position moisture control close enough to the blasting equipment to be useful.
Filters and separators are service parts, not permanent fixtures. Replace filter elements when they are contaminated or airflow is restricted. If your compressor produces significant moisture during long runs, improve the air-drying setup rather than repeatedly fighting plugged media lines.
Part compatibility is where many repairs go wrong. Similar-looking nozzles, valves, and guns can have different thread sizes, bore dimensions, mounting styles, or operating requirements. Before ordering, record the equipment make and model, then measure the old part if the original specification is unavailable.
For nozzles, confirm thread style, overall length, bore size, and the type of nozzle holder. For hoses, verify inside diameter, length, connection type, and whether the line carries air, media, or both. For valves and gaskets, match the exact assembly location and sealing dimensions. A photo of the removed part beside a tape measure is useful when comparing replacements.
Do not oversize a nozzle to make a job go faster unless the compressor can support it. A larger nozzle can deliver more production, but only with enough CFM at the required PSI. If air supply falls behind, pressure at the nozzle drops and blasting slows down. In many garage setups, using the correct smaller nozzle and maintaining dry, clean air delivers better real-world results.
Shut off the air supply, disconnect the blaster, and fully depressurize the tank before servicing any component. Wear eye protection and gloves when handling used parts and abrasive residue. If you are opening a pressure pot, verify the pressure gauge reads zero before removing fittings or the lid.
Clean the surrounding area before removing a nozzle, valve, or hose. Dirt caught in threads or seals can create a new leak immediately after the repair. Install replacement parts without forcing cross-threaded fittings, use the correct sealing method for the connection, and avoid overtightening brittle nozzle materials.
After reassembly, run a short test using dry media. Check for air leaks, stable pressure, consistent media flow, and normal trigger response. Make small metering adjustments instead of opening the abrasive valve all the way. Too much media can choke the stream, waste abrasive, and reduce cutting action.
The right spare parts depend on your machine, but frequent users should keep the components most likely to stop work on hand. That usually means a compatible nozzle, nozzle washer or holder, trigger valve seals, hose couplings, pickup tube, and filter element. If you run a pressure pot, add the correct tank gasket and key metering-valve service parts.
This is not about stocking every possible component. It is about avoiding a one-dollar seal or worn nozzle turning a weekend restoration or scheduled shop job into a waiting game. Label spares by machine and model so they do not get mixed with parts from another gun or blaster.
Pro Air Tools makes it easier to keep blasting systems supplied with sandblasting equipment, media, accessories, and air-control components, backed by a 36-month warranty and fast order fulfillment.
Treat blast performance changes as maintenance signals, not something to work around. A quick inspection of the nozzle, hoses, seals, and moisture controls can protect your compressor, cut media waste, and keep the next panel, bracket, or frame moving through the job.


 AIR REGULATORS

 ACCESSORIES