Shopping Cart
(0)
Free shipping included — no minimum on any US order

Quick Search:
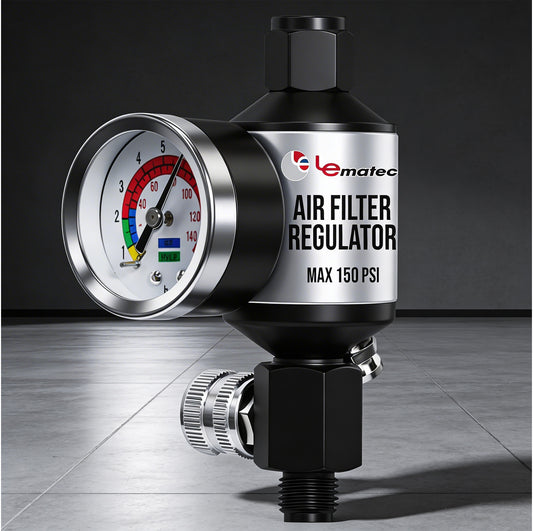
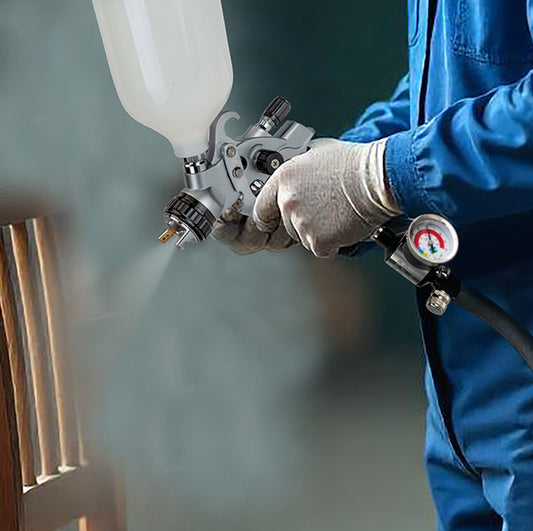




A paint job can look clean through the first coat, then suddenly show fish eyes, blushing, uneven gloss, or debris in the clear. Many of those problems start upstream, not at the spray gun. The right air filter separator for painting removes the water, oil, and particles that compressed air picks up before they reach your finish.
For bodywork, equipment refinishing, cabinet work, and serious DIY projects, clean air is not an optional add-on. It is part of the paint system. A quality gun, correctly mixed material, and good prep can still produce a disappointing result if the air line is sending contamination into the atomized paint.
Atmospheric air always contains moisture. When your compressor pulls that air in and compresses it, the moisture becomes concentrated. As the air cools in the tank, piping, and hose, that moisture condenses into liquid water. If the compressor is oil-lubricated, small amounts of oil vapor can also travel through the system.
Rust flakes from a tank, scale from old fittings, and dirt pulled in through a damaged hose add another source of trouble. The problem is worse on humid days, during long spray sessions, and when a small compressor runs constantly trying to keep up with the gun's air demand.
Water in the line can cause sputtering, poor atomization, cloudy finishes, and weak adhesion. Oil contamination is especially frustrating because it can create fish eyes or craters that force you to stop, clean the panel, and start over. Particles leave nibs and roughness that show up under glossy paint.
A basic regulator with a bowl catches some moisture, but it is not automatically a complete paint-air solution. The correct setup depends on the finish you need, the type of compressor you run, and how long the air has to cool before it reaches the gun.
An air filter separator removes liquid water and solid debris from compressed air. Inside the filter, airflow is directed so larger water droplets and particles separate from the air stream and collect in the bowl. A drain then removes that collected moisture.
For general shop use, a water separator is a major improvement over running straight from the tank. For painting, it is usually the first stage rather than the only stage. Fine oil aerosol and extremely small contaminants can pass through a standard particulate and water filter.
That is where a coalescing filter matters. It captures finer oil mist and particles by combining tiny droplets into larger ones that drain from the element. For high-end finish work, a final desiccant dryer near the spray area can remove remaining moisture vapor that a standard separator cannot catch.
The key distinction is simple: a separator handles bulk water and debris; a coalescing filter handles fine oil and aerosol; a desiccant stage handles water vapor. You may not need all three on every job, but knowing what each one does prevents expensive guesswork.
A reliable system starts at the compressor and gets progressively cleaner as air moves toward the gun. First, drain the compressor tank. Then give the air time and distance to cool before it reaches your main filter. Hot compressed air holds moisture as vapor, which means a separator cannot remove water that has not condensed yet.
In a fixed shop, run a length of metal pipe with a slight slope away from the compressor, then install a drop leg before the main filter and regulator. The drop leg lets condensed water fall out of the air stream instead of continuing down the line. Drain it regularly. Avoid using a short, direct line from the tank to the filter when you can, because the air may still be too hot for effective moisture separation.
For a portable setup, use a quality water separator and regulator at the compressor outlet, followed by a longer air hose. Add a final filter at the wall connection or near the paint booth area. A disposable mini filter at the gun can provide one last line of defense, but it should not be expected to fix a wet, contaminated air supply on its own.
For most paint work, this order is practical:
A filter separator that is too small can restrict airflow. When that happens, pressure drops as soon as you pull the trigger, changing the gun's pattern and atomization. You may try to correct the issue by turning up the regulator, only to find that pressure shifts again during a long pass.
Check the air consumption rating of your spray gun and compare it with the filter's rated flow at the pressure you plan to use. Give yourself room above the gun's stated CFM requirement. Real-world airflow changes with hose length, fittings, quick-connect style, filter condition, and whether the compressor is running at the same time.
Pay attention to port size as well. A small filter with restrictive ports may be fine for an airbrush or touch-up gun, but it can become a bottleneck for a full-size HVLP or conventional gun. Larger ports and higher flow capacity help maintain stable pressure, particularly when spraying primer, high-build material, or a full vehicle panel.
The regulator should be easy to read and adjust. Set pressure with the trigger pulled, not with the gun sitting idle. Static pressure at the regulator does not tell you what the gun sees while air is flowing. Use the gun manufacturer's recommended inlet pressure as your starting point, then verify the pattern on a test panel.
Installing a good separator directly on a hot compressor outlet often delivers disappointing results. The separator cannot catch moisture that is still suspended as hot vapor. More cooling time gives it a better chance to work.
At the same time, placing every filter far from the spray area has limits. Long hoses can cool air further and create more condensation downstream. That is why a staged arrangement works well: a main separator handles the bulk water, while a final stage close to the gun catches what develops later in the line.
Mount filters upright, with the bowl below the airflow path, and make sure the drain is accessible. If you cannot see the bowl or reach the drain, maintenance will get skipped. Automatic drains are useful for high-use systems, but manual drains are perfectly effective when checked consistently.
Keep the equipment away from direct overspray and shop dust. A contaminated filter exterior may not affect airflow immediately, but paint mist can make the bowl hard to inspect and turn routine service into a mess.
Clean air equipment only works when it is serviced. Drain the compressor tank at the end of the day or after a high-humidity session. Empty filter bowls before they fill. Replace elements according to their condition and the manufacturer's service guidance, especially coalescing and desiccant elements.
Watch for warning signs. Water in the bowl right after you drained it can mean the compressor is producing heavy moisture or the system needs more cooling distance. A pressure drop across the filter can point to a loaded element. Oily residue in a bowl, hose, or fitting may indicate compressor carryover, excessive tool oil, or a damaged hose being used on the paint side.
If you are spraying intermittently, check the system before mixing material. Run air through the hose into a clean white rag or onto a piece of masking paper for several seconds. Any wet spot, oily mark, or visible debris is a reason to stop and correct the air supply before paint goes into the gun.
A small water separator may be enough for occasional primer work on a dry day, provided the compressor tank is drained and the air line is clean. Basecoat, clearcoat, single-stage gloss, and detail work demand more control. The higher the finish standard, the less sense it makes to rely on one inexpensive filter at the compressor.
Shop conditions matter too. In a dry climate with a large, lightly loaded compressor, a separator and coalescing filter may cover most jobs. In a humid garage with a small compressor that cycles constantly, adding cooling distance and a final desiccant stage can save far more time than it costs.
Pro Air Tools customers often build their air systems one practical improvement at a time: start with dependable water separation, protect the line with the right filter stages, and keep a dedicated hose for paint. Clean, dry air gives your spray gun a fair chance to do its job, so the finish reflects your prep work instead of the condition of your compressor.







 AIR REGULATORS

 ACCESSORIES