Shopping Cart
(0)
Free shipping included — no minimum on any US order

Quick Search:

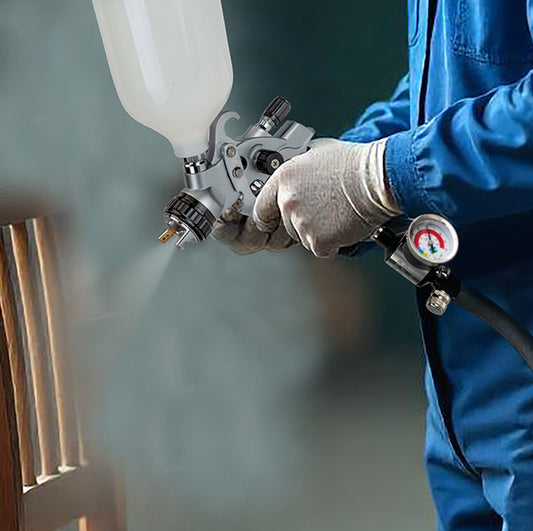
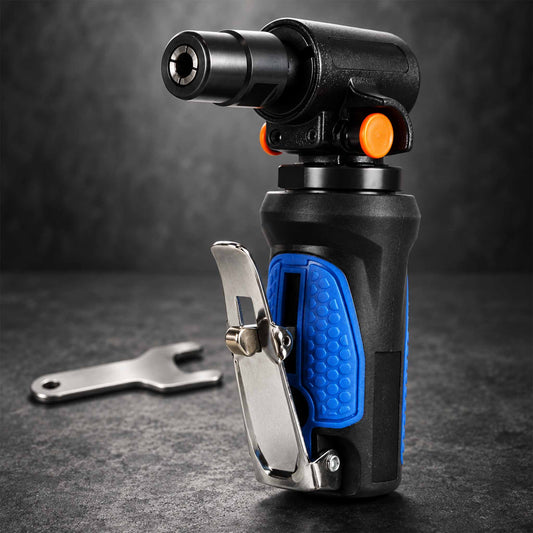
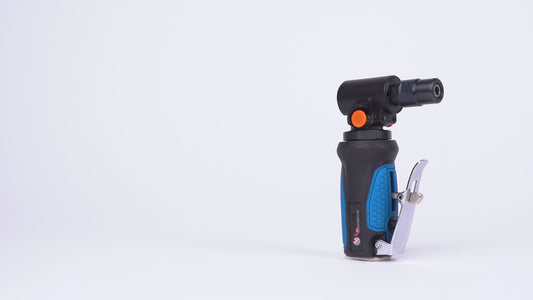

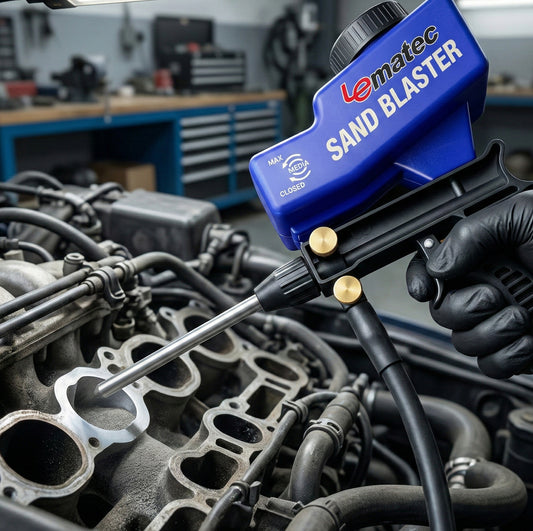
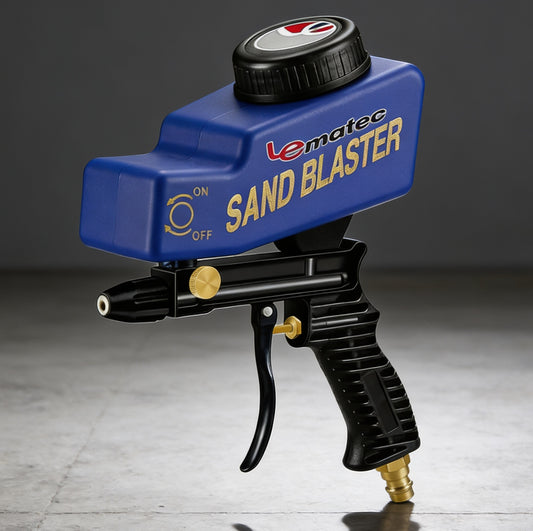

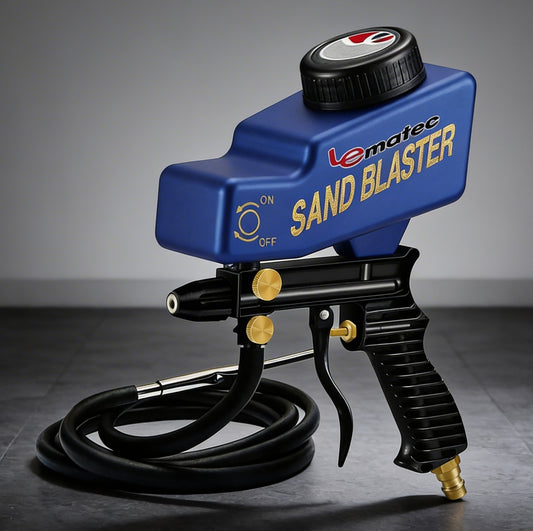

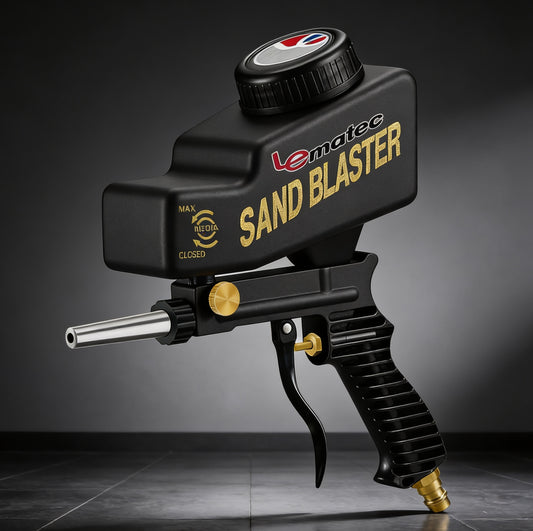
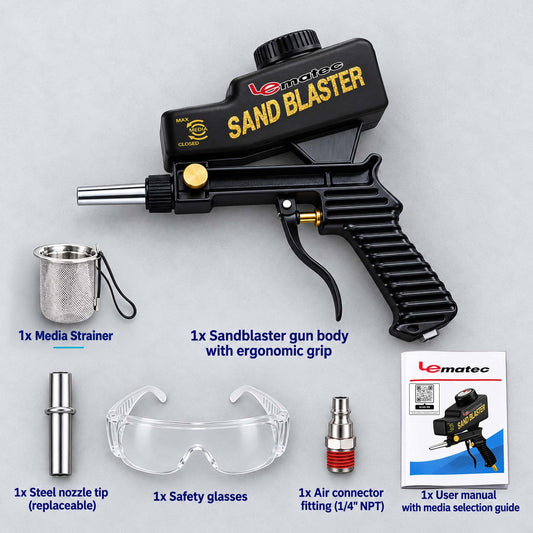

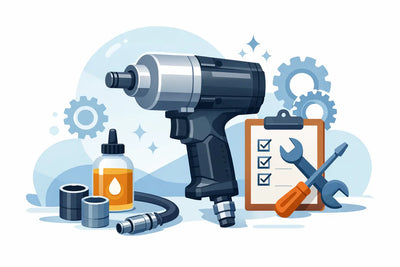
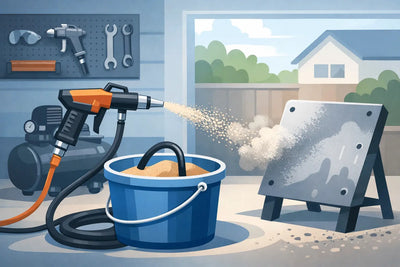
An impact wrench that suddenly loses torque, a grinder that starts running rough, or a sandblaster that spits wet media usually did not fail without warning. In most cases, moisture, dirty air, low lubrication, or a small air leak was allowed to build up over time. This pneumatic tool maintenance schedule checklist gives your shop a practical routine for keeping air tools ready when the job cannot wait.
The goal is not to over-service every tool. It is to catch the few problems that cause most downtime before they turn into expensive repairs, ruined finishes, or a stalled project.
Your pneumatic tool is only as reliable as the air reaching it. A well-built impact wrench or die grinder will still perform poorly when fed wet, dirty, restricted, or under-pressurized air.
Before setting a schedule for individual tools, inspect the compressor, hose, couplers, regulator, and filter setup. Drain moisture from the compressor tank regularly. In humid shops, daily draining may be necessary. In dry climates or light-duty home garages, you may get away with checking it weekly, but do not assume the tank is dry because the compressor has not been used much.
Water in the system causes internal corrosion, washes away lubrication, and can contaminate paint-prep work or sandblasting media. A filter and water separator installed near the compressor helps, but a point-of-use filter or regulator close to the tool gives better protection on long air lines.
Check operating pressure while the tool is running, not just when the trigger is released. Pressure drop under load can make an air ratchet feel weak or leave a cutoff tool struggling through material. The problem may be a restricted fitting, undersized hose, a clogged filter, or a compressor that cannot meet the tool's CFM demand.
For tools used through a full shift, these checks take only a few minutes and protect the parts that wear fastest. For weekend or occasional users, complete them before and after each project instead.
Do not use motor oil, penetrating oil, or heavy grease as a substitute. These products can gum up internal vanes and seals. Also, do not oil a tool labeled oil-free or one used in a dedicated paint or finishing air line unless the manufacturer specifically calls for it. Oil mist and paintwork do not mix.
A weekly inspection is where small, easy fixes prevent major air loss and tool damage. Start by checking every hose connection. A faint hiss at a coupler can waste enough air to affect performance across the shop, especially when multiple tools are in use.
Apply a leak-detection solution to suspect fittings while the system is pressurized. Bubbles point to the problem. Tightening may solve it, but replace cracked couplers, worn O-rings, and damaged hose ends rather than trying to stretch their service life. A failed fitting can whip a hose and stop work fast.
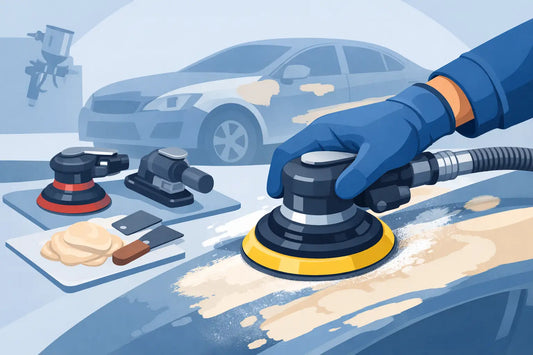
Inspect tool-specific wear points as well. On grinders and sanders, check the backing pad, guard, spindle, and abrasive attachment. A torn pad or damaged guard can create vibration that is hard on both the tool and the operator. On impact wrenches, inspect the anvil, retaining ring, sockets, and square drive for wear. On pneumatic hammers, verify that the retainer holds chisels securely.
For tire inflators, confirm that the gauge reads consistently against a known-good gauge. For air drills and cutters, check the chuck or blade retention hardware. A tool that technically runs but cannot hold its accessory securely is not ready for work.
Once a month, give frequently used tools a closer inspection. Remove loose dust and residue from ventilation areas and external moving points. Check the trigger for smooth travel and make sure the throttle returns fully when released. A sticky trigger is not a minor annoyance. It is a safety issue.
Inspect the exhaust area for heavy oil discharge, moisture, or unusual contamination. A light oil mist may be normal for lubricated tools, but excessive discharge can indicate over-oiling or internal wear. If a tool still feels weak after verifying air pressure, hose size, and lubrication, its internal vanes, seals, or bearings may need service.
Replace dirty filter elements based on their condition, not just the calendar. A shop doing bodywork, fabrication, or sandblasting may load filters much faster than a garage using an air tool twice a month. Filter restriction reduces flow and can mimic a failing tool.
This is also a good time to inspect your lubricator, if your line uses one. Make sure it is adjusted correctly and filled with the proper air-tool oil. Keep paint, media blasting, and other contamination-sensitive tasks on a separate clean, dry air line when possible.
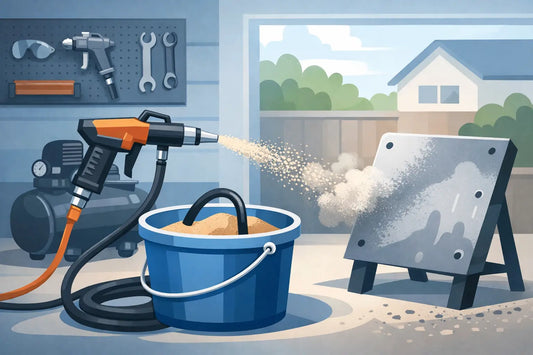
Sandblasting equipment is less forgiving than many standard air tools. Moisture can clump media, clog pickup tubes, and create inconsistent flow. A few minutes of maintenance after blasting saves a lot of frustration on the next job.
After each use, shut off the air supply, relieve pressure, and empty or properly store remaining media according to its type and condition. Moist or contaminated media should not be left in the hopper. Clean the nozzle, gun, pickup tube, and metering valve area so abrasive does not harden in place.
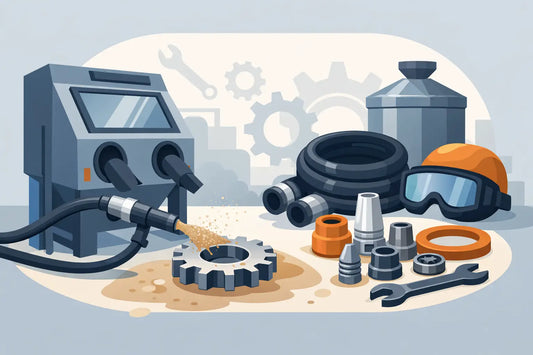
Weekly, inspect hoses for abrasion and check nozzle wear. As a blast nozzle wears larger, it consumes more air and can make a properly sized compressor seem inadequate. Replace it when the opening is visibly enlarged or blasting performance becomes inconsistent. Also inspect gloves, cabinet seals, window protectors, and dust collection connections on cabinet systems.
Keep blasting media dry and sealed between uses. Even quality media becomes a problem when it absorbs moisture from an unconditioned shop.
A maintenance schedule is not one-size-fits-all. A small-shop mechanic using an impact wrench all day needs a tighter routine than a DIY user hanging shelves once a month. High humidity, long hose runs, older compressors, and dusty fabrication work all increase the need for inspections.
Increase checks when you notice repeated moisture in filters, pressure drops, unusual tool noise, or more frequent accessory failures. If your setup includes a new compressor, hose size, regulator, or filtration system, recheck tool performance under load. A system change can solve one restriction while exposing another.
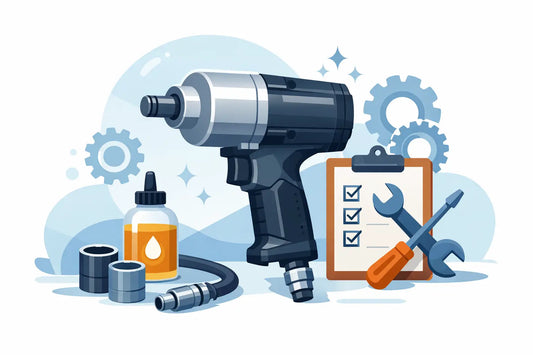
Keep a simple service note near the compressor or in the shop log. Record filter changes, hose replacements, tool service, and recurring issues. Patterns matter. If the same grinder repeatedly loses power, the cause may be the shared air line rather than the grinder itself.
Reliable tools start with a routine you can actually follow. Stock the small items that stop jobs - air-tool oil, spare couplers, O-rings, filters, hose repair parts, and the right accessories - so a minor maintenance issue does not turn into a lost day. Pro Air Tools is built around getting those jobsite essentials to your door quickly, but the best warranty is still the maintenance habit that keeps your tools working in the first place.




 AIR REGULATORS

 ACCESSORIES