Shopping Cart
(0)
Free shipping included — no minimum on any US order

Quick Search:

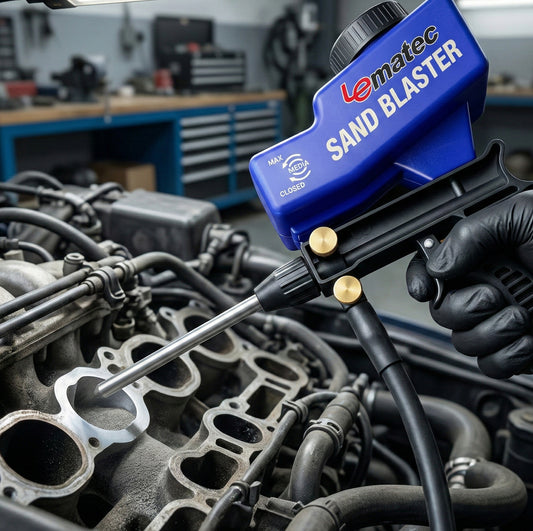
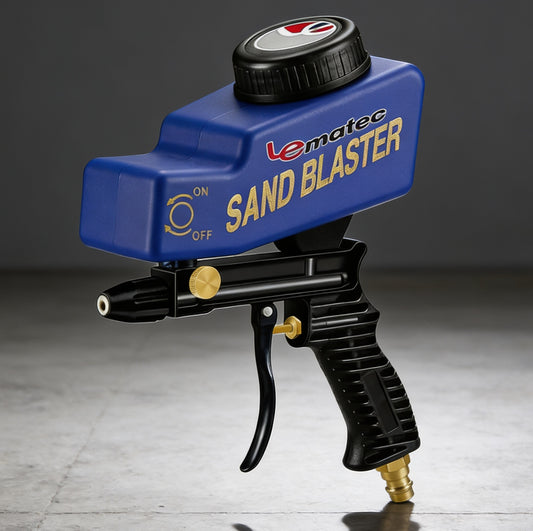

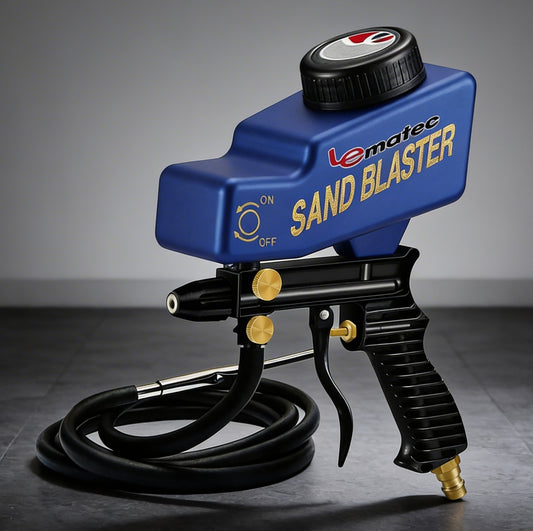

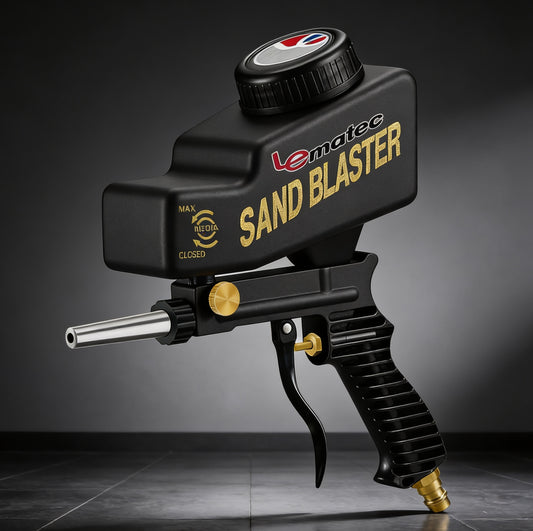
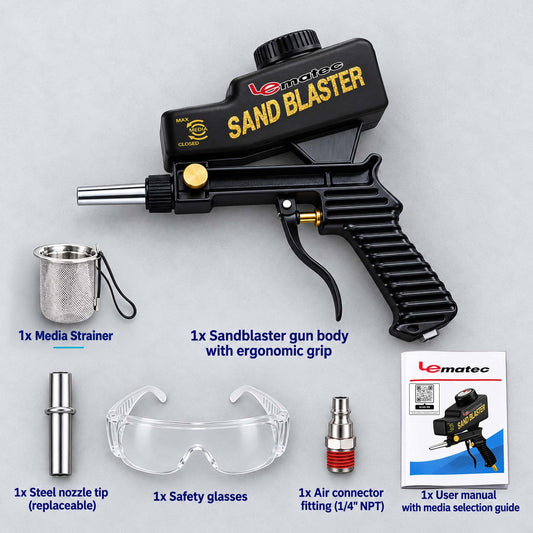

A siphon sandblaster can strip rust from a bracket in minutes, but only when air volume, media flow, and moisture control are working together. If the gun spits media, loses cutting power, or clogs after a few passes, the problem is usually in the setup, not the blaster itself. Learning how to setup a siphon sandblaster correctly saves media, reduces cleanup, and gets you a more even surface for paint, coating, or welding.
A siphon blaster uses compressed air passing through the gun to create suction that pulls abrasive from a hopper, bucket, or pickup tube. That simple design is affordable and easy to service, but it is demanding on your air supply. Air pressure matters, yet available CFM is what keeps the blaster working once the trigger has been held for more than a few seconds.
Check the blaster's recommended CFM at its working pressure, commonly around 80 to 100 PSI. Then compare that requirement with your compressor's delivered CFM rating, not the larger displacement number shown in marketing specs. A compressor that cannot maintain airflow will cause pressure to fall, media pickup to weaken, and blasting speed to drop sharply.
For small parts and short bursts, a capable portable compressor may be enough. For frames, wheels, cabinets, and longer jobs, a larger tank and higher-CFM compressor make the work far more productive. If your compressor is marginal, use a smaller nozzle and blast in shorter intervals rather than turning pressure up beyond the tool's rating.
Set the compressor regulator to the pressure specified for your gun and media. Start near the lower end of the range, test on scrap steel, then increase only as needed. Excess pressure can fracture reusable media, wear the nozzle faster, and create unnecessary dust.
Moisture is the most common cause of a siphon sandblaster that surges, spits, or stops feeding. As compressed air cools in the tank and air line, water condenses. That water reaches the abrasive, turns fine particles into clumps, and blocks the pickup tube or nozzle.
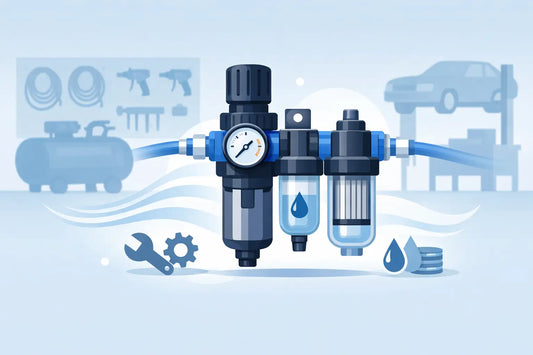
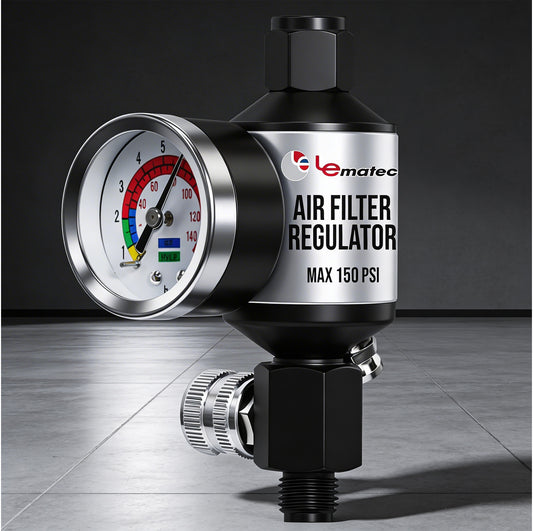
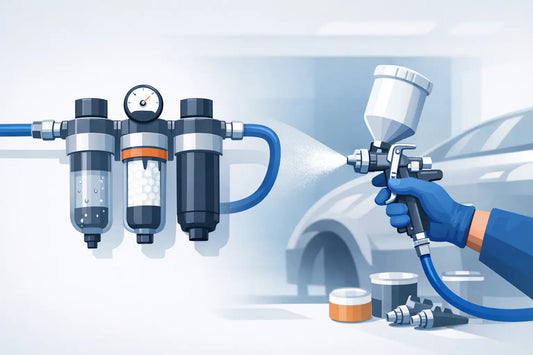
Drain the compressor tank before starting and again during extended work. Install a water separator close to the compressor, then use a quality air filter or desiccant dryer closer to the blaster when conditions are humid. A regulator with a gauge at the work end also lets you see the actual pressure reaching the gun.
Keep the air hose as short and unrestricted as the job allows. A 3/8-inch inside-diameter hose is a practical starting point for many siphon blasters. Long, narrow hoses and restrictive quick-connect fittings can reduce airflow enough to make an otherwise capable setup feel weak.
Do not use beach sand, play sand, or unknown sand as blasting media. Sand can contain crystalline silica, and airborne silica dust is a serious respiratory hazard. It can also be inconsistent in size and moisture content, making feeding problems more likely.
Choose media based on the material and finish you need. Aluminum oxide cuts aggressively and works well for rust, paint, and steel preparation. Crushed glass is a strong general-purpose option for cleaning metal. Glass bead produces a smoother satin finish on suitable parts, while walnut shell or soda is better for delicate surfaces where aggressive cutting would cause damage.
Use media that matches the nozzle size and is completely dry. Fine media may bridge in the hopper if it has absorbed moisture, while oversized media can lodge in the pickup tube. Screen reclaimed media before reuse to remove paint chips, rust flakes, and broken-down abrasive. Reusing media can lower cost, but only when it remains clean and cuts effectively.
Place the blaster where the pickup tube can reach the media without kinking or pulling sideways. For a hopper-fed unit, make sure the hopper is stable and the outlet is fully covered with abrasive. For a pickup-tube setup, use a clean bucket or container deep enough to keep the tube buried while you work.
Connect the air hose to the gun or blaster inlet using fittings that seal properly. Wrap threaded fittings with thread sealant where appropriate, but do not allow tape fragments to enter the air passage. Connect the media hose or pickup tube securely to the gun. A loose connection creates an air leak that reduces suction and makes feeding inconsistent.
Fill the hopper or media container with dry abrasive. Do not overfill a small hopper, since packed media may not flow freely. Position the pickup tube so its open end sits in the media, not against the bottom of the container. If the tube has an air-bleed hole, keep that hole clear. It helps regulate pickup and prevents the system from pulling too much abrasive.
Before aiming at the workpiece, point the nozzle into the blast cabinet or safe blast area and squeeze the trigger for a short test. You should hear a steady rush of air and see a consistent media stream. If air flows but no media appears, check the pickup tube for blockage, confirm the tube is buried in media, and look for leaks at the hose connections.
Test the pattern on scrap material. Hold the nozzle roughly 6 to 12 inches from the surface and begin at a slight angle rather than straight on. Move in overlapping passes at a steady pace. Stay too long in one spot and you can heat thin metal, gouge soft materials, or leave an uneven profile.
Blasting throws abrasive, coating debris, and dust well beyond the immediate work zone. A blast cabinet is the cleanest option for small parts. For larger work, use a contained outdoor area or a designated blast space with good ventilation and a cleanup plan. Do not blast near vehicles, open doors, fresh paint, or equipment that cannot tolerate abrasive dust.
Wear a properly rated respirator for the media and coating being removed, along with sealed eye protection, gloves, hearing protection, long sleeves, and sturdy footwear. A basic dust mask is not enough for blasting dust. If you are removing old paint, verify whether lead or other hazardous coatings may be present and follow the required safety procedures.
Keep bystanders out of the area. Disconnect the air supply before changing nozzles, clearing a clog, or servicing the pickup tube. Never point a loaded blaster at skin, even when you believe the trigger is released.
When a siphon blaster loses performance, work through the simple checks first. Confirm tank pressure is stable while the trigger is pulled. If pressure collapses, the compressor or air hose is undersized for the nozzle. If pressure stays stable but flow fades, inspect for wet media, a clogged pickup tube, or a worn nozzle.
Nozzles wear from the inside, often without looking damaged from the outside. As the opening grows, air velocity changes and the gun may consume more air while cutting less effectively. Replace worn nozzles rather than compensating with extra pressure or more aggressive media.
If the blaster pulses, drain the tank and filter, dry the media, and inspect every connection between the gun and pickup tube. A small air leak on the media side can stop the siphon action entirely. Keep spare nozzles, pickup tubes, and filters on hand if blasting is part of regular shop work. That is a small investment compared with stopping a job halfway through.
A clean air path, dry media, and a compressor sized for continuous demand are the difference between fighting a siphon blaster and putting it to work. Set it up carefully once, keep the consumables dry, and your next rust-removal or surface-prep job will move a lot faster.



 AIR REGULATORS

 ACCESSORIES