

Shopping Cart
(0)

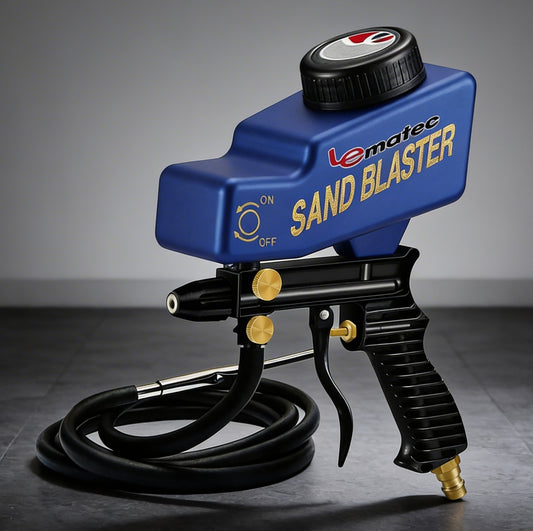
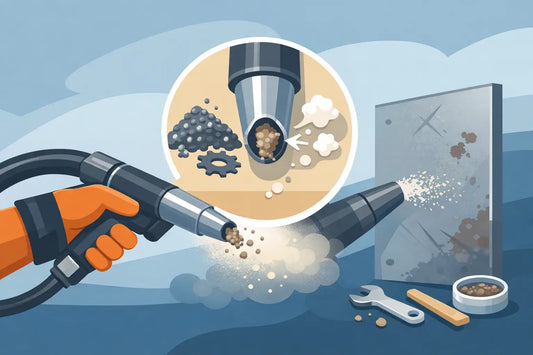
Sand Blasting: Cleaner Metal, Faster Prep
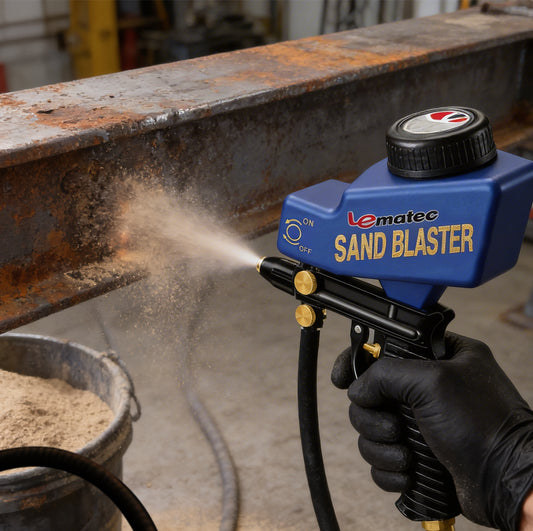
If you have ever tried to strip a frame rail with a wire wheel, you know the moment it stops being “cleanup” and becomes “why did I start this.” Sand blasting is the opposite experience when the setup is right. It is fast, consistent, and it reaches corners, pits, welds, and textured surfaces that hand tools just skate over.
Sand blasting is also one of the easiest ways to burn time and money when the setup is wrong. The difference usually comes down to three things: matching the media to the job, feeding the blaster enough air, and controlling moisture. Get those right and your finish work - primer, paint, powder, coating adhesion - gets easier.
What sand blasting actually does (and why it works)
At its core, sand blasting is controlled abrasion. Media is accelerated by compressed air and impacts the surface to remove contaminants and create a uniform profile. That profile is the “tooth” coatings need to bite and hold.
Two realities matter here. First, blasting is not just cleaning - it is surface engineering. A surface that looks clean can still be too slick for coatings if it was polished or burnished by the wrong media or pressure. Second, more aggressive is not always better. If you distort a thin panel, embed media, or over-profile the surface, you can create new problems that show up later as waves in paint, premature rust, or coating failure.
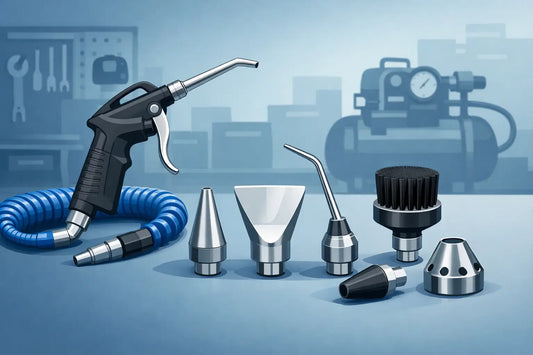
Choosing media: the job decides the abrasive
The fastest way to get good results is to stop thinking in terms of “one media for everything.” Media choice depends on base material, coating type, desired surface profile, and how much you care about dust and cleanup.
For heavy rust and scale on thick steel, you can run a more aggressive abrasive and let it eat. For automotive body panels, you generally want a media and pressure that will remove paint without warping the metal. For aluminum, stainless, or parts that will be handled or sealed, you want to avoid embedding and keep the finish controlled.
A few practical rules that hold up in real shops:
If you are stripping paint and light rust, a medium-cut abrasive gives you speed without needing maximum pressure. If you are tackling mill scale, thick corrosion, or a baked-on coating, a sharper, tougher media saves time even if it costs more per pound. If your goal is a smoother finish for cosmetic parts, a less aggressive media can reduce the amount of sanding you do after blasting.
Also decide early whether you will reuse media. A cabinet with reclaim can stretch your abrasive budget and keep the work area cleaner. Open blasting is great for big parts and outdoor work, but it burns through media quickly and cleanup is part of the job.
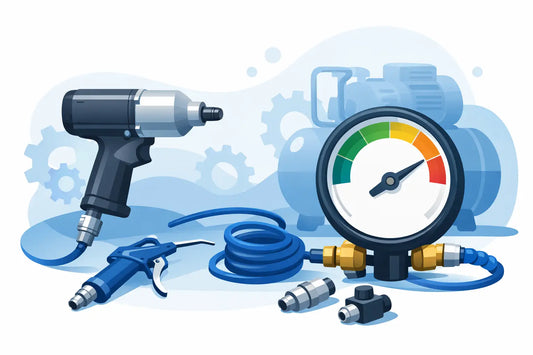
Pressure, nozzle size, and air volume: the triangle you cannot ignore
Most blasting frustrations trace back to the air side, not the blaster. You can have a solid pressure pot or cabinet and still get weak cutting power if the compressor cannot keep up.
Here is the triangle:
Pressure affects impact energy. Nozzle size affects flow. Air volume (CFM) is what makes both sustainable.
A bigger nozzle moves more media and covers more area faster, but it demands more CFM. If you oversize the nozzle for your compressor, you will see pressure sag, the blast pattern gets uneven, and you start lingering in one spot to compensate. That is when heat builds up and thin panels warp.
A smaller nozzle can be the right move for smaller compressors because it keeps velocity up and pressure stable, even if it slows coverage. In practice, steady cutting beats bursty blasting every time. If you are stopping every 30 seconds for pressure recovery, productivity falls off a cliff and your results get inconsistent.
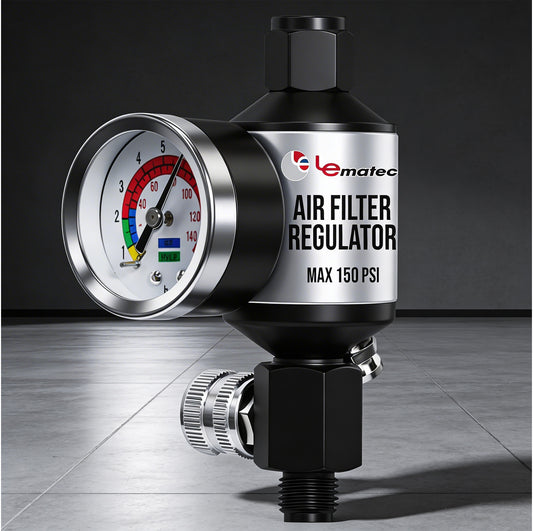
A regulator at the tool is not optional for repeatable results. Set it to what the workpiece needs, not what the compressor can spike to on the first pull of the trigger. For body panels, that often means dialing down and moving faster rather than blasting hot and hoping it does not distort.
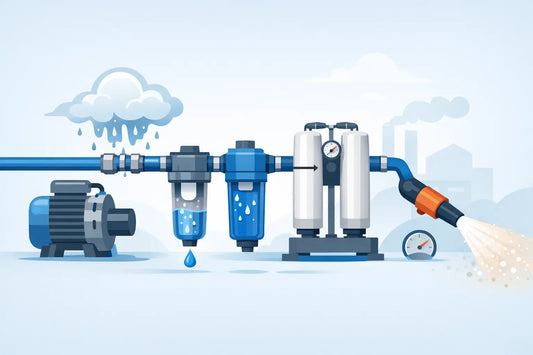
Moisture control: the hidden reason media clumps
Blasting air is high-volume air. High-volume air pulls moisture. Moisture turns media into a problem.
When water gets into the line, you will see media clumping, pulsing flow, and sudden nozzle blockages. In a pressure pot, moisture can cake the abrasive and make the metering valve feel “possessed.” In a cabinet, you will get inconsistent cutting and foggy visibility.
The fix is not complicated, but it has to be intentional. Start with a water separator and filter, then pay attention to where the air cools. Long hose runs, cool floors, and uninsulated pipe can all encourage condensation. If you blast often, consider stepping up your air treatment so the system is predictable year-round.
Also drain your compressor tank like it matters - because it does. A tank that stays wet becomes a moisture generator.
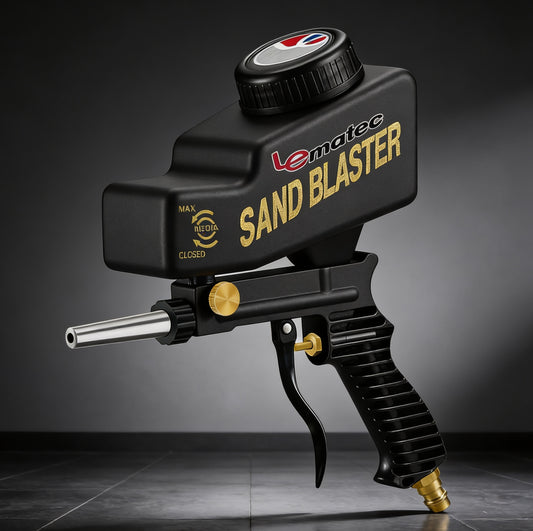
Picking the right blaster for the work
There is no single best blaster. There is the best fit for the way you work.
A cabinet is the cleanest setup for smaller parts, brackets, hardware, and repeat work. You get containment, visibility, and the option to reclaim media. It is ideal when you want to blast, blow off, and move straight to prep and coating without chasing grit across the shop.
A pressure pot blaster is the go-to for larger parts and irregular shapes. It moves more media and removes material faster. It also demands more air and better moisture control. If you are stripping wheels, frames, axles, equipment, gates, or heavy steel, this is usually the tool that makes the job feel reasonable.
A siphon (gravity or pickup tube) setup can be a budget-friendly entry point, especially for light work. But it is typically slower and more sensitive to media condition. If you are doing occasional projects, it can be enough. If you are doing production-level stripping or heavy rust, you will feel the limitations quickly.
Technique: how to get speed without damage
Good blasting looks almost boring. The nozzle distance stays consistent, the angle stays controlled, and the passes overlap. Most surface damage comes from dwelling.
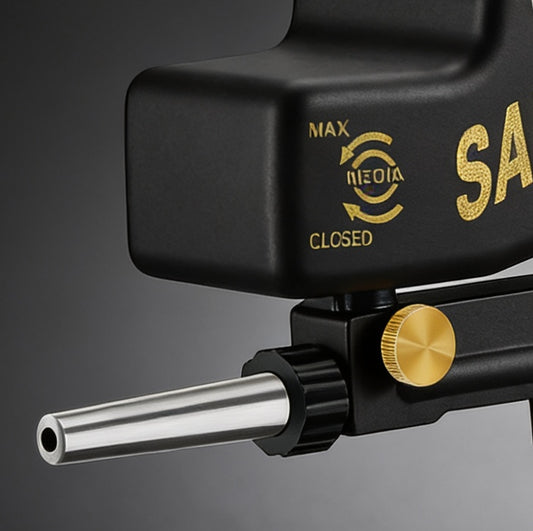
Start by testing on a scrap piece or an inconspicuous area. Adjust pressure first, then media flow. Too much media can actually slow cutting because it disrupts the air stream and reduces velocity. You want a clean, even pattern that cuts steadily.
Keep the nozzle moving. On flat panels, work in passes like you are painting. Overlap slightly and avoid parking the stream in one spot. If you need more bite, do another pass rather than holding still.
Use angle as a tool. A more direct angle hits harder, but it also increases the chance of peening or warping on thin metal. A slight angle can reduce heat buildup and still strip effectively, especially with the right abrasive.
When you are done blasting, blow off thoroughly and avoid touching the surface with bare hands if it is heading straight to primer. Oils and salts are real, and clean blasted steel can flash rust faster than people expect.
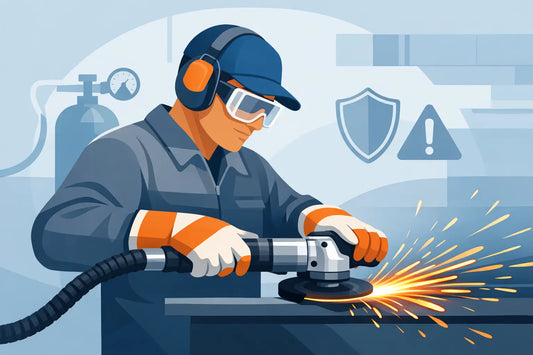
Safety and containment: the parts you do not want to learn the hard way
Blasting is not the place to “tough it out.” Dust and rebound are unavoidable.
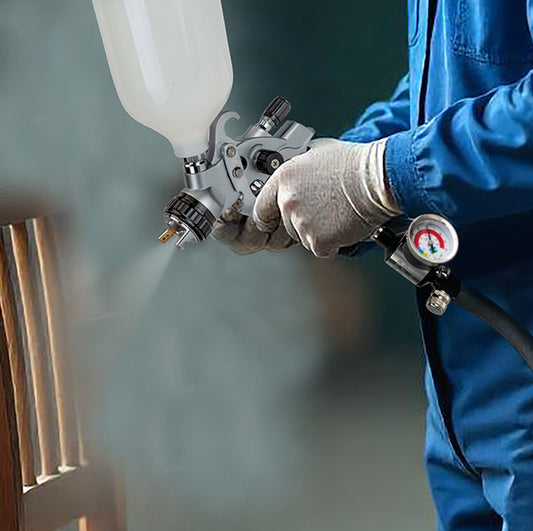
Wear a proper blasting hood or face protection, gloves, and durable clothing. Use hearing protection. Use a respirator rated for fine particulate. If you are blasting coatings you did not apply yourself, assume there could be hazardous dust and handle it accordingly.
Containment matters for cleanup and for everyone else in the shop. Cabinets handle this naturally. For open blasting, tarps and temporary curtains can keep abrasive from migrating. Plan your work area so you are not tracking media into vehicles, toolboxes, or your home.
Common problems and what they usually mean
If cutting power feels weak, check pressure at the nozzle, not just at the compressor. A restriction, undersized fitting, or long hose run can starve the system.
If the blaster surges or spits, suspect moisture or a media feed issue. Dry media and stable air supply fix most “pulsing.”
If the finish looks inconsistent, it is often a mix of uneven distance, fluctuating pressure, or media that has broken down and turned dusty. Consistency comes from stable air and a repeatable hand position.
If you see warping on thin metal, it is usually too much pressure, too aggressive media, or dwelling. Dial down, step back, keep moving, and let multiple passes do the work.
Buying mindset: build a setup that stays productive
A sand blasting setup is only as good as its support gear. A reliable regulator, clean air filtration, and the right media for your typical jobs will do more for your finish quality than chasing the biggest nozzle or the highest PSI.
If you are ordering online, prioritize suppliers that keep consumables in stock, ship fast, and stand behind the gear. Downtime hurts more than paying a little extra for a setup that arrives ready to work. If you want a single place to source blasting equipment, media, and the air accessories that keep it running, Pro Air Tools at https://proairtools.com/ is built for that kind of practical, job-first buying.
The most satisfying part of blasting is not the noise or the dust - it is the moment you wipe a part off and it looks like a clean slate. Set it up so that moment happens every time, and the rest of your project starts moving again.
Shop Professional Air Tools
Factory direct from Le Lematec — professional quality, competitive prices.
Tags:
Related articles

Best Air Blow Gun for Shop Work: How to Choose
Jul 27 2026
How to Set Air Tool PSI for Reliable Performance
Jul 25 2026

A Guide to Air Tool Maintenance Schedules
Jul 23 2026
How to Reduce Moisture in Blast Air Line
Jul 21 2026
How to Use a Pneumatic Angle Grinder Safely
Jul 19 2026
Best Air Blow Gun Attachments for Shop Work
Jul 18 2026
How to Choose a Pneumatic Sander for Bodywork
Jul 13 2026