Shopping Cart
(0)
Free shipping included — no minimum on any US order

Quick Search:

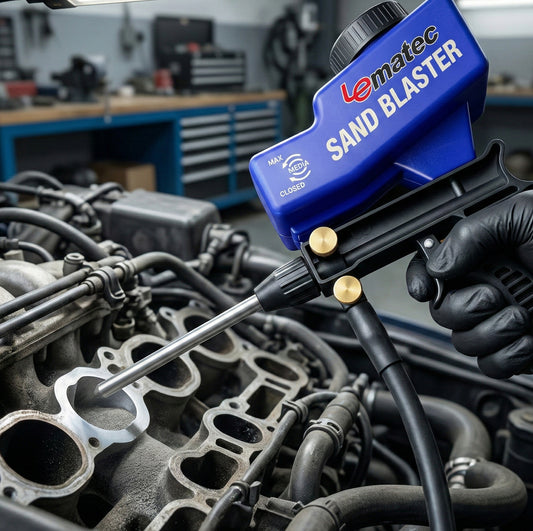


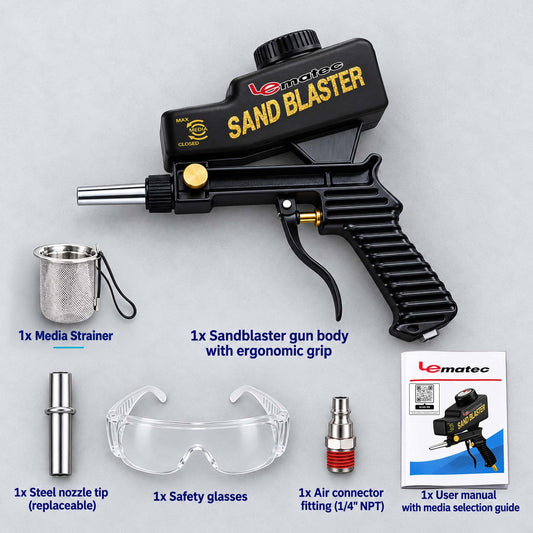

A weld looks good until you have to make it look like it never happened.
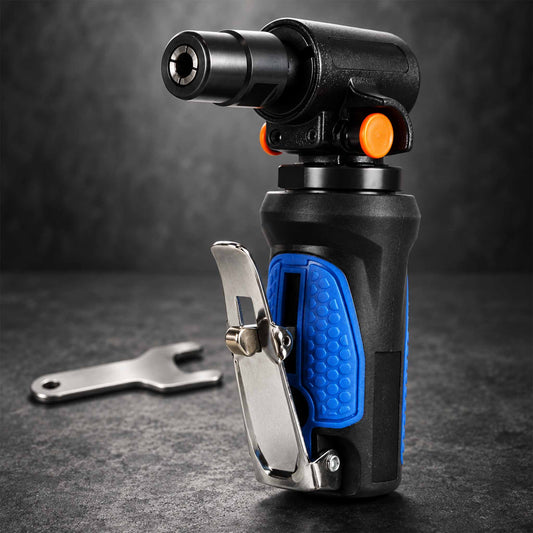
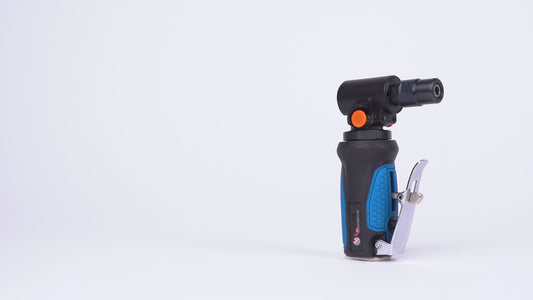
If you do fabrication, exhaust work, brackets, patch panels, or handrail repairs, you already know the moment: the bead is solid, but now you need it flush, smooth, and ready for paint, powder, or plating. That is where a pneumatic belt sander for weld cleanup earns its keep. It is one of the quickest ways to remove weld crown, blend edges, and control your finish without fighting the tool.
Angle grinders are everywhere for a reason. They are aggressive, versatile, and you can rough down almost anything. The trade-off is control. A hard wheel concentrates pressure on a small contact patch, which makes it easy to dig a trench next to the weld, gouge thin material, or overheat an edge before you realize it.
A belt sander spreads the cut across a wider area, so it naturally blends as it removes material. When you are trying to make a butt weld disappear on 16-gauge sheet, that wider contact patch is the difference between “ready for primer” and “now I need filler because I thinned the panel.”
Going pneumatic also changes the feel of the job. Air tools tend to run cooler at the motor, stay consistent under load, and avoid the voltage drop and heat soak you can get when you are leaning on a corded tool. You still need the right compressor setup, but when your air system is stable, the tool is stable.
Most weld cleanup jobs fall into a few categories. The belt sander is not the answer for all of them, but for the right ones it saves real time.
On flat seams and lap joints, it is excellent for knocking the bead down and then blending the surrounding area without leaving deep wheel marks. On fillets and corners, it can work well if the tool has an appropriate arm width and you can keep the belt tracking cleanly along the edge.
It is also useful when you need a consistent scratch pattern for coatings. If you are prepping for paint, powder coat, or even certain adhesives, a uniform finish matters as much as “smooth.” Belts make it easier to step through grits and leave an even pattern.
Where it is less ideal: tight inside corners you cannot reach with the arm, heavy spatter removal on rough plate where a grinder and a flap disc can clear the mess faster, and situations where you need to remove a lot of weld very quickly and do not care about the surrounding surface. “It depends” is real here. Belt sanders are a control tool as much as a removal tool.
Belts are the whole game. A great sander with the wrong belt will feel slow, load up, and chatter. For weld cleanup, you are usually balancing three things: cut speed, heat, and finish.
Coarse grits remove weld crown fast but can leave scratches that take longer to refine than the time you saved. Finer grits look better but can glaze over on hard weld metal and make you lean harder, which creates heat and waves.
A practical progression for many steel welds is starting coarse enough to flatten the bead, then moving up only as far as the finish requires. If you are going to primer and paint a bracket, you do not need mirror polish. If you are blending a visible stainless weld, you do.
As a rule of thumb, a coarse belt is for “shape,” a medium belt is for “blend,” and a finer belt is for “finish.” If you find yourself spending forever on the first step, you started too fine. If you get it flat fast but now you are chasing deep scratches, you started too coarse or pushed too hard.
Pay attention to belt loading. When the belt clogs with metal, it stops cutting and starts rubbing, which spikes heat and smears material. If you see discoloration, feel the part getting hot fast, or the belt gets shiny, change belts. Belts are cheaper than rework.
A pneumatic belt sander is only as good as the air feeding it. In weld cleanup, inconsistent air shows up as inconsistent finish: the tool bogs, the belt slows, you push harder, and suddenly you have low spots.
Start with pressure and volume. Most air tools are happiest when they get steady airflow at the tool, not just at the tank. Long hoses, small fittings, and quick-connects that are too restrictive can starve a belt sander under load. If the tool feels strong free-spinning but weak on the weld, that is often an air delivery issue, not a “bad sander” issue.
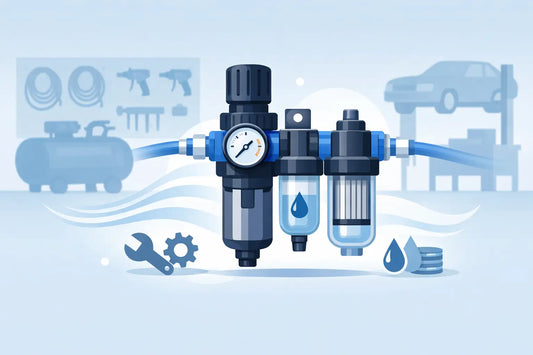
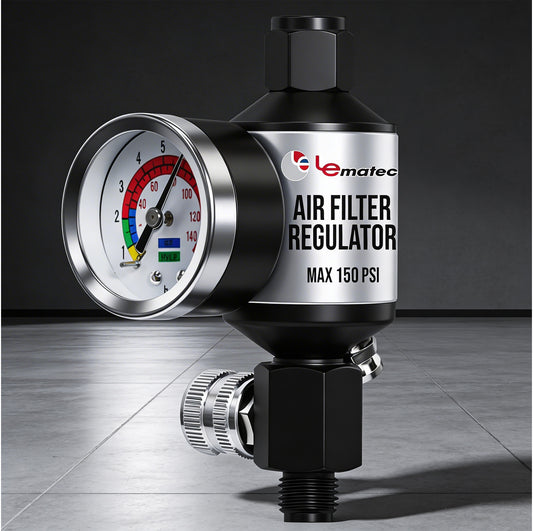
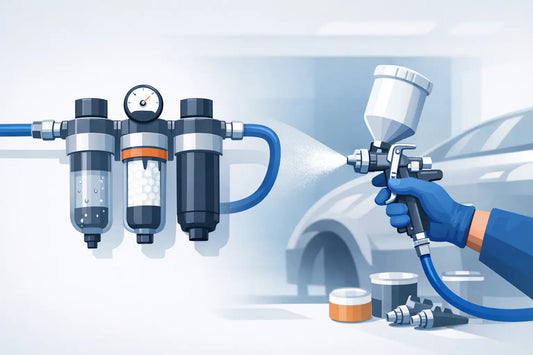
Moisture control matters too. Wet air can make belts load faster and can shorten tool life. A basic filter and regulator close to the work area helps, and it keeps your pressure consistent.
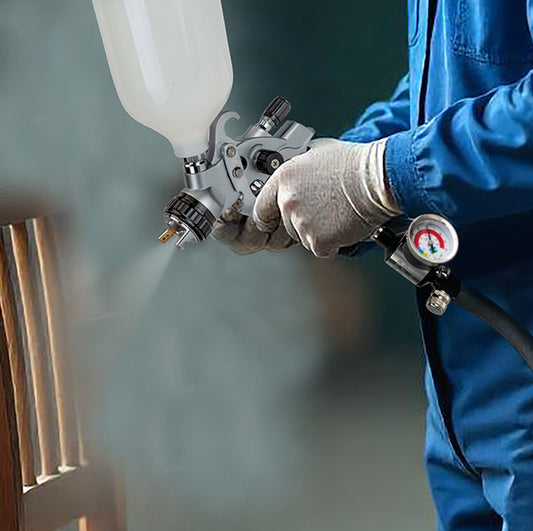
Lubrication is another trade-off. Many air tools want a little air tool oil to stay happy, but you do not want oil mist contaminating a surface that will be painted. If you are doing paint prep, be intentional: oil the tool as recommended, then keep your workpiece clean and plan to wipe down and degrease before coating.
The belt sander is not a “bear down and pray” tool. If you want clean, fast results, let the belt do the work and focus on contact and movement.
Start with the tool flat to the surface and use light, steady pressure. Your goal is to shave the bead down, not flex the panel. On thin material, panel flex is your enemy because it makes the belt cut unevenly and creates waves.
Keep the sander moving. If you dwell in one spot, you create heat and a low area. A slow, controlled sweep across the weld line keeps the cut even and prevents that “dished” look.
Watch the heat. Heat is not just a comfort issue. Overheating can blue stainless, pull carbon steel into warpage, and smear aluminum. If the part is getting too hot to touch, you are already past the point where the finish is improving. Back off, change belts if needed, and consider shorter passes.
A good checkpoint is to stop early and inspect from multiple angles. Welds lie. What looks flush from straight on can still have a crown when you catch it with raking light. A quick feel with your fingertips often tells the truth faster than your eyes.
On structural steel where cosmetics do not matter, you might only need to knock down sharp edges and remove high spots. A belt sander can do that, but a grinder may be faster. The belt sander becomes more valuable when you care about the surface you are leaving behind.
On automotive sheet metal, the belt sander is a control tool. Use it to flatten the bead gradually, then refine the area without thinning the surrounding panel. If you see the panel “oil can” as you sand, reduce pressure and support the backside if possible.
On stainless, belts are often the preferred route because you can match finishes and avoid gouges that stand out after polishing. The key is light pressure and clean belts so you do not embed contamination or overheat the area.
On aluminum, belts can work, but loading happens fast. You will want belts that resist clogging and a technique that avoids heat buildup. If the belt starts smearing aluminum, stop and swap it. Do not force it.
Not every belt sander feels the same in your hands. For weld cleanup, a few features directly affect your results.
First is belt tracking and adjustment. If the belt walks, you waste time and chew up edges. A sander with stable tracking is not just convenient, it is safer and more consistent.
Second is access. Arm width and nose design decide whether you can blend a weld in a tight spot or only on open flats. Think about what you actually build: brackets and tabs, frames, exhaust bends, or sheet metal patches.
Third is control at the trigger. A tool that ramps smoothly and is easy to feather helps you avoid that first “bite” that can ruin a nearly finished surface.
Finally, consider support and uptime. When a tool is part of your workflow, warranty and shipping speed are not marketing fluff, they are how you avoid losing a weekend project or a workday. If you are buying online, Pro Air Tools leans into that with a free 36-month warranty and 1-day order shipping, which is the kind of practical backstop that matters when your shop time is scheduled, not hypothetical.
A belt sander throws fine metal dust and grit. Wear eye protection and a respirator, especially on stainless and aluminum. Gloves help, but do not use anything loose that can catch.
Clamp your work when you can. The sander is controllable, but it still has torque and the belt can grab an edge. A stable part equals a flatter finish.
After sanding, plan for surface prep. Even if you did everything right, sanding leaves dust, and air tools can introduce light oil residue. A proper degrease and wipe-down before coating prevents fish-eyes and adhesion problems.
If you want weld cleanup to feel less like punishment and more like a repeatable process, treat the belt sander like a finishing tool, not a demolition tool. The job gets easier when the belt choice, air supply, and technique all point in the same direction - and when they do, the weld stops being the bottleneck and starts being just another step you can knock out cleanly.
Factory direct from Le Lematec — professional quality, competitive prices.


 AIR REGULATORS

 ACCESSORIES