
Shopping Cart
(0)

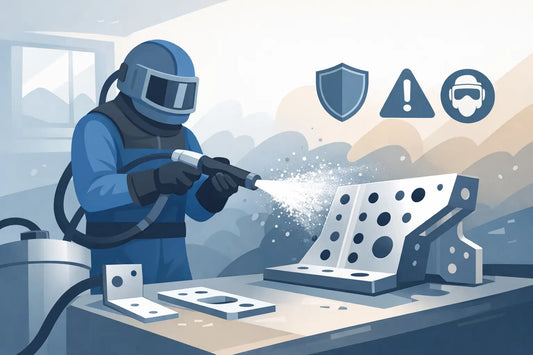
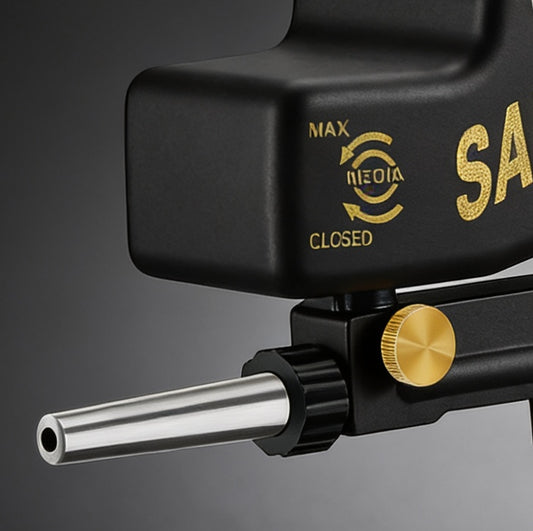
What PSI for Glass Bead Blasting?
If you're asking what psi for glass bead blasting, the short answer is this: most jobs run best between 40 and 80 PSI, with 60 PSI being a solid starting point for many metal parts. That range gives you enough force to clean and peen the surface without turning a finishing process into unnecessary surface damage. Push too low and the media just bounces off. Push too high and you can lose the smooth, even finish glass bead is known for.
Glass bead blasting is different from aggressive cutting media like aluminum oxide. You're usually not trying to strip heavy scale fast. You're trying to clean, brighten, blend, or create a uniform satin finish on metal without digging deep into the base material. That goal matters because the right PSI depends less on a single number and more on what you're working on, what finish you want, and how your blast cabinet or pressure pot is set up.
What PSI for Glass Bead Blasting on Most Parts
For general-purpose work, 50 to 70 PSI is the sweet spot. That's where a lot of users get consistent cleaning and a smooth finish on steel, stainless, aluminum, and machined parts. If you're cleaning oxidation, light corrosion, gasket residue, or prepping a part for inspection, starting around 60 PSI usually makes sense.
If the part is soft or thin, drop closer to 40 to 50 PSI. That applies to aluminum castings, softer non-ferrous metals, and parts with edges that can be distorted by overblasting. If the part is tougher and the contamination is more stubborn, you can move up into the 70 to 80 PSI range. Past that, you're often giving up finish quality for speed, and glass bead usually isn't the media you choose when speed is the only goal.
A lot of pressure mistakes happen because users think more PSI automatically means better blasting. In practice, higher pressure increases media breakdown, raises dust, and can leave the surface looking harsher than expected. It also puts more demand on your compressor, moisture control, and nozzle wear parts. If your finish starts looking uneven, don't assume you need more pressure first.
Why PSI Changes From One Job to the Next
The right blasting pressure depends on four things: part material, media size, nozzle setup, and what you're trying to remove.
Material comes first. Steel and stainless can usually handle moderate pressure without much risk. Aluminum is less forgiving. Thin sheet metal, cast parts, and delicate surfaces can change appearance fast if pressure is too high or if you stay in one spot too long. Glass bead is gentler than sharp media, but it still has impact energy.
Media size also changes the feel of the blast. Finer glass bead tends to work better for lighter finishing and cosmetic cleanup, often at lower pressures. Coarser bead can carry more impact and may need pressure tuning to avoid overworking the surface. If you switch bead size and keep the same PSI, don't expect the same result.
Nozzle size matters more than some people realize. A bigger nozzle can move more air and media, which changes actual blasting performance even if the regulator reads the same PSI. If your cabinet seems weak at 60 PSI, the issue may be air volume, nozzle wear, or moisture in the line rather than pressure itself.
Then there's the job itself. Light oxidation and cosmetic cleanup need less force than packed-on grime or old coatings. Glass bead can remove some coatings, but if you're trying to strip heavy rust or thick paint, you're working against the media. That's where users crank up PSI, burn through air, and still get mediocre results.
Safe Starting Points by Application
For aluminum parts, start around 40 to 50 PSI. Test a small area first, especially on castings, intake pieces, trim, or anything where appearance matters. Aluminum can get frosty or uneven if you rush it.
For steel and stainless parts, 60 PSI is a dependable starting point. You can move toward 70 PSI if the part is dirty or oxidized, but stay controlled. Glass bead should leave a clean, uniform finish, not a rough profile.
For delicate automotive pieces, brackets, or threaded components, 40 to 60 PSI is usually enough. You want control around edges, corners, and machined surfaces. Too much pressure can round edges or alter surface texture where you want precision.
For heavier industrial parts that only need cleaning and cosmetic restoration, 70 to 80 PSI can work well if the substrate is hard enough and your cabinet airflow is stable. Even then, it's smart to increase pressure in steps instead of jumping straight to the top end.
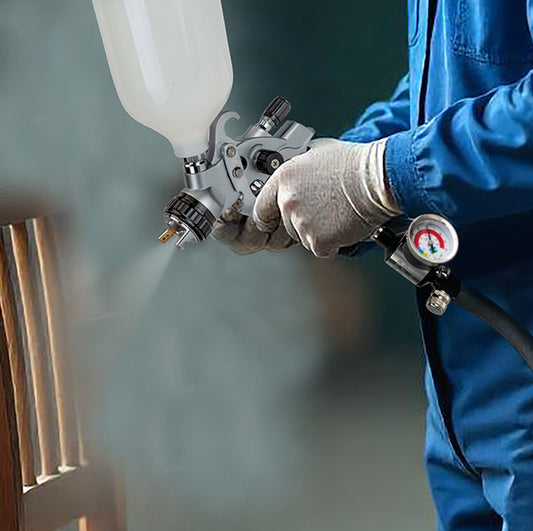
How to Dial In the Right Pressure
The best way to set PSI is to treat the regulator as a tuning tool, not a fixed rule. Start low, test, then adjust. That saves media, protects the part, and usually gets you to the finish you actually want faster.
Begin at about 50 or 60 PSI with a clean, dry air supply. Blast a small test area from a consistent distance. Watch how quickly contamination lifts and what the surface looks like after a few passes. If removal is too slow, raise pressure by 5 to 10 PSI. If the finish looks too dull, too rough, or more aggressive than expected, back it down.
Keep your nozzle distance steady while testing. If you change PSI, distance, and angle all at once, you won't know what fixed the problem. For most cabinet work, staying several inches off the part with a controlled angle gives better consistency than blasting straight on at close range.
You also want to verify pressure at the tool side if possible, not just at the tank. Pressure drop through hose length, fittings, filters, and regulators can change what the nozzle actually sees. A shop may think it's blasting at 80 PSI when the effective pressure under flow is much lower.
When Higher PSI Causes More Problems
If you're above 80 PSI with glass bead, there should be a clear reason. In many cases, higher pressure starts creating avoidable issues.
First, media breaks down faster. Once glass bead fractures, you lose the consistent spherical shape that gives it a smoother finishing action. That changes surface results and can make the cabinet dustier. Second, high pressure increases heat and impact on the part, which matters on softer metals and detailed components. Third, your air system has to keep up. If compressor output, moisture control, or regulator performance is marginal, high PSI exposes every weakness fast.
This is why blasting quality isn't just about the number on the gauge. Clean, dry air and a properly sized setup often improve results more than cranking pressure. A worn nozzle can also throw off the pattern and reduce efficiency, making users chase performance with PSI when the real issue is hardware.
Common Setup Issues That Get Mistaken for Wrong PSI
A lot of poor glass bead blasting results are blamed on pressure when the actual problem is elsewhere. Wet media is a big one. If moisture gets into the system, flow becomes inconsistent and the blast pattern starts pulsing or clogging. No pressure adjustment fixes wet media.
Another issue is air supply volume. Your compressor may be able to hit the target PSI, but if it can't sustain the required CFM, pressure falls off under use. The blast gets weak, then inconsistent, then frustrating. If you're doing extended cabinet work or using a larger nozzle, CFM matters as much as PSI.
Media condition is another factor. Old, contaminated, or broken-down bead won't clean like fresh media. If the finish starts looking dirty or the cutting action falls off, check the media before changing regulator settings.
Finally, don't ignore nozzle wear. As the orifice enlarges over time, air and media flow change. That affects velocity, pattern shape, and compressor demand. A worn nozzle can make a once-stable PSI setting feel completely wrong.
What PSI for Glass Bead Blasting if Finish Matters Most
If your top priority is finish quality, stay conservative. In many cases, 40 to 60 PSI gives the best cosmetic result, especially on aluminum, stainless, and visible automotive parts. Slower, more controlled blasting usually beats aggressive pressure when uniform appearance matters.
If your top priority is faster cleaning on tougher metal, 60 to 80 PSI is reasonable, but watch the surface closely. Glass bead is still a finishing media. If you're trying to force it into heavy stripping work, the pressure number isn't the real problem - the media choice is.
That trade-off is the whole answer. Lower PSI gives more control and a cleaner finish. Higher PSI can speed things up, but only to a point, and sometimes at the expense of the result.
A good working rule is simple: start around 60 PSI, adjust in small steps, and let the part tell you where to go. If the surface looks right and the media is flowing cleanly, you're there. The fastest setup isn't always the best one, but the right setup makes the job easier and keeps you from reworking parts you only wanted to clean once.
Tags:
Related articles
How to Set Air Tool PSI for Reliable Performance
Jul 25 2026

A Guide to Air Tool Maintenance Schedules
Jul 23 2026
How to Reduce Moisture in Blast Air Line
Jul 21 2026
How to Use a Pneumatic Angle Grinder Safely
Jul 19 2026
Best Air Blow Gun Attachments for Shop Work
Jul 18 2026
How to Choose a Pneumatic Sander for Bodywork
Jul 13 2026