Shopping Cart
(0)
Free shipping included — no minimum on any US order

Quick Search:
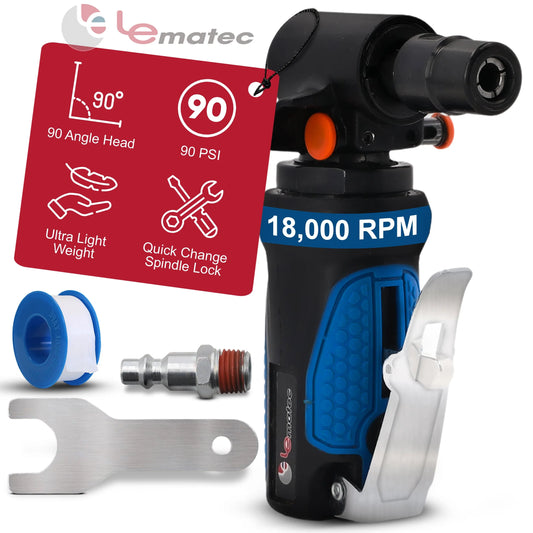

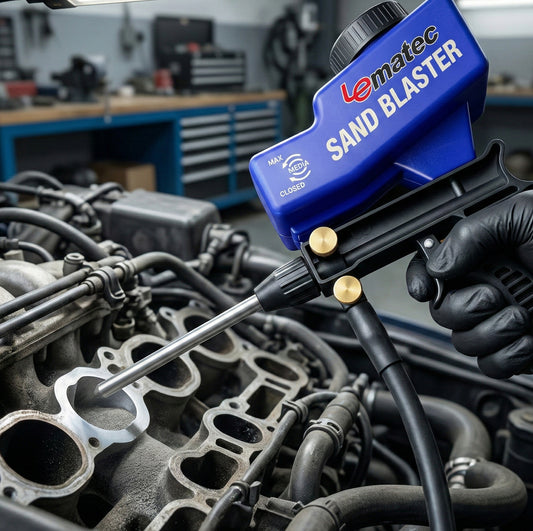
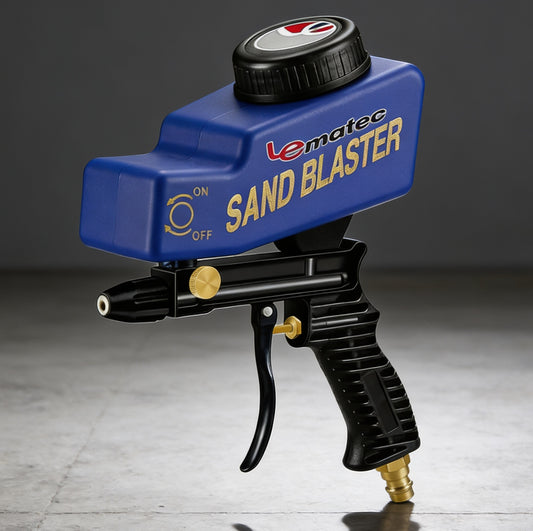

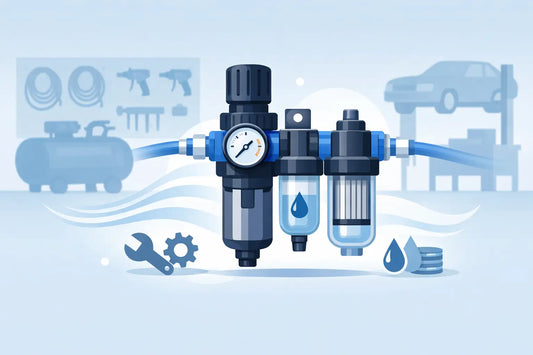
If your impact wrench feels lazy at the far end of the shop or your paint work keeps getting moisture in the line, the problem usually starts with layout - not the tool. A good guide to shop air line layout is really about one thing: getting stable pressure and clean, dry air where you need it without wasting time, money, or compressor capacity.
Most small-shop air systems fail in predictable ways. The compressor is decent, the tools are fine, but the piping is undersized, the drops are in the wrong spots, and water has nowhere to go except straight into the hose. Fix the layout, and the whole setup works harder with less frustration.
A shop air system has three jobs. It needs to move enough volume, hold pressure as consistently as possible, and manage heat and moisture before that air reaches your tools. If one of those pieces is off, you feel it fast. Cutoff tools slow down, grinders lose bite, blast cabinets get inconsistent, and paint prep becomes a gamble.
That is why the best layout is not always the cheapest or the most compact. Short, direct runs sound efficient, but if they do not leave room for cooling, drainage, and future drops, they can create more problems than they solve. The right layout depends on your compressor size, tool demand, and how the shop is used hour to hour.
Before choosing pipe or planning routes, get honest about what the system needs to support. A one-person garage using an inflator, ratchet, and occasional impact wrench has a different demand profile than a fabrication space running grinders and a blast cabinet in the same afternoon.
Look at the highest air-consuming tools you expect to run, especially if two may be used at once. Continuous-use tools matter more than short-burst tools. An impact wrench may hit hard but only for seconds at a time. A die grinder, sander, or sandblasting setup can pull air steadily and expose every weakness in the line design.
If your compressor already struggles to keep up, no piping layout will completely hide that. But a better layout can reduce pressure drop, improve moisture control, and stop the system from wasting what the compressor is already producing.
For many small and mid-size shops, undersized pipe is the first mistake. People match the line to the compressor outlet and assume that is enough. Usually it is not. The main line should be sized for flow across the whole system, not just the fitting threaded into the tank.
In practical terms, larger pipe in the main trunk usually helps. It slows air velocity, which reduces pressure drop and gives moisture more opportunity to cool and separate before reaching the point of use. For many home garages and small workspaces, a 3/4-inch main line is a smart baseline. Smaller systems may get by with 1/2-inch in shorter runs, but that choice can become a bottleneck once more tools or drops are added.
Drops to individual workstations can often step down in size, but the trunk line should not be the weak point. If you are planning for growth, size the main once and leave yourself room.
A straight run with branches can work in a compact shop, but a loop layout is often better if the space allows it. In a loop, air can feed a drop from more than one direction, which helps reduce pressure loss when demand spikes at one station.
That does not mean every shop needs a full ring main. If you have a single-bay garage and only a couple of outlets, a clean trunk with well-placed drops may be the practical choice. But once the shop gets longer, busier, or more tool-heavy, a loop starts making sense.
The goal is simple: avoid long dead-end runs that starve the last outlet. The farther the air travels through small or restrictive lines, the more performance you lose.
Compressed air carries water. That is not a maybe. It is part of the system, and your layout needs to treat it that way.
As hot compressed air leaves the tank and moves through the piping, it cools and drops moisture. If the lines are flat and random, that water follows the air toward your tools. If the main line is sloped slightly, water has a direction to travel. That lets you place drain legs at low points where moisture can be collected and removed.
A slight slope is enough. You are not building a gutter system. You are just giving condensed water somewhere to go besides your spray gun, blast cabinet, or air hammer.
This is also why overhead runs usually beat floor-level routing. Overhead piping keeps the system cleaner, safer, and easier to drain properly. It also keeps lines out of the way in shops where carts, jacks, and vehicles move constantly.
One of the most common layout mistakes is taking a drop straight off the bottom of the main line. That turns the drop into a water feed. The better approach is to pull air from the top or side of the main line, then run down to the outlet. That helps keep condensed moisture moving along the main instead of falling directly into the hose connection.
At the bottom of the drop, add a drip leg below the outlet with a drain valve. This gives water and debris a place to collect before they reach your regulator or tool connection. It is a simple detail, but it makes a big difference in day-to-day reliability.
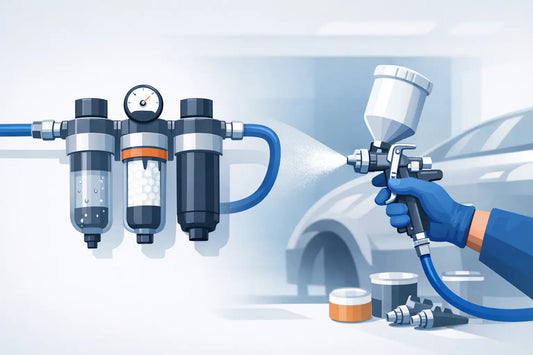
If one station is dedicated to painting, blasting, or other air-quality-sensitive work, treat that drop differently from a general-use impact or inflation station. Sensitive applications often need extra filtration and drying close to the point of use.
There is no single best material for every shop. Black iron is durable and common, but it is heavier to install and can corrode internally over time. Copper performs well and handles heat nicely, but cost can add up. Aluminum modular systems are clean and easy to expand, which is attractive for busy shops that may change layout later.
Some users like flexible hose for convenience, but too much of it in the permanent layout can create restriction, sagging, and durability issues. Flexible hose is best used where movement is necessary, not as a substitute for a real distribution system.
Whatever material you choose, avoid building a permanent setup around anything not rated and intended for compressed air use. Saving money on the wrong material usually gets expensive later.
A lot of shops rely on the regulator at the compressor and call it done. That is workable for simple setups, but it is rarely ideal once you have multiple stations or different tool types. Tire inflators, spray equipment, blast cabinets, and die grinders do not all want the same pressure or the same air quality.
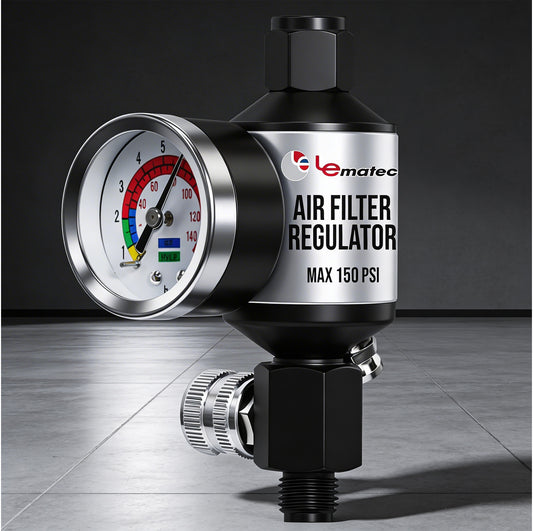
Point-of-use regulation gives you better control and helps protect tools from overpressure or dirty air. Filters, water separators, and sometimes desiccant dryers should be placed based on the job. The closer the air treatment is to the actual application, the more effective it usually is.
That said, there is a trade-off. More components mean more cost and more maintenance. The practical move is to protect critical stations first, then expand if your workflow demands it.
A smart guide to shop air line layout should account for what the shop may look like a year from now, not just this weekend. Maybe today you only need one reel and a workbench drop. Later you may add a second bay, a blast cabinet, or a dedicated prep area.
If the walls are open or you are already mounting a main line, adding a few capped tees for future drops costs far less now than rebuilding sections later. The same goes for line sizing. Shops rarely regret planning for one more tool. They do regret tearing down a system that was too small from day one.
Most air line problems come from a short list of decisions. The main line is too small, drops are placed without thinking about water, filtration is handled only at the compressor, or the farthest workstation gets whatever pressure is left over.
Another mistake is designing the layout around convenience instead of use. Put outlets where the work actually happens. A hose stretched across a bay every day is a layout problem, not a hose problem.
And do not ignore serviceability. Drain points, filters, regulators, and shutoffs should be easy to reach. If maintenance is annoying, it will not get done on schedule.
A clean air system should make the shop faster, not fussier. That means steady pressure, sensible outlet placement, and moisture control that does not rely on luck. If your layout supports the way you really work, your tools perform better and the compressor does not have to fight the piping every minute it runs.
For garages, fabrication spaces, and serious DIY setups, the best air line layout is the one that stays reliable under load and leaves room to grow. Build it once with the right pipe size, proper drops, and real moisture control, and the rest of the shop gets easier from there.





 AIR REGULATORS

 ACCESSORIES