
Shopping Cart
(0)

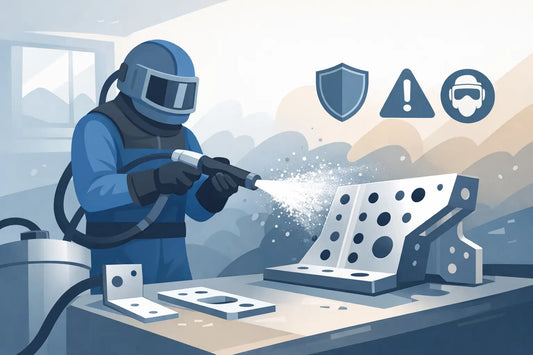
How to Set Blast Pressure Properly
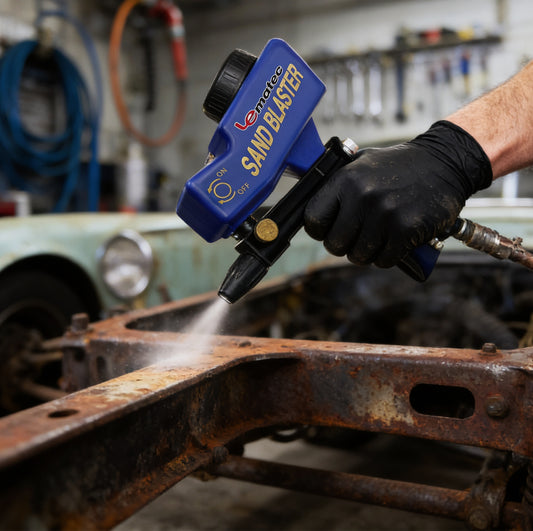
If your blast pattern suddenly feels weak, your media use jumps, or a panel starts looking rougher than it should, pressure is usually the first thing to check. Knowing how to set blast pressure properly is what separates fast, clean surface prep from wasted media, warped parts, and a compressor that never catches up.
A lot of operators treat pressure like a power knob - more must be better. That works right up until it doesn't. Too little pressure leaves rust, paint, and scale behind. Too much can break down media early, widen the blast pattern, peen soft metal, or create heat and distortion on thinner parts. The right setting depends on the surface, the media, the nozzle, and what your air system can actually deliver under load.
Why blast pressure matters more than people think
Blast pressure controls particle velocity. That velocity is what gives abrasive media its cutting power. Raise pressure and the media hits harder, usually cleaning faster. But higher pressure also increases media consumption, air demand, nozzle wear, and the chance of damaging the workpiece.
This is where many setups get misread. The regulator might say 100 PSI at rest, but once you pull the trigger, pressure at the pot or nozzle can drop hard if the compressor is undersized, the hose is restrictive, or the filter and regulator are choking flow. So when you are figuring out how to set blast pressure properly, static pressure is not enough. You need to think in working pressure - what the system delivers while blasting.
Start with the job, not the regulator
Before touching the pressure setting, get clear on what you are blasting and what finish you need. Heavy steel with mill scale can usually handle more aggressive settings than a thin automotive body panel. Cast iron, frames, and structural pieces often tolerate higher pressure well. Aluminum, stainless trim, soft metals, fiberglass, and thinner sheet metal need more restraint.
The media matters just as much. Aluminum oxide and other hard abrasives cut aggressively and often do not need extreme pressure to work well. Glass bead is more about peening and finishing than heavy removal. Crushed glass can clean efficiently without the same profile as more angular media. Soda and finer specialty media generally run at lower pressures because the goal is gentler cleaning, not deep surface profiling.
That is why there is no single best PSI for every setup. The right setting is the lowest pressure that gets the job done at a good pace without harming the surface or wasting material.
How to set blast pressure properly in real shop conditions
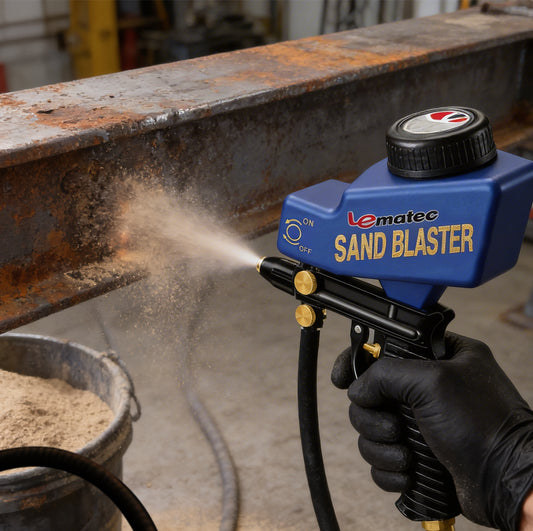
Start at the lower end of the media and equipment recommendation, then work upward in small steps. For many general blasting jobs, operators begin somewhere around 60 to 80 PSI and adjust from there. Heavier removal on tougher steel may justify moving higher. Delicate parts may need to stay below that range.
What matters is what you see at the surface. If the media is barely cutting, the pressure is too low, the media feed is off, or the system is starving for air. If the surface is cleaning but looks hammered, frosted more than expected, or starts heating up, pressure may be too high for the material.
A practical way to set pressure is to test on a scrap piece or an inconspicuous area first. Blast a small section at one pressure, then compare that result with another test 5 to 10 PSI higher. Watch cleaning speed, surface profile, and media use. That short test usually tells you more than any generic chart.
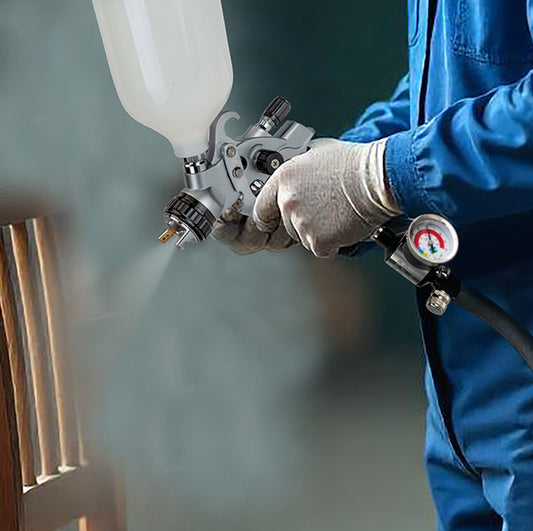
Measure pressure where it counts
One of the biggest mistakes is setting pressure at the compressor and assuming that is what the nozzle sees. It rarely is. Pressure drops happen through long hoses, undersized fittings, water separators, clogged filters, and worn valves. A setup can look fine on paper and still perform poorly.
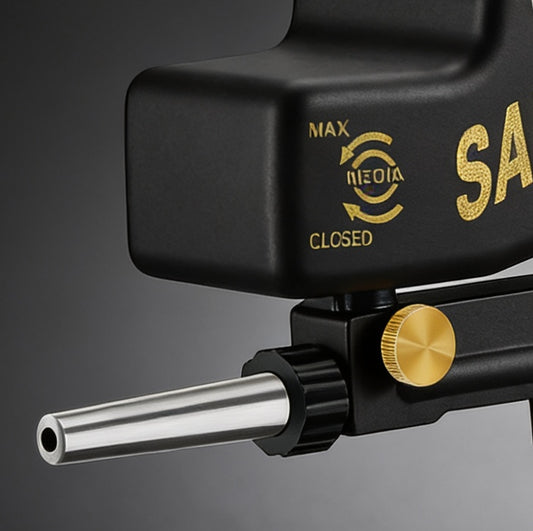
For more accurate adjustment, measure as close to the blasting equipment as possible, and ideally under flow. If your system has a regulator at the pot, use that as your main adjustment point. If you only have regulation farther upstream, understand that the number you read may not reflect true blasting pressure once air is moving.
If pressure falls off badly during use, the problem may not be your setting at all. It may be compressor CFM, hose diameter, moisture restriction, or a nozzle that is too large for the available air supply.
Nozzle size changes everything
Nozzle diameter has a direct effect on air demand. A larger nozzle can move more media and cover more area, but it also requires a lot more compressor capacity. If you increase nozzle size without the air supply to support it, pressure at the nozzle drops and performance suffers.
This is why some operators keep turning up the regulator and still get weak blasting. The system is already maxed out. In that case, reducing nozzle size may actually improve results because the compressor can maintain working pressure consistently.
Nozzle wear matters too. As a nozzle wears, the orifice gets larger. That raises air consumption and lowers effective pressure if the compressor cannot keep up. If a setup used to blast well at a certain setting and now feels lazy, inspect the nozzle before assuming the regulator is wrong.
Match pressure to the material
For thick steel, rusty equipment, and hard coatings, higher pressures often improve productivity. The trade-off is more aggressive profiling and faster media breakdown. That may be fine for heavy fabrication or restoration work where speed matters.
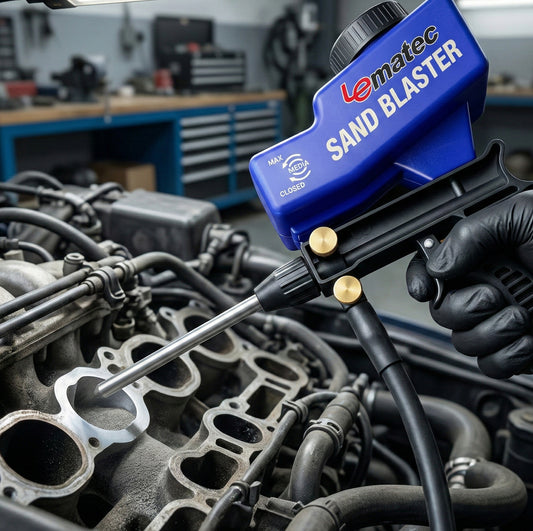
For automotive sheet metal, body panels, and softer substrates, lower pressure is the safer move. You want enough force to remove the coating or contamination, but not so much that you stretch, pit, or overheat the surface. The same goes for trim pieces, castings with detail, and anything with tight dimensional tolerance.
If the job is finish-sensitive, stand off a bit more, keep the nozzle moving, and let the media do the work instead of trying to force speed with extra PSI. In many cases, technique and media choice make a bigger difference than simply raising pressure.
Watch for signs your pressure is wrong
When pressure is too low, cleaning slows down, the blast stream feels soft, and the operator tends to linger too long in one spot. That wastes time and can still create uneven results. You may also see inconsistent media flow if the system is struggling.
When pressure is too high, media consumption climbs, fine dust increases, nozzle wear speeds up, and the surface can end up rougher than intended. On thin metal, you may notice heat buildup or distortion risk. On softer materials, the finish may look overworked instead of clean.
The best operating point is usually not the maximum pressure your equipment can reach. It is the point where removal rate, finish quality, and air supply stay balanced.
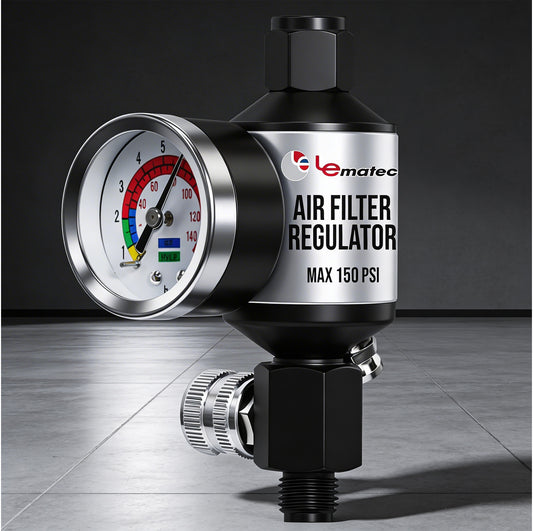
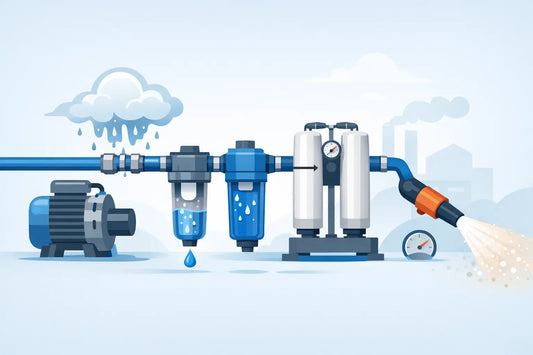
Do not ignore moisture and air quality
You can have the perfect PSI setting and still get poor performance if moisture is getting into the line. Wet media clumps, flow becomes inconsistent, and operators often respond by raising pressure when the real issue is air treatment.
A proper filter and moisture control setup helps keep the blast stream stable, which makes pressure adjustments meaningful. Clean, dry air also protects valves, regulators, and other components from avoidable wear. If your pressure seems to vary day to day, air quality is worth checking before you chase other causes.
A simple pressure-setting routine that works
Use the same process each time you switch jobs. Confirm your media type and nozzle size. Check hose size, fittings, filters, and moisture control. Start with a conservative regulator setting. Test on scrap or a low-visibility area. Increase pressure in small increments until removal rate and finish look right. Then monitor performance after a few minutes of actual blasting, because pressure can drift once the compressor cycles and the system heats up.
That routine is not fancy, but it prevents most of the usual problems. It also keeps you from blaming the media or the blaster when the real issue is setup.
If you are building or upgrading a blasting setup, it helps to source the blaster, media, regulators, filters, and air tool accessories from a supplier that understands how these systems work together. Pro Air Tools keeps that process straightforward with jobsite-ready equipment, fast shipping, and a 36-month warranty that matters when downtime costs you real work.
Getting pressure right is not about chasing the highest number on the gauge. It is about controlling the result - clean removal, the right surface profile, less wasted media, and a setup that performs the same way tomorrow as it did today.
Shop Professional Air Tools
Factory direct from Le Lematec — professional quality, competitive prices.
Tags:
Previous
Air Filter Regulator: What to Buy
Next
Sandblasting Media Comparison Guide: Choose the Right Abrasive for Every Job
Related articles
How to Set Air Tool PSI for Reliable Performance
Jul 25 2026

A Guide to Air Tool Maintenance Schedules
Jul 23 2026
How to Reduce Moisture in Blast Air Line
Jul 21 2026
How to Use a Pneumatic Angle Grinder Safely
Jul 19 2026
Best Air Blow Gun Attachments for Shop Work
Jul 18 2026
How to Choose a Pneumatic Sander for Bodywork
Jul 13 2026