Shopping Cart
(0)
Free shipping included — no minimum on any US order

Quick Search:



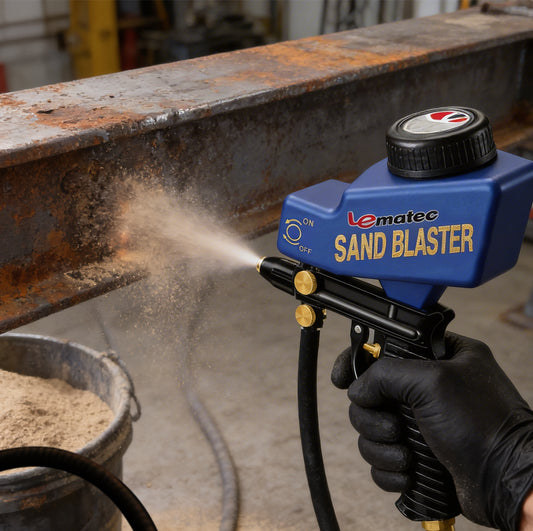
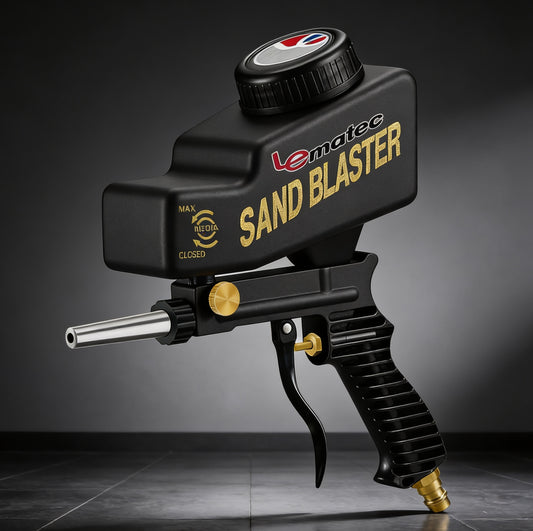
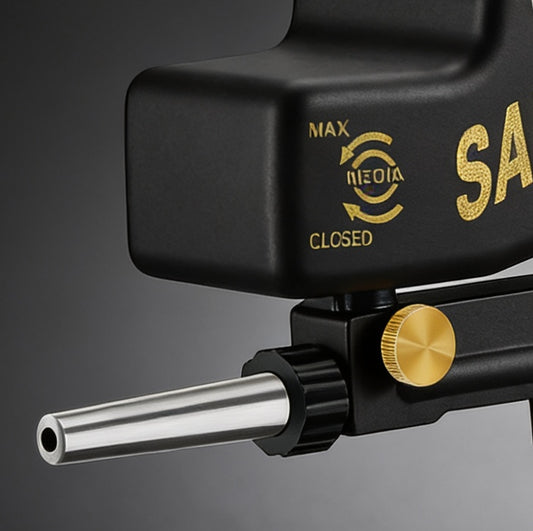

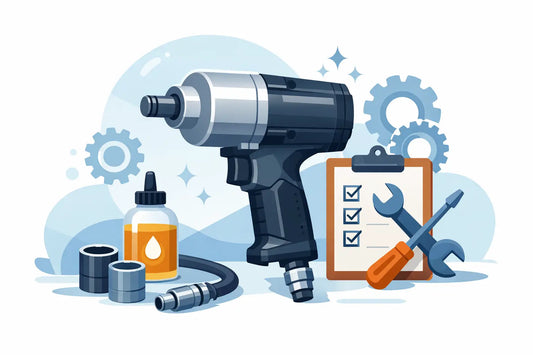
A guide to air tool maintenance schedule is less about adding chores to the workday and more about protecting the tools that keep work moving. An impact wrench that loses power, a grinder that starts running rough, or a sandblaster that spits wet media can stop a job fast. Most of those problems start upstream with moisture, contamination, poor lubrication, or a small air leak that went unchecked.
The right schedule depends on how hard your equipment works. A home garage using an air ratchet twice a month does not need the same routine as a fabrication shop running grinders and sandblasting equipment every day. But every compressed-air setup needs consistent attention in a few places: the compressor, air treatment components, hoses and fittings, and the tool itself.
Pneumatic tools are built for air, not water, rust particles, or compressor oil carryover. If the supply air is dirty or wet, lubricating the tool alone will not solve the problem. Water can corrode internal parts, wash away lubrication, freeze in cold conditions, and contaminate blasting media or paint-prep work.
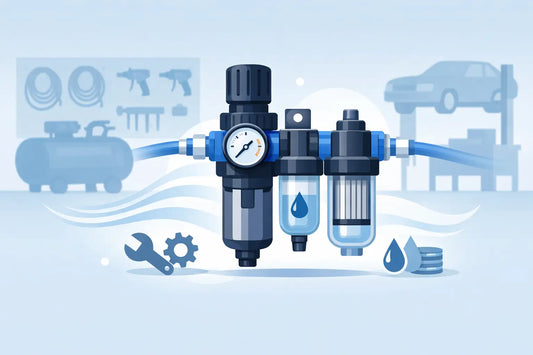
Install air treatment as close to the point of use as practical. A filter removes debris and water, a regulator holds the correct working pressure, and a lubricator can supply oil where the tool manufacturer calls for it. For blasting, painting, and other work where oil contamination is a problem, keep the air line dry and use a dedicated non-lubricated line. Do not send lubricator oil through equipment that must stay oil-free.
Set pressure with the tool running, not just with the trigger released. A tool may show 90 PSI at rest but drop well below that level under load because of undersized hose, restrictive fittings, leaks, or a regulator that cannot keep up. Excess pressure is not a performance upgrade. It wastes air, puts extra wear on internal components, and can make a tool harder to control.
For tools used through a shift or on recurring jobs, daily checks take only a few minutes and catch the failures that create downtime later.
Before use, drain water from the compressor tank if the system does not have an automatic drain. Open the drain carefully after pressure is reduced, and verify that water is actually leaving the tank. In humid regions or high-use shops, moisture can build up quickly enough to justify checking the tank more than once per day.
Inspect the filter bowl for water and debris, then check the regulator setting. Look over hoses for cuts, soft spots, abrasion, and damaged ends. A leaking hose wastes compressor capacity and makes high-demand tools such as impact wrenches, die grinders, and sandblasters feel underpowered.
Check quick-connect couplers for a positive lock and audible leakage. If a coupler hisses after connection, do not ignore it because it is "only a small leak." Small leaks add up, force longer compressor cycles, and can cause a noticeable pressure drop when several tools are operating.
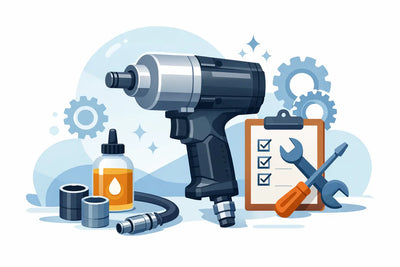
For air tools designed to be lubricated, add the recommended pneumatic tool oil through the air inlet before use. A few drops are usually enough for a tool that is not supplied by an inline lubricator. Run the tool briefly afterward to distribute the oil. Use purpose-made air tool oil, not heavy motor oil or penetrating spray, which can leave the wrong film or affect seals.
A weekly routine is the right place for closer inspection. Clean the outside of tools, especially the exhaust area, trigger, safety lock, and collet or chuck. Metal dust, blasting residue, and shop grime can hide cracks, restrict moving parts, and make it harder to spot a developing problem.
Inspect impact sockets, chisels, grinding discs, backing pads, drill chucks, and other accessories at the same time. A well-maintained impact wrench is not safe with a cracked socket, and a smooth-running angle grinder is not safe with a damaged wheel. Replace worn accessories rather than trying to stretch one more job from them.
Check filter elements and bowls. Empty accumulated water, clean debris from bowl guards, and replace elements that look discolored or clogged. A dirty filter restricts flow, which means the compressor works harder while the tool receives less usable air.
Take a few minutes to listen to each frequently used tool. Rough rotation, weak blows from an air hammer, trigger sticking, slow startup, or unusual exhaust discharge are service signals. Addressing those signs early is usually cheaper than replacing a seized motor or worn impact mechanism.
Monthly maintenance should include the full air system, not just the tool rack. With the compressor off and the system depressurized, inspect threaded connections, hose reels, manifolds, drains, and fittings for leakage or damage. Apply the correct thread sealant when repairing fittings, but keep sealant out of the air passage where loose material could enter a tool.
Check compressor intake filters and clean or replace them as needed. A clogged intake filter reduces compressor output and raises operating temperature. Also review the compressor manufacturer's oil-change interval if you have an oil-lubricated unit. Compressor oil and pneumatic tool oil serve different jobs, so do not substitute one for the other.
For impact wrenches and air ratchets, check the square drive, retainer ring, and socket retention. For drills, inspect chuck jaws and confirm the chuck holds bits without slipping. For grinders and sanders, inspect the spindle, guard, throttle, and vibration level. If a tool has a serviceable motor or gear case, follow its specific manual for grease intervals and approved lubricants.
Test the pressure drop at the farthest work station. Run a high-CFM tool and compare the regulated pressure under load with the pressure at the compressor. If the drop is significant, the cause may be a long or narrow hose, too many couplers, a clogged filter, or an undersized compressor for the demand. Tool maintenance cannot overcome an air supply that is too small for the job.
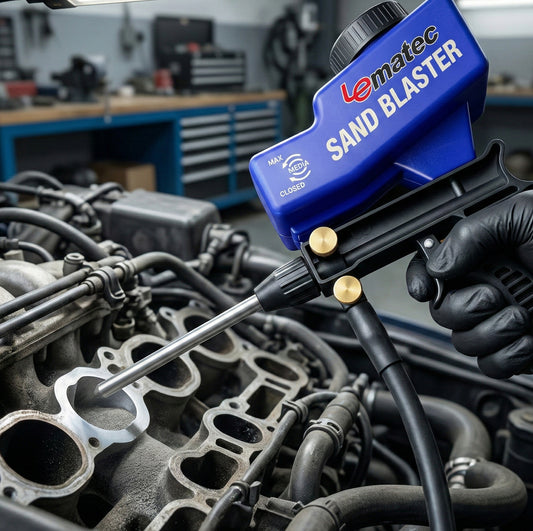
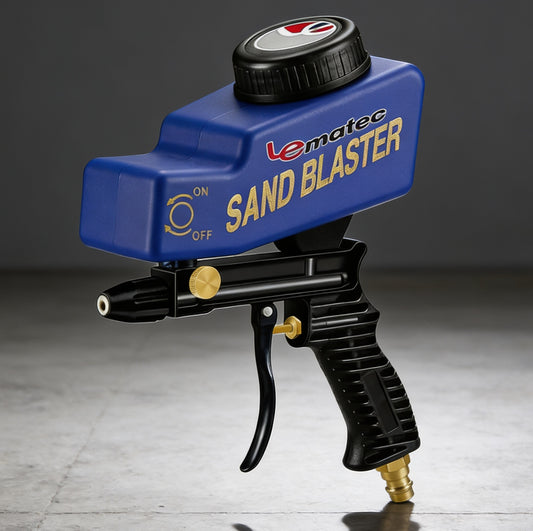
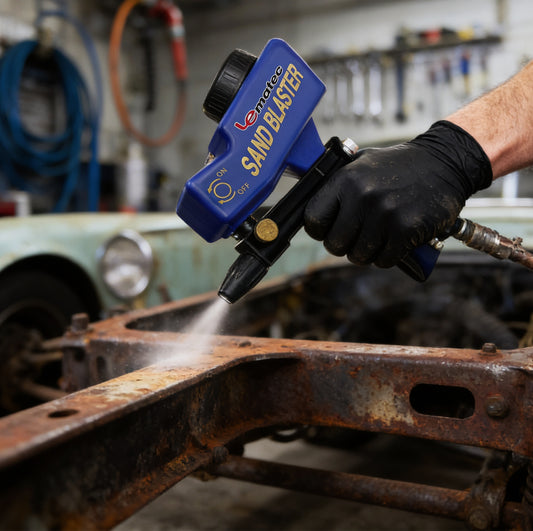
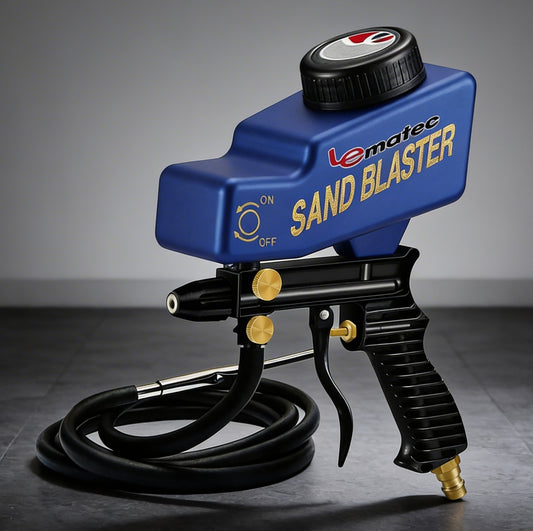
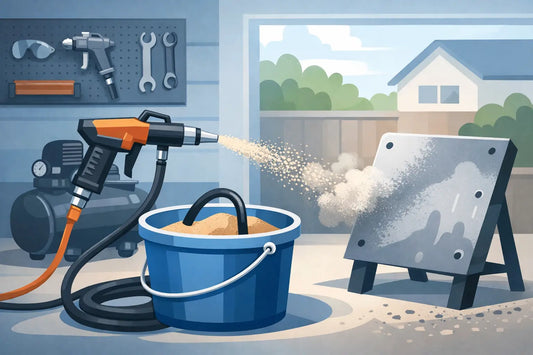
Sandblasting puts more stress on air preparation than most general air-tool work. Abrasive media and moisture do not mix. Damp media can bridge in the hopper, clog metering valves, and create inconsistent blasting patterns. Keep media sealed in a dry container and inspect it before loading the blaster.
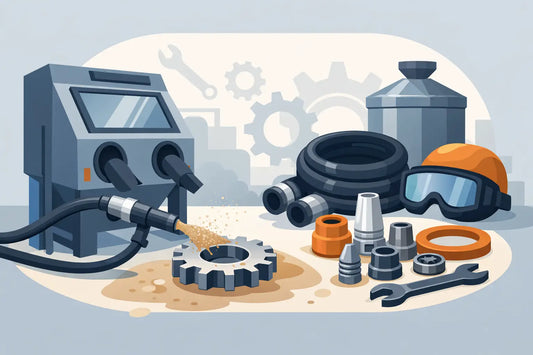
After each blasting session, depressurize the system and empty or protect media according to the equipment design and storage conditions. Clean abrasive from valves, hose connections, and the nozzle area. Inspect the blast hose for wear, especially near bends and couplers. A worn blast hose is a serious safety issue, not a cosmetic one.
Check nozzles regularly. As a nozzle wears, its opening grows and air consumption rises. That can make a previously adequate compressor seem weak because the blaster is demanding more CFM than before. Replace worn nozzles when blast performance falls off or when the bore exceeds the equipment recommendation.
Use moisture separation sized for the job. A small inline filter may be fine for a nailer or air ratchet, but high-volume blasting often benefits from better water separation and additional drying capacity. The correct setup depends on compressor size, ambient humidity, hose length, and how long the blaster runs continuously.
At the end of the day, disconnect tools from the air supply and release trapped pressure. Wipe down the tool, add a small amount of approved oil to lubricated models, and store it in a clean, dry place. Do not leave tools on a damp concrete floor or buried under abrasive dust and metal chips.
Drain the compressor tank before extended storage, particularly in humid weather. Coil hoses without sharp kinks, keep coupler ends clean, and cap air inlets when practical. For seasonal equipment, inspect it before the first job rather than discovering a damaged hose or stuck valve when time is tight.
Keep a simple record for shop equipment that sees regular use. A label on the compressor, a wall calendar, or a note in the maintenance log is enough. Record filter changes, compressor service, hose replacements, and any tool that starts showing reduced performance. That history makes repeat problems easier to diagnose.
Oil, clean air, and fresh fittings will not repair every problem. A tool with major power loss, internal grinding, a cracked housing, a damaged trigger, or persistent leakage should be removed from service until it can be inspected. Continuing to run a failing tool can damage the workpiece, injure the operator, and turn a minor repair into a replacement purchase.
For busy garages and home shops alike, the practical standard is simple: maintain the air supply as carefully as the tool. When it is time to replace worn equipment, Pro Air Tools offers job-ready pneumatic tools and air-system accessories backed by a 36-month warranty, so you can get back to work with less uncertainty.





 AIR REGULATORS

 ACCESSORIES