Shopping Cart
(0)
Free shipping included — no minimum on any US order

Quick Search:

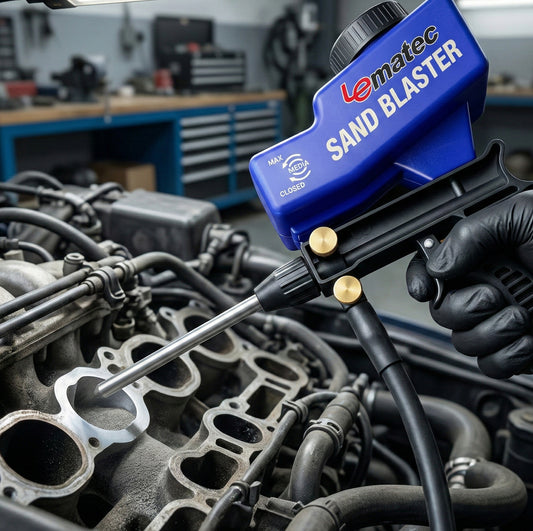
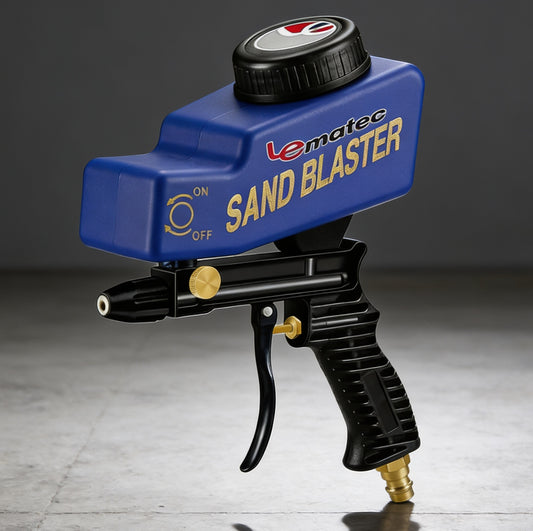
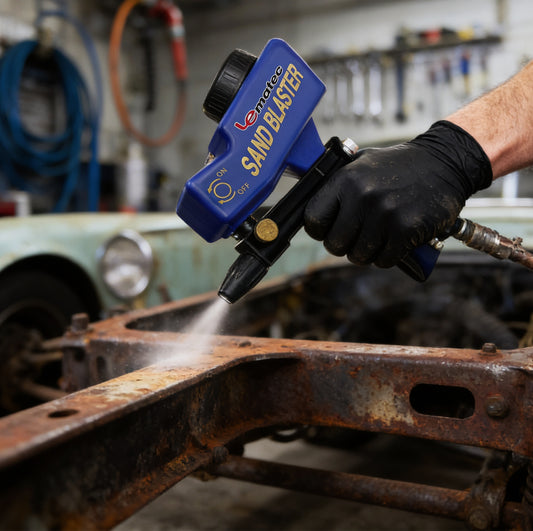
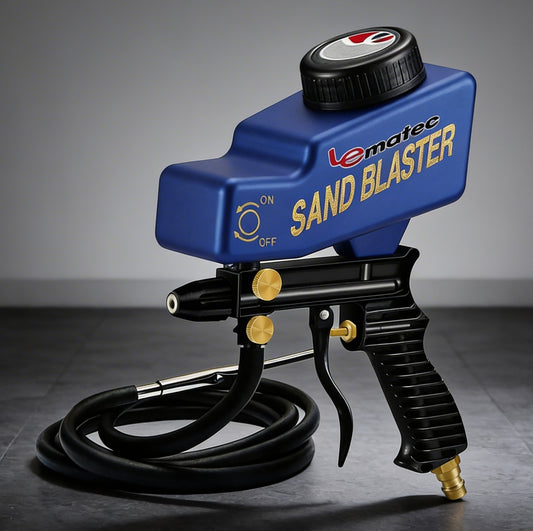
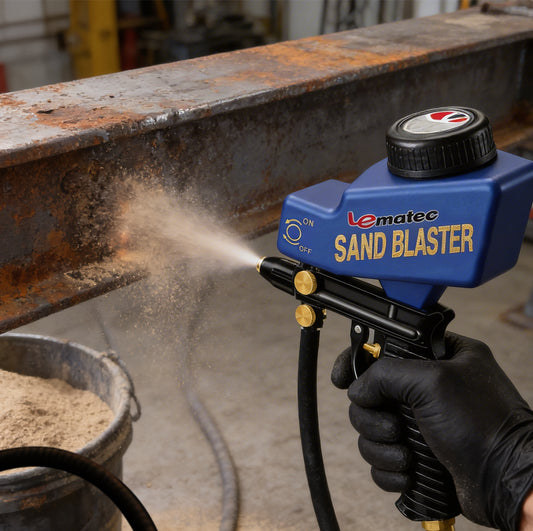
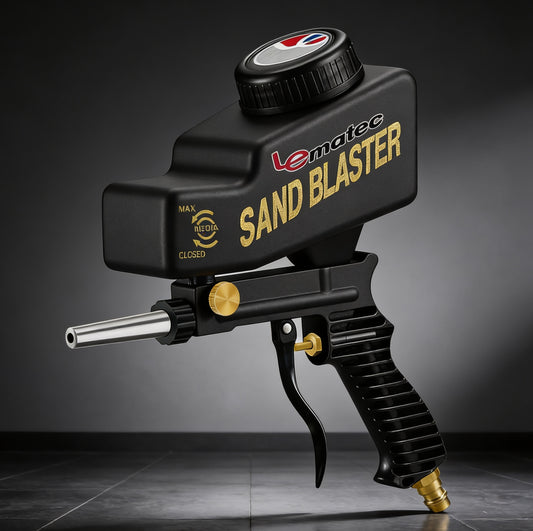
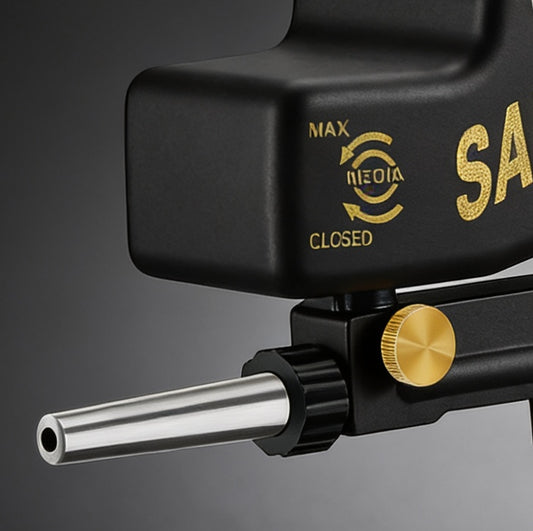

A 1/2-inch impact that feels weak, a die grinder that slows in a cut, or a sandblaster that surges usually does not need more tank pressure. It needs the right pressure at the tool while air is flowing. Learning how to set air tool PSI correctly keeps tools working at their rated performance without wasting air, stressing internal parts, or masking a compressor capacity problem.
For most shop air tools, 90 PSI is a common operating target. It is not a universal setting. The number that matters is the manufacturer’s rated working pressure, measured at the tool inlet under load. Set pressure too low and the tool loses torque, speed, or spray consistency. Set it too high and you can shorten tool life, increase vibration, waste compressed air, and risk damage.
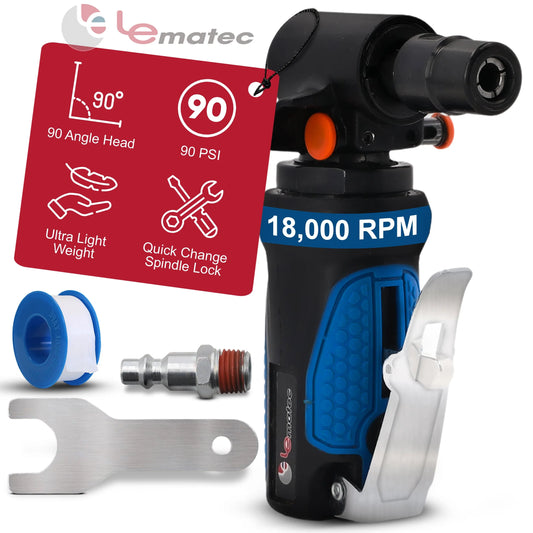
Check the tool body, manual, or product specifications before adjusting anything. A pneumatic impact wrench may be rated for 90 PSI. An air ratchet, drill, cutter, grinder, or tire inflator may use a different recommended range. Paint equipment and blast cabinets often require more specific setup because air quality and steady flow matter as much as pressure.
Treat the rating as the maximum normal working pressure unless the manufacturer states otherwise. Do not assume a higher setting will make the tool stronger. Pneumatic tools are engineered around a particular air motor, trigger valve, seals, and internal components. Extra pressure can make an impact hit harder for a short time, but it also adds heat and wear where you do not want it.
A compressor tank may be sitting at 125 or 150 PSI, and that is normal. Tank pressure is not your tool pressure. The regulator reduces that stored pressure to the level your tool should receive.
Set PSI with the tool connected and ready to work. Adjusting an idle line is better than guessing, but it can still give you a false reading because pressure changes once the tool starts consuming air.
Use this process:
1. Fill the compressor tank and inspect the air system. Check hose connections, couplers, and fittings for leaks. Drain collected water from the tank if needed, especially in humid conditions or after extended use.
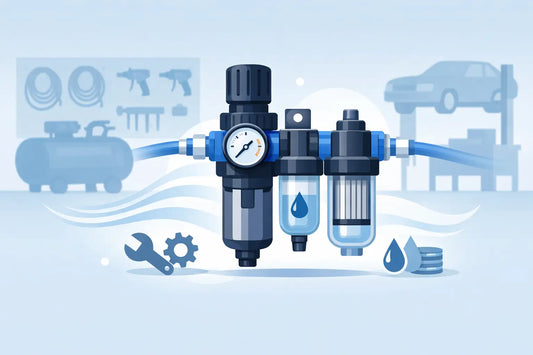
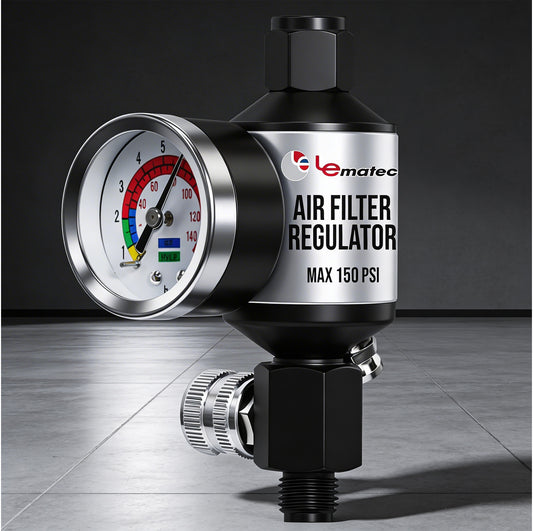
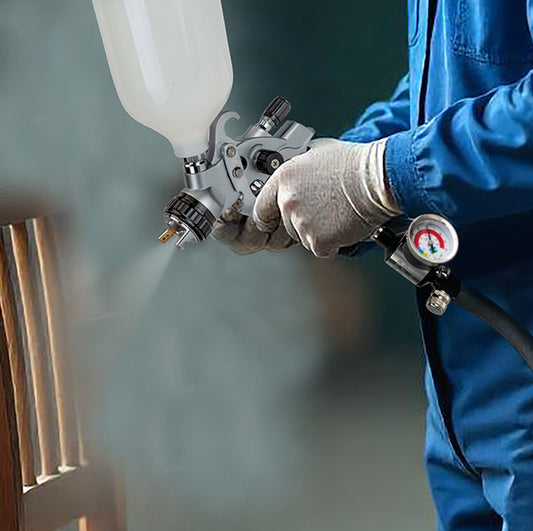
2. Install a regulator close to the work area. The compressor’s built-in regulator is useful, but a point-of-use regulator gives a more accurate setting after hose losses. For paint, blasting, and precision work, a regulator with a gauge at the tool end is a smart upgrade.
3. Connect the air tool and set an initial pressure. Turn the regulator up to the tool’s recommended PSI. For a 90 PSI tool, start at 90 PSI rather than setting the compressor outlet above that number “just in case.”
4. Pull the trigger and watch the gauge. Run the tool as it would be used. Hold an impact trigger, run the grinder, or open the blast valve. Adjust the regulator until the gauge holds the tool’s rated PSI while air is flowing.
5. Test the tool on the job. Listen and feel for normal operation. A tool that still bogs down may have an air-volume issue, a restricted hose, water contamination, worn parts, or a compressor that cannot keep up.
For intermittent tools such as impacts, ratchets, nailers, and tire inflators, checking pressure while the trigger is pulled is usually enough. Continuous-demand equipment such as grinders, sanders, spray guns, and sandblasters needs a longer test because the pressure can fall as the tank drains.
Pressure is force. CFM, or cubic feet per minute, is volume. Your tool needs both.
A compressor can show 90 PSI on its gauge and still fail to run a high-demand tool if it cannot deliver enough CFM. This is common with air sanders, angle grinders, die grinders, blast guns, and larger sandblasting setups. They may run briefly at full power, then slow down as demand exceeds compressor output.
For example, setting a die grinder to 90 PSI does not help if the grinder needs 8 CFM and the compressor only delivers 4 CFM at 90 PSI. The regulator is doing its job. The system simply cannot supply enough air volume for continuous use.
Compare the tool’s stated CFM requirement with the compressor’s delivered CFM rating at the same PSI. Ignore inflated “peak” or displacement numbers when evaluating a compressor. Look for SCFM or CFM delivered at 90 PSI, since that is where many general-purpose air tools operate.
A larger tank can extend run time, but it does not create more continuous CFM. It gives you a reserve. That can be useful for short bursts from an impact wrench, but it will not turn a light-duty compressor into a production sandblasting system.
A restrictive air line can make a properly adjusted regulator look wrong. Long, narrow hoses and undersized couplers reduce airflow before it reaches the tool. The result is pressure drop under load, especially with high-CFM tools.
A 1/4-inch hose works well for many short-run, lower-demand jobs. For air hammers, impacts, grinders, sanders, and blasting equipment, a 3/8-inch inside-diameter hose is often the better choice. Long hose runs may justify 1/2-inch hose or a larger main line, depending on the tool’s air demand.
Couplers matter too. Small automotive-style quick-connect fittings are convenient, but their internal passage can limit flow. High-flow fittings are worth considering when a large tool loses power despite adequate compressor capacity. Keep adapters to a minimum, and replace damaged or kinked hose sections rather than trying to compensate by raising PSI.
If a tool works at the compressor but becomes weak 50 feet away, the problem is likely the hose, fittings, or regulator location. Add a point-of-use gauge and test pressure with the tool running. That tells you what the tool is actually seeing.
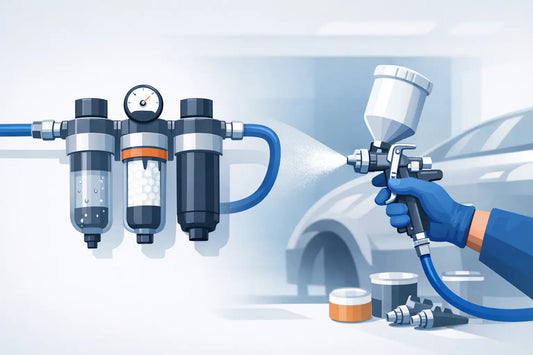
Correct PSI cannot overcome contaminated air. Water, rust flakes, and compressor oil can clog regulators, damage air motors, affect paint finishes, and cause blasting media to clump. A basic filter-regulator near the compressor helps protect general air tools. Sensitive paint and blasting work may require additional filtration and moisture control.
Lubricated air tools also need the right oiling practice. Many impacts, ratchets, and air drills benefit from a few drops of pneumatic tool oil at the inlet before use, unless the manufacturer specifies otherwise. Do not send standard air tool oil through a line used for painting. Oil contamination in a spray setup creates expensive finish problems.
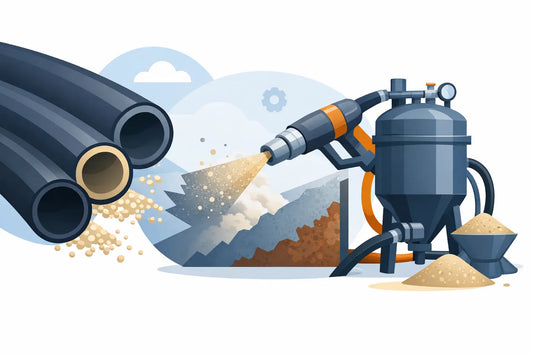
For sandblasting, moisture control deserves extra attention. Wet air can turn dry media into a clogging mess inside hoses, valves, and nozzles. If blasting performance becomes inconsistent, check for moisture and media condition before changing your PSI setting.
The most common mistake is setting pressure based on the compressor gauge instead of pressure at the operating tool. The second is turning the regulator above the tool rating to compensate for weak performance. That may hide a restriction for a moment, but it can damage the tool and does not solve low CFM.
Another mistake is using one regulator setting for every tool. A shop air system can have one main regulated line, but different tools may need different settings. A dedicated regulator at the bench, blast cabinet, or paint station makes changeovers faster and more consistent.
Finally, do not confuse a tool’s maximum PSI with its best operating PSI. A tire inflator must be set for the tire’s specified pressure, not the compressor’s output. A spray gun needs pressure set according to its cap or manufacturer recommendation, often with the trigger pulled. A blasting setup may need pressure adjusted for the nozzle size, media, material, and compressor output. More pressure can increase cutting action, but it also consumes air faster and can be too aggressive on thin metal or delicate surfaces.
The practical target is simple: deliver the manufacturer’s recommended PSI at the tool while it is working. Use a regulator, a readable gauge, properly sized hose, clean dry air, and a compressor with enough CFM for the job. That setup protects your equipment and gives you predictable results instead of chasing power with a regulator knob.
When you add a new impact, grinder, blast gun, or inflator to the shop, take two minutes to verify its pressure under load before starting work. It is one of the fastest ways to make the job easier, protect your tools, and avoid downtime when the work is already underway.


 AIR REGULATORS

 ACCESSORIES