


How to Install Air Filter Regulator Right
A lot of air tool problems start before the tool ever touches the job. If your impact wrench feels weak, your spray pattern gets inconsistent, or water keeps showing up in the line, the fix is often not the tool - it is the air prep. Knowing how to install air filter regulator units correctly gives you cleaner air, steadier pressure, and fewer headaches in the shop.
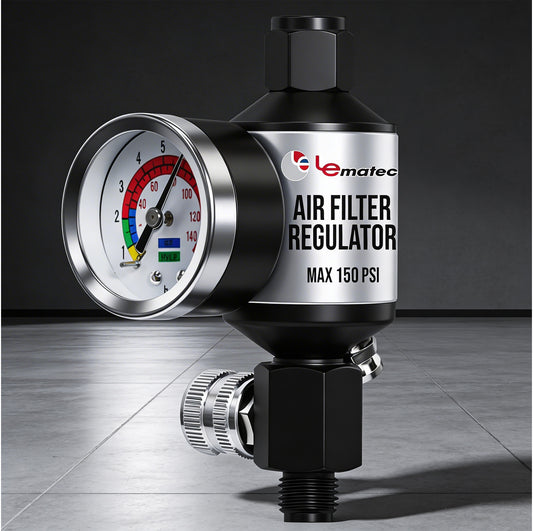
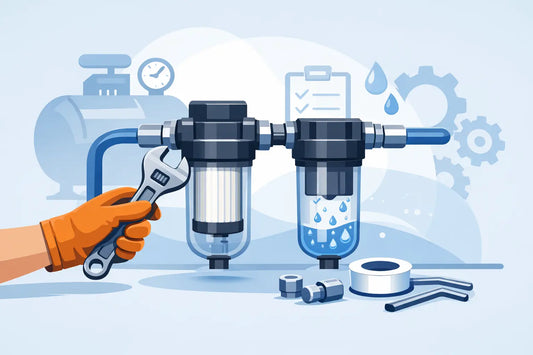
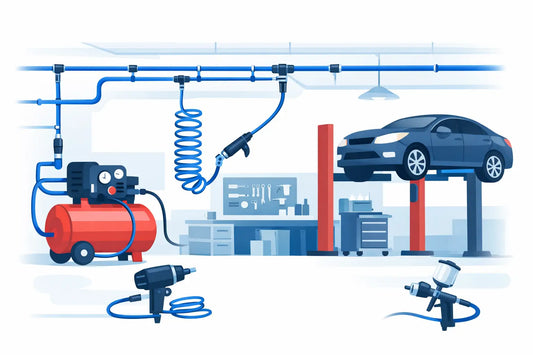
An air filter regulator does two jobs at once. The filter removes water, rust, and line debris before they reach your tool. The regulator controls downstream pressure so your tool sees a stable, usable air supply instead of whatever the compressor happens to be pushing at the moment. Install it in the wrong spot or backwards, and you can end up chasing poor performance that looks like a tool failure.
Where an air filter regulator should go
Placement matters more than most people expect. In a basic setup, the air filter regulator should be installed downstream of the compressor and upstream of the hose reel, drop, or tool connection you want to protect. For a small garage compressor feeding one work area, that often means mounting the unit near the compressor outlet or on the wall right beside it.
If you are running a larger shop system, install the unit at the point of use or on a dedicated branch line. That gives you more precise control for the tools on that line. A blast cabinet, paint setup, and impact line rarely want the same pressure or moisture control, so one central unit is not always the best answer.
There is also a trade-off here. Mounting close to the compressor is simple and keeps the setup compact, but air can cool as it moves through the line, which lets more moisture condense farther downstream. For moisture-sensitive applications like painting or abrasive blasting, a point-of-use filter regulator usually works better.
What you need before you start
Before you begin, verify three things: port size, pressure range, and flow capacity. If the regulator is undersized, it can choke air delivery even when the pressure setting looks correct. That is a common reason high-demand tools feel lazy under load.
You will usually need thread sealant or PTFE tape rated for air systems, the correct fittings, two wrenches, mounting hardware if the unit includes a bracket, and a way to confirm pressure at startup. If your unit has a poly bowl, make sure the install location protects it from impact, heat, and chemical exposure.
Take a minute to look for the flow-direction arrow on the body. This is one of the easiest mistakes to make, especially when fittings are already threaded in and everything looks symmetrical.
How to install air filter regulator step by step
Start by shutting off the compressor and bleeding the line completely. Do not work on a pressurized air system. Open the drain, squeeze the trigger on a connected tool, or use a downstream valve until the gauge drops to zero.
Next, choose a mounting position that gives you access to the adjustment knob and the filter bowl drain. If you cannot reach the drain easily, maintenance gets skipped, and that defeats half the reason for installing the unit in the first place. Vertical mounting is usually best because the bowl is designed to collect water below the filter element.
If the unit uses a wall bracket, mount that first on a solid surface. Avoid hanging the filter regulator unsupported from rigid piping if the assembly is heavy or likely to get bumped. Vibration and weight can stress threads over time.
Apply thread sealant to the male threads of your fittings. Use just enough to seal the threads without pushing excess material into the air path. Too much tape or sealant can break loose and become debris inside the system, which is exactly what the filter is supposed to catch.
Thread the inlet and outlet fittings into the correct ports based on the directional arrow. Tighten them snugly, but do not over-torque. Many regulator bodies are metal, but bowls, gauges, and some threaded components can be damaged by forcing them.
Connect the supply side from the compressor or upstream line to the inlet port. Then connect the downstream hose, manifold, or tool line to the outlet port. If your unit includes a pressure gauge, install it in the gauge port using the same careful approach with thread sealant.
Once everything is connected, slowly repressurize the system. Bringing pressure up gradually makes it easier to catch leaks and avoids shocking the regulator internals. Listen for hissing around fittings and use a soap-and-water solution if needed to confirm a slow leak.
After the system is pressurized, unlock or pull up the adjustment knob if your regulator uses a locking style. Turn the knob while watching the gauge. Set the downstream pressure to match the tool or process requirement, then lock the knob back in place.
That last step matters. Compressor tank pressure is not the same as working pressure at the tool. A tool rated for 90 PSI should not be fed 125 PSI just because that is what the tank holds. A good install is not finished until the regulator is set correctly under airflow conditions.
Setting pressure the right way
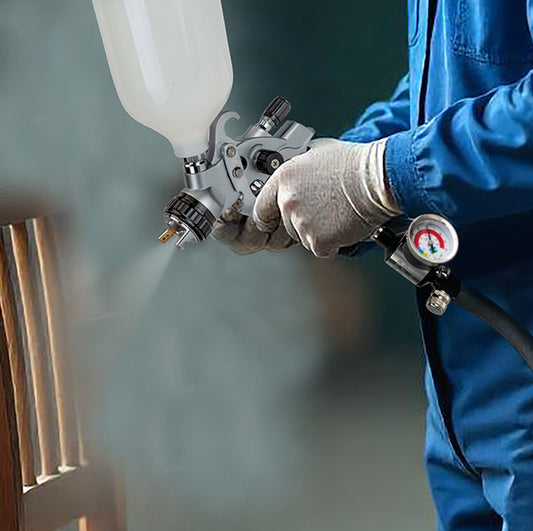
A regulator should be adjusted with air flowing when possible. Static pressure can look fine, then drop hard once the tool is actually running. For impact tools, grinders, and sanders, trigger the tool and set pressure while the tool is consuming air. That gives you a more accurate working setting.
For painting and blasting, follow the equipment requirement rather than guessing. Too much pressure can waste media, increase overspray, or wear parts faster. Too little can leave you with weak cutting power or poor surface prep. The right setting is about performance and consistency, not just maximum output.
If you see a big pressure drop when the tool runs, the regulator may not be the only issue. Hose diameter, quick couplers, long runs, and undersized fittings can all restrict flow. Installing the filter regulator correctly will not fix a line that is too small for the job.
Common mistakes that cause trouble
The most common install error is reversed flow direction. The second is putting the unit where water cannot drain or where the bowl is tilted. The third is using a filter regulator that is too small for the CFM demand.
Another mistake is mounting it too close to a hot compressor head or in direct sun where heat affects plastic components and pressure readings. If you are working in a harsh area, consider a metal bowl guard or a more protected location.
Some users also expect one filter regulator to solve every air quality problem. It helps, but it is not magic. If your compressor produces a lot of water, you may also need a dryer, separator, or extra cooling distance in the line. That is especially true for paint work and blasting setups where moisture control is critical.
How to know the installation is working
Once installed, your downstream gauge should hold a stable setting and respond predictably when adjusted. Tools should feel more consistent, especially under repeated use. You should also start seeing collected moisture and debris in the bowl instead of inside your hose or tool.
Check the bowl after the first few hours of operation. If it fills quickly, your system has more moisture than you thought. That is useful information. It tells you the filter is doing its job, but it may also mean your setup would benefit from more air treatment upstream.
Watch for pressure creep too. If the regulator setting rises on its own after adjustment, internal wear or contamination may be affecting the valve. A new install should hold steady.
Maintenance after installation
A well-installed air filter regulator still needs regular attention. Drain collected water, inspect the bowl, and replace the filter element on schedule or when pressure drop becomes noticeable. Shops that run daily will need more frequent checks than a weekend garage setup.
It is also smart to inspect fittings and the gauge occasionally. Vibration, temperature swings, and repeated hose movement can loosen connections over time. A two-minute check beats losing tool performance in the middle of a job.
If you are buying for a shop, not just patching one line, choose components that match your real workload. That is usually where people save the most time and frustration. A dependable air setup keeps tools working the way they should, and that is the whole point. At Pro Air Tools, that practical approach is what separates a quick fix from a setup you can trust on the next job too.
Tags:
Related articles

High Torque Impact Wrench: How Much Is Enough?
Jun 03 2026
Choosing Air Hose for Shop Layout
Jun 01 2026

How to Set Air Regulator Pressure Right
May 30 2026
Air Filter Water Separator Installation Tips
May 28 2026
Guide to Shop Air Line Layout That Works
May 26 2026
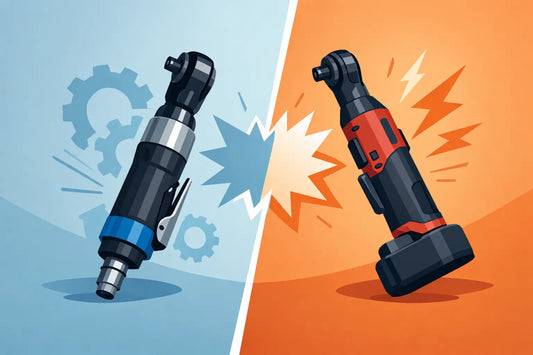
Air Ratchet vs Electric Ratchet
May 24 2026