
Shopping Cart
(0)

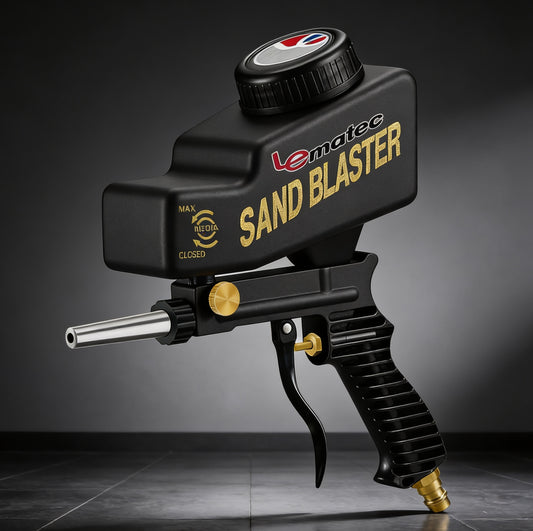
What PSI to Sandblast Automotive Panels
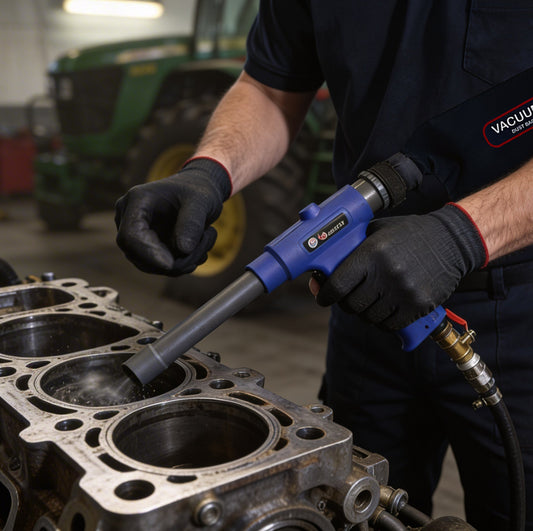
A hood or door skin can go bad fast when blasting pressure is too high. If you're asking what psi to sandblast automotive panels, the short answer is lower than many people think. Thin sheet metal needs control more than brute force, and the right PSI depends on panel thickness, media choice, nozzle size, and how close you work to the surface.
For most automotive body panels, a practical starting range is around 40 to 70 PSI at the nozzle. That range is usually enough to remove paint, filler, and light corrosion without putting unnecessary heat and stress into the metal. Once you get into heavier steel parts like frames, brackets, suspension pieces, or thick inner structure, you can safely run more pressure. Outer body panels are different. They punish impatience.
What PSI to sandblast automotive panels without warping them
If you're working on exterior sheet metal like doors, fenders, quarter panels, roofs, and hoods, stay conservative. Most jobs go best in the 40 to 60 PSI range when using a fine abrasive and a properly regulated setup. Some operators will push up toward 70 PSI if the coating is stubborn, but that should be a measured adjustment, not the default.
Warping usually isn't caused by pressure alone. It comes from a combination of impact energy, heat buildup, dwell time, and poor blasting technique. Hold the nozzle too close, stay in one spot too long, or use an aggressive media at high pressure, and even a good panel can stretch. Once that happens, you have more bodywork ahead of you than you planned.
A lot of people assume blasting needs to hit hard to work well. On automotive panels, that mindset creates problems. Lower pressure with the right media often strips paint more predictably and leaves a surface that is easier to prep for primer.
The pressure range that works in the real world
A useful baseline is to think in material groups. Thin exterior sheet metal usually likes 40 to 60 PSI. Inner panels and slightly heavier automotive steel may tolerate 60 to 80 PSI. Structural parts that are not at risk of visible warping can often be blasted above that, depending on media and finish goals.
That does not mean your regulator setting tells the full story. Line loss, hose size, moisture, nozzle wear, and compressor output all change what actually reaches the work surface. If your setup is marginal on air volume, the pressure can sag under load and give inconsistent results. If your nozzle is worn, it can change both pattern and aggressiveness. Good blasting is not just about PSI on the gauge. It's about stable delivery.
For body panels, the safest approach is simple. Start at the low end, test a small hidden section, and increase only if removal is too slow. That extra minute of testing is cheaper than chasing oil-canning across a quarter panel.
Media choice changes the PSI you need
Media selection matters just as much as pressure. If you use a harsh abrasive, you may need less PSI than you think. If you use a gentler media, you may need slightly more pressure or more time. The goal is not maximum cutting speed. The goal is clean removal with minimum panel distortion.
Fine crushed glass is a common choice for automotive work because it cuts coatings well without being as aggressive as some heavier abrasives. Aluminum oxide cuts quickly, but on thin panels it can be too much if pressure and technique are not controlled. Soda is gentler and useful in some paint removal situations, but it brings cleanup and coating-prep considerations that need to be managed carefully. Walnut shell and similar softer media can work for delicate stripping where preserving the base metal matters more than speed.
If you're stripping paint from a straight, thin panel, a finer media at lower PSI usually gives you a better margin for error. If you're dealing with rust scale in a localized area, you may need a more aggressive media, but it still pays to isolate that work and avoid treating the whole panel like a frame rail.
Fine media and lower pressure usually win
For most hobbyists and small shops, fine media in the 40 to 60 PSI range is the safest starting point on visible body panels. That combination keeps the blast action controlled and reduces the chance of peening and heat buildup.
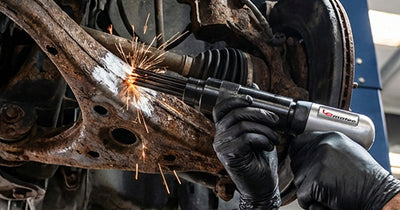
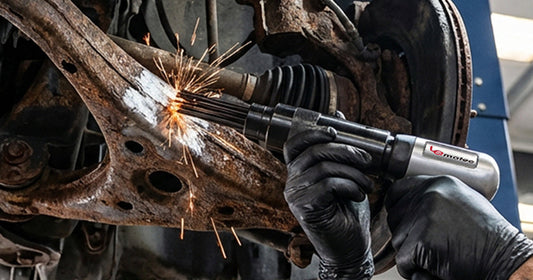
Heavy rust is a separate problem
If a panel has deep rust pitting or scale, blasting pressure alone will not save it. You may need to adjust media, use spot treatment, or decide whether the metal is too far gone. Cranking PSI higher on a weak panel can turn a repairable part into scrap.
Technique matters more than the gauge
Two people can use the same machine, same media, and same PSI and get completely different results. The difference is technique. Keep the nozzle moving. Work at a shallow angle instead of blasting straight on when possible. Maintain distance rather than crowding the panel. Strip in passes instead of concentrating on one patch until it gets hot.
A good rule is to avoid staying on one area for more than a brief pass. Move around the panel. Let sections cool. Treat it like paint prep, not demolition. If you see the metal changing shape, becoming wavy, or reacting with more heat than expected, stop and back down your pressure or change media.
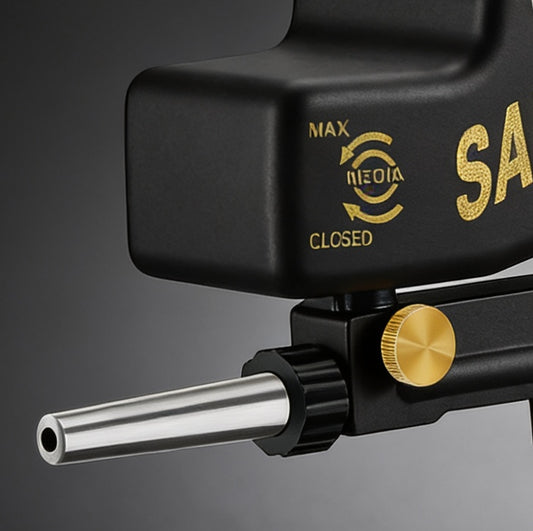
Nozzle distance is a big part of control. Closer means more concentrated force and faster removal, but also more risk. Farther away softens the impact and widens the pattern. On body panels, that extra distance is often what keeps the work safe.
Setup problems that make PSI harder to control
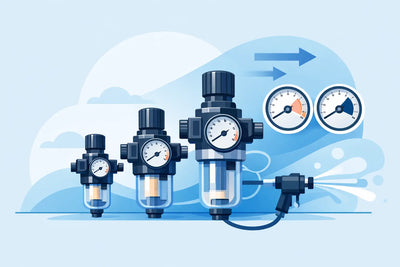
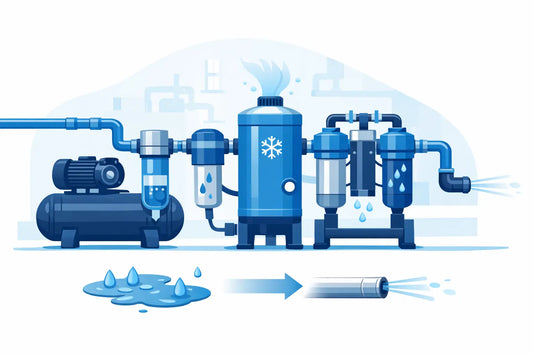
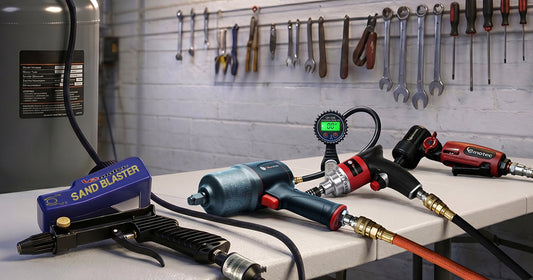
A lot of blasting issues blamed on pressure are really air system problems. Wet air causes media flow issues and inconsistent cutting. Undersized hose reduces performance. Cheap or inaccurate regulators make repeatable setup difficult. A compressor that cannot keep up with CFM demand leads to pressure drop, pulsing, and uneven stripping.
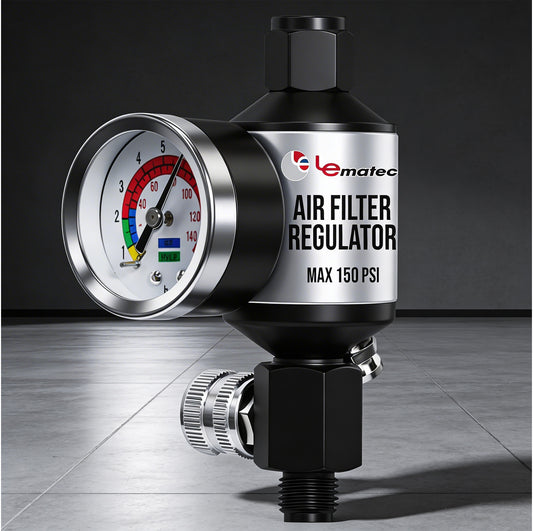
If you want predictable results, your blasting setup needs dry air, stable regulation, and enough volume for the nozzle you're running. This is where buying the right support gear matters just as much as buying the blaster. Filters, regulators, hoses, and fittings are not accessories you add later if the job goes wrong. They are part of the job.
For anyone building or upgrading a shop setup, this is also where a supplier like Pro Air Tools makes sense. When the blasting equipment, regulators, filters, media, and air tool support are all in one place, you spend less time piecing together a system and more time getting work done.
When to avoid blasting automotive panels altogether
Some panels are so large and so thin that even careful blasting is a risk, especially if you are new to it. Roof skins, broad hood sections, and large flat door skins can be better served by alternative stripping methods or by spot blasting only where corrosion demands it.
That is the trade-off nobody likes to hear. Blasting is fast and effective, but not every panel wants full exposure. If the main job is paint removal on a large flat panel with minimal rust, mechanical stripping or chemical removal may leave you with less panel correction afterward. Blasting shines where rust, old coatings, and hard-to-reach areas make other methods inefficient.
A practical starting point for first-time panel blasting
If you have not blasted automotive sheet metal before, start with a scrap panel. Set your regulator around 45 PSI, use a fine media, and make short passes at a consistent distance. Watch how quickly the coating comes off. If it is too slow, increase in small steps. Do not jump straight to 90 PSI because it feels more productive.
Pay attention to how the panel sounds and feels. Blasting gives feedback. A controlled pass sounds even and removes coating steadily. An overly aggressive setup feels sharp and concentrated, and the metal can show signs of stress before you realize you've gone too far.
For many users, the best answer to what psi to sandblast automotive panels is not one exact number. It is a working range with a conservative process behind it. Start low. Match the media to the job. Keep air dry and pressure stable. Let technique do the heavy lifting.
That approach may look slower at first, but it saves time where it counts - on the bodywork you do not have to fix later.
Tags:
Related articles

What Size Air Regulator Needed?
Jun 22 2026
How to Dry Compressed Air Lines Right
Jun 19 2026
Air Needle Scaler Review: What Matters
Jun 17 2026
Air Angle Grinder Disc Selection Made Simple
Jun 15 2026
Pneumatic Cutoff Tool for Sheet Metal
Jun 13 2026
Compressed Air Tool Buying Guide
Jun 11 2026
9 Best Pneumatic Tools for Garage Work
Jun 09 2026