


Shopping Cart
(0)

Air Filter Water Separator Installation Tips
Moisture in an air line usually shows up at the worst possible time - fisheyes in paint, media clumping in a blaster, rusty internals in a tool, or a die grinder that starts acting weak for no obvious reason. That is why air filter water separator installation matters more than most shops think. Put the unit in the wrong spot, size it poorly, or skip a few basic setup details, and even a good separator will struggle to keep water out of your system.
For a home garage, fab bench, or busy repair bay, the goal is simple: deliver clean, dry, stable air where the tool needs it. The separator is part of that job, but it is only one part. Piping layout, hose length, compressor duty cycle, and pressure settings all affect how well the setup works.
Why air filter water separator installation matters
Compressed air naturally carries heat and moisture. As that air leaves the compressor and cools in the line, water condenses and starts collecting in the system. If your separator is mounted too close to the compressor, the air may still be too hot for the unit to pull moisture efficiently. In that case, water keeps traveling downstream.
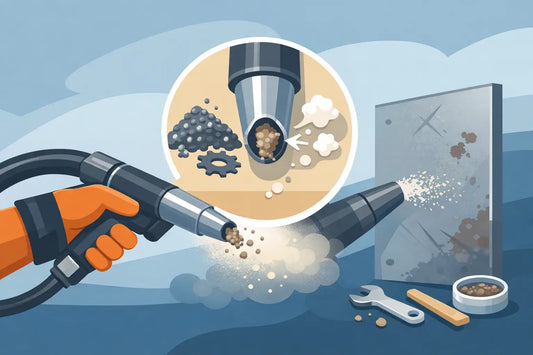
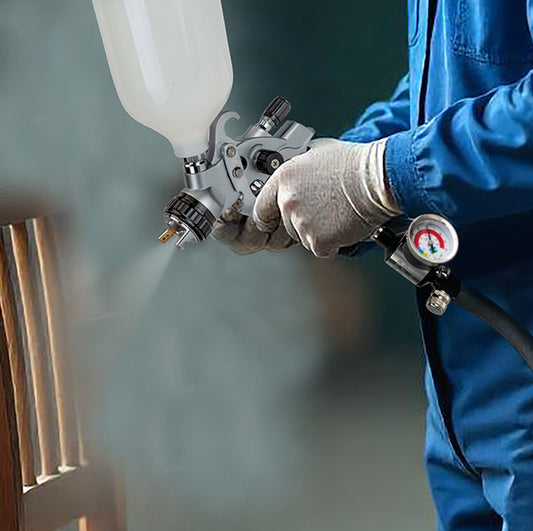
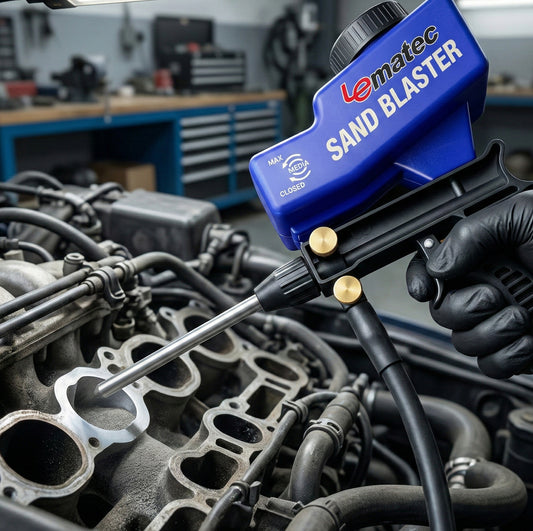
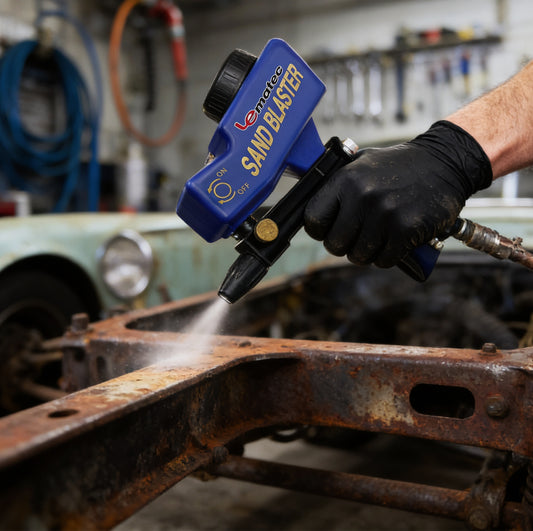
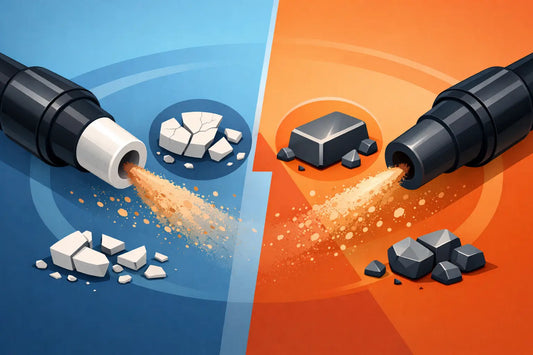
That creates different problems depending on the work. In automotive use, it can ruin paint prep and finish quality. In sandblasting, damp air can cause media flow issues and uneven cutting. In general shop work, it shortens tool life and can create inconsistent torque or speed. A proper installation gives the moisture time to condense before the separator has to do its job.
This is where a lot of buyers get tripped up. They assume buying the separator solves everything. Sometimes it does. Sometimes the real fix is changing where and how it is installed.
Choosing the right location
The best location for an air filter water separator installation is usually not directly at the compressor outlet. Air coming straight out of the tank or pump discharge is warm, and warm air holds more moisture. A separator works better after the air has traveled through enough pipe to cool down.
For many shops, that means mounting the separator several feet downstream using hard pipe rather than hanging it right off the compressor. If you can run the air through metal pipe first, you give heat a chance to dissipate and moisture a chance to condense before it hits the filter bowl.
The exact distance depends on your system, but the principle stays the same. Cooler air in means better moisture separation. If you only have room for a compact setup, you can still improve results by avoiding tight, hot, direct-outlet mounting and by using a short cooling run before the unit.
There is also a practical side to placement. Mount the separator where you can actually service it. If draining the bowl is a hassle, it will not get drained often enough. If changing the element requires removing half the setup, maintenance gets pushed off until performance drops.
Wall mount vs point-of-use mount
A wall-mounted unit near the work area is often the better choice for general air tool use. It gives you easier access, better line cooling, and more stable support than letting the filter hang from fittings alone. That matters in busy shops where hoses get pulled, bumped, and moved all day.
A point-of-use installation still makes sense in some cases, especially for paint, blasting, or a single dedicated machine. When air quality is critical, a second filter or separator close to the tool can help catch what the main system missed. That does not replace the main separator. It backs it up.
Sizing the separator to the system
A separator that is too small becomes a restriction. A unit that is too large for a light-duty setup is not always a problem, but oversizing can complicate installation and cost more than needed. The key number is airflow, usually measured in CFM.
Match the separator to the real demand of the tools you run, not just the compressor label. If you use a blast cabinet, HVLP spray gun, and air sander, your air treatment needs will be different than if you only run a tire inflator and impact wrench once in a while. High-demand tools make more heat, more condensate, and more pressure drop issues.
Pressure rating matters too. Make sure the unit is rated for your system pressure and for the environment where it will be used. Cheap fittings and underbuilt bowls can turn a simple installation into a leak problem fast.
The basic air filter water separator installation process
Start by shutting down the compressor, bleeding line pressure, and confirming the mounting location. Use a stable surface or bracket. A separator should not be supported only by the pipe threads if it can be avoided.
Pay attention to flow direction. Most units have a clear inlet and outlet marking, and installing them backward cuts performance right away. Use thread sealant that is appropriate for compressed air systems, and keep it off the first thread or two so excess material does not break loose inside the line.
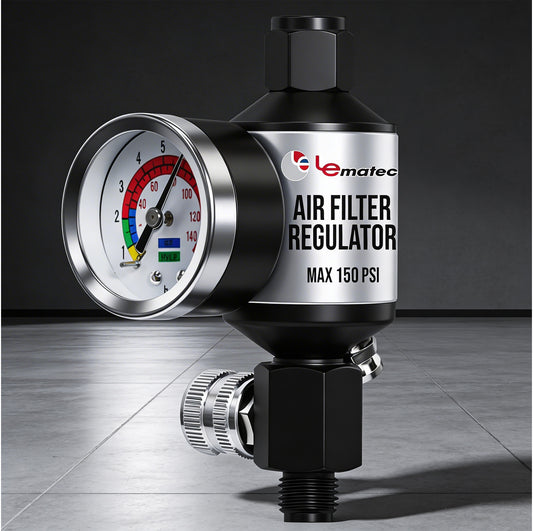
Once mounted, connect the inlet from the cooled supply line and the outlet to the downstream hose, regulator, or distribution line. If your unit combines filtering and regulation, set the regulator after everything is connected and pressurized. Check for leaks with the system charged and fix them before putting the line into regular use.
Then drain the bowl as needed and monitor performance in the first few runs. A new installation often tells you quickly if the location is right. If the bowl stays mostly dry but water still reaches the tool, the separator may be too close to the compressor, undersized, or asked to do work that should be handled by added cooling or a second stage.
Don’t skip a drip leg
One of the simplest upgrades is a drip leg before the separator. A vertical drop in the piping helps collect condensed water before it continues down the line. This is especially useful in hard-piped systems where air travels from the compressor to multiple workstations.
It is not complicated, but it works. If you are already setting up a cleaner air system, adding this detail is usually worth it.
Common mistakes that hurt performance
The most common mistake is mounting the separator too close to the compressor. The second is expecting one filter to solve every moisture issue in a high-demand setup. If you run long blasting sessions, paint work, or continuous-use tools, your air treatment setup may need multiple stages.
Another problem is using long rubber hose as the main cooling run instead of hard pipe. Hose is convenient, but it does not shed heat as effectively and can sag, trap water, or create flow issues. Metal pipe gives more predictable cooling and drainage.
Drain maintenance gets ignored a lot too. A full bowl cannot separate effectively. The same goes for clogged elements. If pressure drop increases or tool performance falls off, check the filter before blaming the compressor.
There is also a trade-off with fine filtration. Finer filters can improve air quality, but they may add more restriction if they are undersized or not maintained. For general air tools, the setup may be different than for paint or abrasive blasting. Cleaner is not always better if it starves the tool.
When you need more than a separator
Some shops outgrow a basic separator quickly. If you are dealing with high humidity, long compressor run times, or finish-sensitive work, you may need added drying capacity. That can mean a coalescing filter, refrigerated dryer, aftercooler, or a staged setup with separators in more than one location.
This depends on the job. For an impact wrench and ratchet, a standard separator setup may be enough. For paint prep, plasma work, or blasting where moisture can ruin materials or finish quality, you usually need a more serious air treatment plan.
The smart move is to match the system to the result you need. Buying more filtration than your work requires wastes money. Buying too little usually costs more later in ruined material, downtime, and tool wear.
What good installation looks like in a real shop
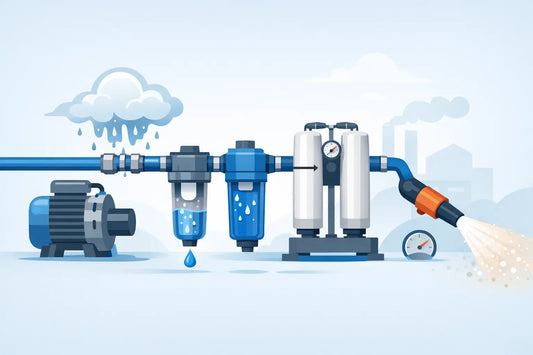
A solid setup usually starts with the compressor feeding into a metal pipe run that allows the air to cool. From there, moisture drops out more effectively, and the separator has a better chance to remove it before the air reaches the regulator and hose. In a small shop, this can be a simple wall-mounted station near the main work area. In a larger space, it may be part of a multi-drop line with dedicated filtration at key stations.
The setup does not have to be fancy. It has to be thought through. Good air treatment is about reducing headaches on the back end - fewer tool issues, fewer finish defects, less mess in the line, and less time chasing moisture problems that keep coming back.
If you are putting together a compressed-air system for real work, treat the separator like a performance part, not just an accessory. Install it where it can actually do its job, keep it maintained, and build the rest of the air line around the result you need. That extra hour up front usually saves a lot more than an hour once the tools are running.
Tags:
Previous
Why You Shouldn't Sandblast with Sand — And What to Use Instead
Next
How to Set Air Regulator Pressure Right
Related articles
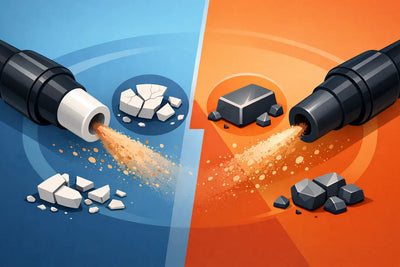
Ceramic vs Tungsten Blast Nozzle - Which Lasts?
Jul 29 2026

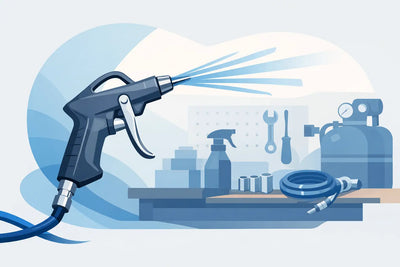
Best Air Blow Gun for Shop Work: How to Choose
Jul 27 2026
How to Set Air Tool PSI for Reliable Performance
Jul 25 2026
A Guide to Air Tool Maintenance Schedules
Jul 23 2026
How to Reduce Moisture in Blast Air Line
Jul 21 2026
How to Use a Pneumatic Angle Grinder Safely
Jul 19 2026
Best Air Blow Gun Attachments for Shop Work
Jul 18 2026