Shopping Cart
(0)
Free shipping included — no minimum on any US order

Quick Search:

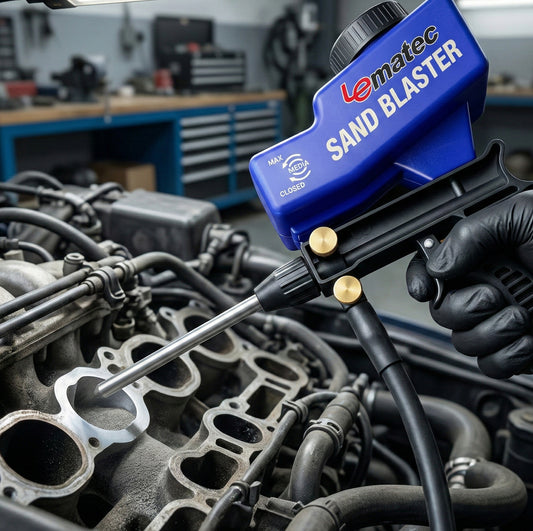
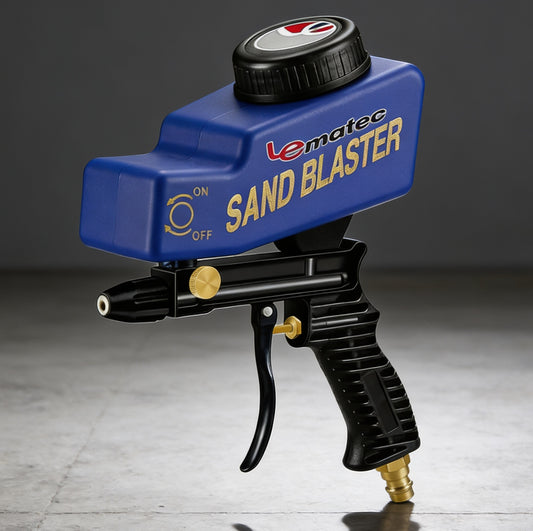
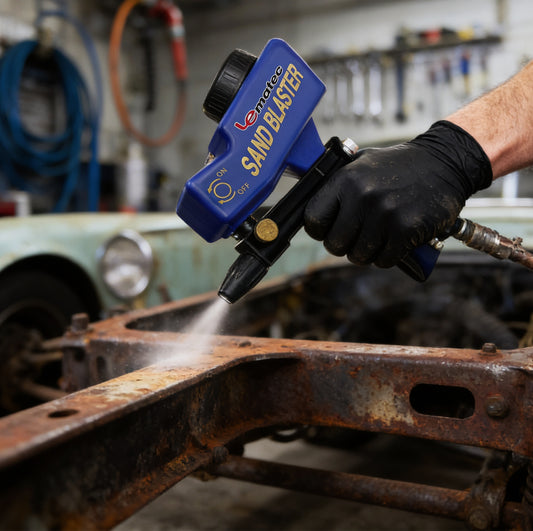
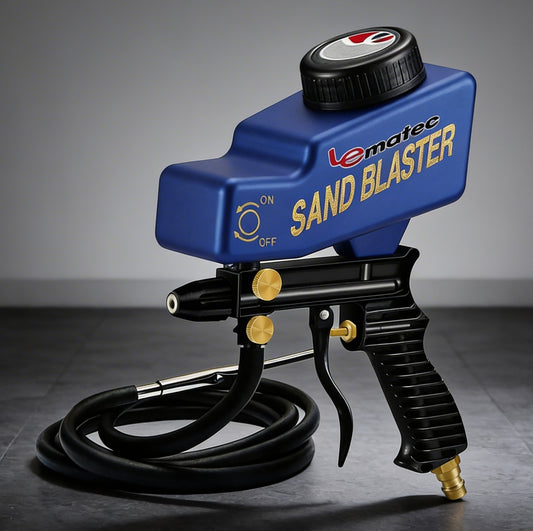
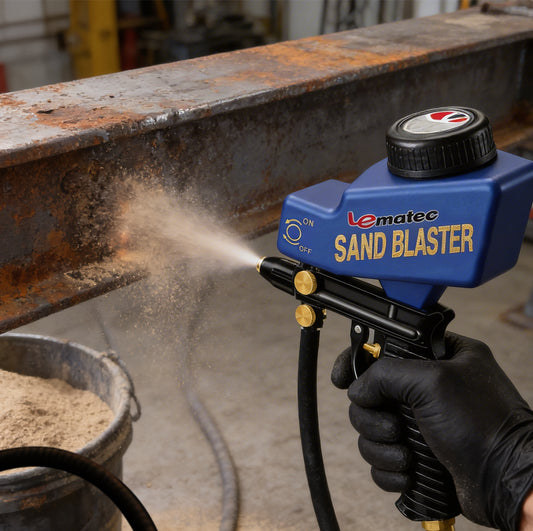
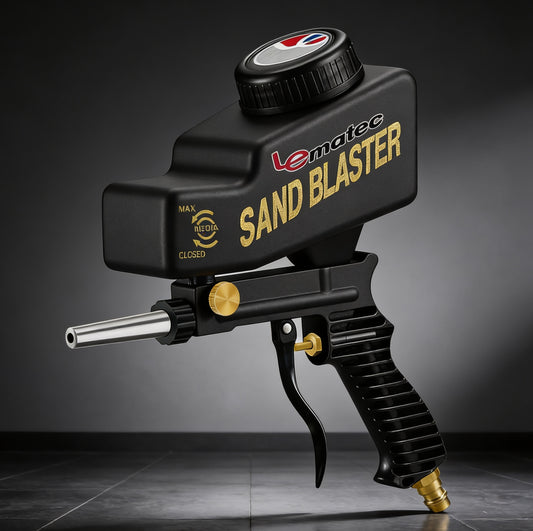
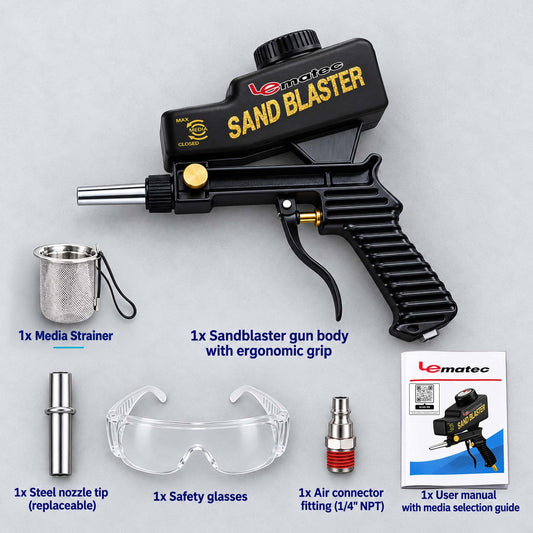

A wheel can go from stained, peeling, and corroded to ready for paint in one blasting session. It can also be permanently roughened, warped by bad prep, or contaminated with abrasive if the job is rushed. Knowing how to sandblast car wheels safely means protecting more than the finish - it means protecting the wheel structure, your lungs, and the parts of the wheel that must seal correctly when the tire goes back on.
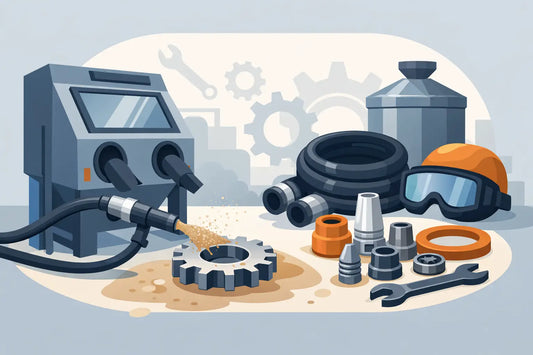
For most home garages and small shops, the safest route is a blast cabinet sized for the wheel or a contained blasting area with proper dust control. Open blasting may seem faster, but it creates a cleanup problem and exposes anyone nearby to dust and rebound media. Start with the right setup, then let the wheel material and existing coating determine your pressure and abrasive.
Do not choose media or pressure until you know what you are blasting. Most passenger vehicle wheels are painted steel, cast aluminum, forged aluminum, or aluminum with a clear coat. Steel wheels tolerate more aggressive media and higher pressure. Aluminum needs a lighter touch because it is softer and can develop a coarse, uneven surface that takes extra work to refinish.
A magnet is a quick first check. If it sticks, the wheel is steel. If it does not, assume aluminum unless the wheel is a specialty alloy. Never treat a magnesium wheel like an ordinary aluminum wheel. Magnesium dust can create a serious fire risk, and restoration is better left to a qualified specialist who knows the material and has the correct controls.
Also inspect the wheel before blasting. Look for cracks around the lug holes, bent lips, damaged bead seats, prior repairs, and deep curb damage. Blasting reveals defects, but it does not fix them. A cracked or structurally compromised wheel should not be refinished and put back into service.
The tire must come off before blasting. Do not blast a mounted tire, even if you plan to shield it. Abrasive can damage rubber, work into the bead area, contaminate the tire interior, and make it difficult to inspect the wheel properly. Have the tire professionally dismounted if you do not have the equipment to do it safely.
Remove stick-on and clip-on wheel weights, valve stems, center caps, TPMS sensors, decorative inserts, and any removable hardware. Adhesive residue should be cleaned off before blasting. You want clear access to the wheel face, barrel, spokes, lug area, and bead seats without blasting around sensitive components.
Degrease the wheel thoroughly first. Brake dust, road film, tire dressing, and grease can clog media and reduce visibility in a cabinet. A clean wheel also keeps contaminants from being driven into the metal surface. Let it dry completely before it goes into the blast area.
The media is where most wheel jobs go right or wrong. Avoid silica sand. Free silica dust is a severe respiratory hazard, and ordinary sand is too aggressive and inconsistent for many wheel-finishing jobs.
For painted or rusty steel wheels, crushed glass or aluminum oxide can remove coatings efficiently. Use a finer grade if you want to avoid leaving a heavy profile before primer. Steel can handle a stronger cut, but there is no benefit to turning every surface into a deep abrasive pattern.
For aluminum wheels, fine crushed glass, plastic media, or another low-aggression media is usually the better choice. Plastic media is useful when removing paint or clear coat without heavily etching the base metal. Fine glass can clean corrosion and remaining finish while leaving an appropriate surface for primer, but pressure and distance matter.
Walnut shell and soda are gentler options for delicate cleaning, but they are not always the best choice for corrosion or stubborn powder coat. Soda can also leave residue that interferes with paint adhesion if the wheel is not cleaned correctly afterward. Aggressive media strips faster, while gentler media gives you more control. Pick based on the coating, the metal, and the finish you plan to apply next.
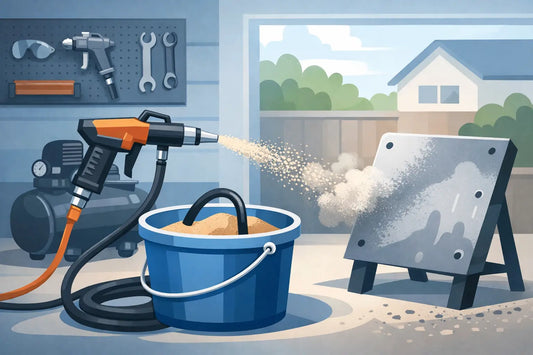
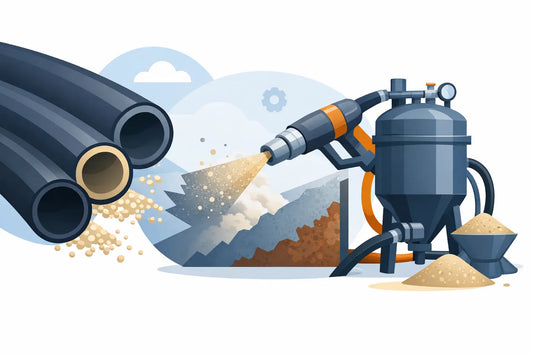
A sandblaster needs more than pressure. It needs enough sustained air volume to keep the blast stream consistent. Check your blaster's CFM requirement at the operating pressure you plan to use, then compare it to your compressor's delivered CFM, not its maximum PSI number. A compressor that cannot keep up causes weak cutting, frequent pauses, and uneven results.
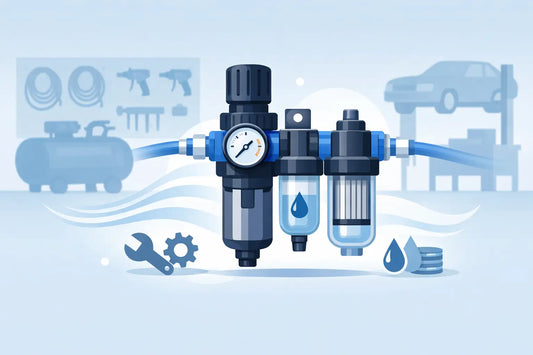
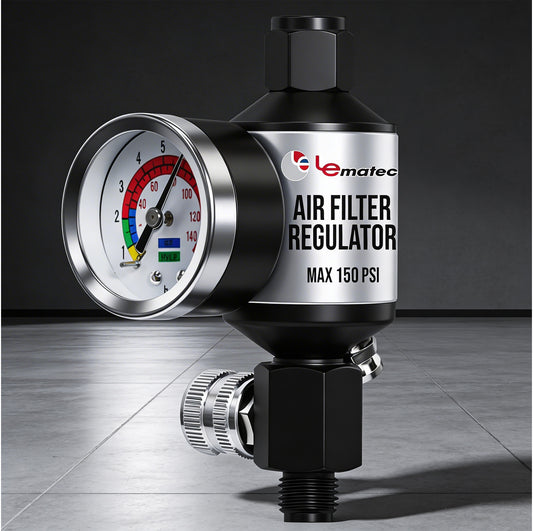
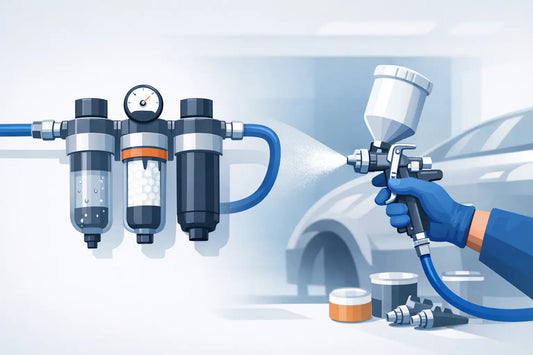
Moisture is another common problem. Water in the air line makes media clump, plugs nozzles, and can leave flash rust on bare steel. Drain the compressor tank before starting and use an air filter and moisture separator close to the blasting equipment. In humid conditions or during longer jobs, check the system often.
Use a dedicated hose in good condition, secure every fitting, and inspect the nozzle for wear. A worn nozzle increases air and media consumption while reducing control. If your blasting equipment is fed from the same system as other air tools, avoid running high-demand tools at the same time. The blaster should get stable air supply from start to finish.
Abrasive blasting throws dust, coating particles, and high-speed media back toward the operator. Safety glasses alone are not enough. At minimum, use a properly rated blasting hood or face shield over safety glasses, heavy gloves, hearing protection, long sleeves, and durable work boots.
Respiratory protection deserves special attention. For open abrasive blasting, use a NIOSH-approved supplied-air abrasive blasting respirator designed for the work. A basic disposable dust mask is not adequate. Even inside a blast cabinet, do not assume the cabinet eliminates airborne dust. Use the respiratory protection required for your media, coating, and ventilation conditions, and follow the respirator manufacturer's fit and use instructions.
Older wheel coatings may contain lead or other hazardous materials. If the wheel's history is unknown, especially on older vehicles, treat the removed coating and dust with caution. Keep children, pets, and unprotected people away from the work area. Collect and dispose of spent media according to local requirements rather than sweeping dust into the driveway or shop floor.
Start with a test area on the back of the wheel or an inconspicuous section. For aluminum, begin around 40 to 60 PSI with fine, less aggressive media, then adjust only if the coating is not releasing. Steel wheels may require roughly 60 to 90 PSI depending on the media, coating thickness, and blaster. These are starting ranges, not fixed rules. Your equipment, nozzle size, and media all affect the result.
Hold the nozzle at an angle rather than blasting straight into the surface. Keep it moving in overlapping passes, generally several inches away from the wheel. Dwelling in one spot can gouge aluminum, erode sharp spoke edges, and create a surface that is harder to prime and paint evenly.
Work around the wheel in sections: face, spokes, inner barrel, lug area, then the back side. Pay attention to corrosion around the bead seat, but do not aggressively cut into the sealing surfaces. The goal is to remove oxidation and failed coating, not reshape the rim edge. Use lower pressure and a faster pass on machined faces, thin spoke sections, and detailed cast areas.
Stop periodically and inspect the surface under good light. If the coating is gone and the metal has an even profile, move on. More blasting does not make the wheel cleaner. It only increases the chance of unnecessary surface damage.
After blasting, blow the wheel off with clean, dry air and inspect every area. Remove trapped media from the valve hole, lug holes, spoke pockets, inner barrel, and bead seats. A soft brush and vacuum help keep abrasive from ending up in your paint booth, tire machine, or wheel-balancing equipment.
Steel wheels can flash rust quickly, particularly in humid conditions. Prime them as soon as possible with a coating system suited to blasted metal. Aluminum does not rust like steel, but it can oxidize and develop adhesion problems if it sits dirty or is handled with bare, oily hands. Use the cleaner and primer specified by your chosen paint or powder-coat process.
Before reinstalling the tire, verify that no media remains in the wheel and that the bead seat is clean and undamaged. When the wheel is refinished and cured, have the tire mounted and balanced by someone who will protect the new coating.
The best blasting job is controlled, not aggressive. Use clean dry air, media that fits the wheel material, and enough protection to work without cutting corners. With a dependable blaster, filtration, and the right accessories on hand, you can turn worn wheels into a finish-ready project without creating avoidable damage or downtime.


 AIR REGULATORS

 ACCESSORIES