


Shopping Cart
(0)

Pneumatic Tool Maintenance Guide: Extend Tool Life & Prevent Costly Damage
Pneumatic Tool Maintenance Guide — Keep Your Air Tools Running Like New
A properly maintained air tool lasts 5–10 times longer than a neglected one. The difference isn't complicated or expensive — it's consistent, simple habits that prevent the three biggest killers: moisture damage, inadequate lubrication, and contamination. This guide covers everything from daily pre-use routines to tool-specific maintenance, troubleshooting common problems, and knowing when parts need replacing.
Written by Charles Rosenstein, Le Lematec / Factory Direct — over 15 years manufacturing and servicing professional pneumatic tools.
The #1 Killer: Moisture Damage
Water is the enemy of every air tool. Compressed air holds moisture, and as it cools traveling through hoses and fittings, that moisture condenses into liquid water inside your tools. Here's what happens:
- Corrosion: Water rusts internal steel components — vanes, cylinders, bearings, and gears. Once rust forms, it creates abrasive particles that accelerate wear exponentially.
- Seal degradation: Rubber O-rings and seals swell, crack, and lose their seal when repeatedly exposed to water. This causes air leaks and power loss.
- Lubrication washout: Water displaces the oil film on moving parts, causing metal-on-metal contact and rapid wear.
- Freezing: In cold weather, trapped moisture freezes inside tools, locking them up or cracking housings.
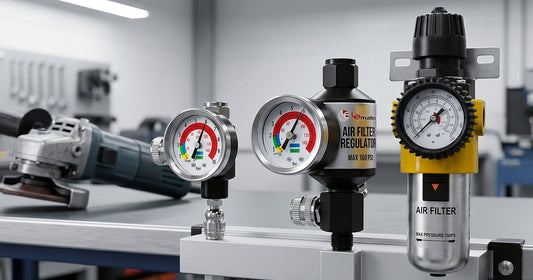
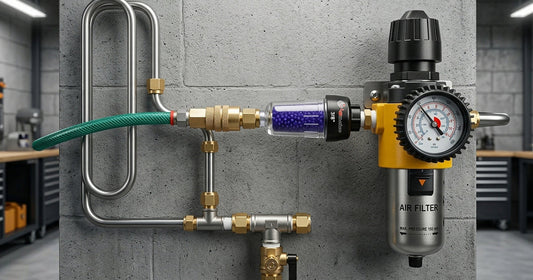
The fix is simple: filter your air supply. An inline air filter catches liquid water and particles. A desiccant dryer removes water vapor that standard filters miss — critical in humid climates. For the best protection, use a filter/regulator combo that conditions air in one compact unit. Learn more in our Complete FRL Unit Guide.
Daily Maintenance Routine (Before Each Use)
This 2-minute routine prevents 90% of premature tool failures:
- Drain the compressor tank. Open the drain valve and release all accumulated water. Do this every single day, even if you didn't use the compressor yesterday — moisture condenses overnight.
- Check your air filter bowl. If there's visible water, drain it. If the filter element looks discolored or clogged, it's time to clean or replace it.
- Oil the tool air inlet. Add 2–3 drops of pneumatic tool oil (NOT motor oil, NOT WD-40) directly into the tool's air inlet fitting. Run the tool for 2–3 seconds to distribute the oil through internal passages.
- Inspect hose connections. Feel for air leaks at every fitting. A hiss means lost pressure and wasted energy. Tighten or reseal as needed.
- Check the trigger and safety lock. Ensure the trigger moves freely and the safety lock engages properly. Sticking triggers are a safety hazard.
Weekly Maintenance
- Clean air filter elements. Remove and blow out particulate filter elements with clean compressed air (from the inside out). Replace if damaged or excessively dirty.
- Inspect hoses for damage. Look for cracks, kinks, bulges, and abrasion wear. A weakened hose can burst under pressure — replace it before it fails.
- Check quick-connect couplers. Worn couplers leak air and can disconnect unexpectedly. Replace any that feel loose or don't lock with a solid click.
- Wipe down tool exteriors. Remove dust, oil, and debris from tool housings. Buildup blocks cooling vents and makes grip surfaces slippery.
- Check regulator accuracy. Compare your regulator gauge reading to a known-accurate test gauge. Regulators can drift over time, especially after impacts or drops.
Monthly Maintenance
- Deep clean or replace air filter elements. Even blown-out filters accumulate embedded contamination. Replace particulate elements every 3–6 months depending on use intensity.
- Inspect all seals and O-rings. Look for cracking, flattening, or swelling on visible seals. Replace proactively — a $2 O-ring prevents a $200 repair.
- Test exhaust ports. Restricted exhaust increases back-pressure and reduces tool power. Clear any debris from exhaust ports and mufflers.
- Check desiccant dryer media. If you use a desiccant dryer like the ZN312E-3, check the color indicator. Saturated beads need regeneration or replacement.
Tool-Specific Maintenance
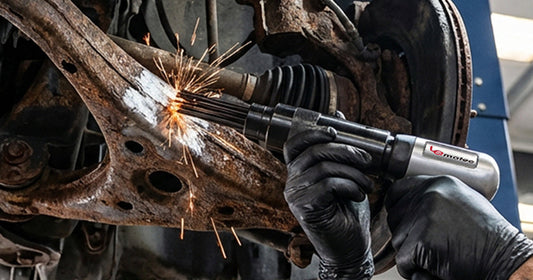
Impact Wrenches
- Socket retention: Test the anvil's socket retention ring or pin. A worn retainer lets sockets fly off during use — dangerous and damaging.
- Anvil inspection: Check the anvil for rounding, chips, or cracks. A damaged anvil transfers force unevenly and can damage fasteners.
- Hammer mechanism: The twin-hammer or pin-clutch mechanism is the heart of the impact wrench. If you notice declining torque output with fresh air supply, the hammer mechanism may need professional service.
- Our 1,000 ft-lbs Impact Wrench features hardened steel internals designed for extended service life with proper maintenance.
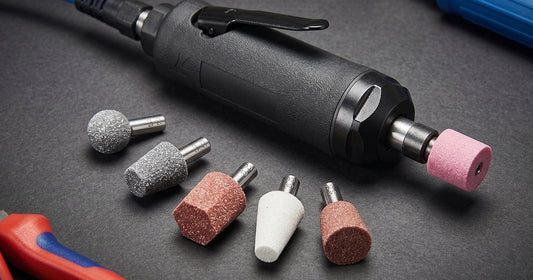
Die Grinders
- Collet inspection: Check the collet for burrs, scoring, or out-of-round wear. A damaged collet won't grip the bit securely, causing runout and vibration.
- Bearing check: Spin the spindle by hand with the air disconnected. It should rotate smoothly without grinding, clicking, or rough spots. Rough bearings need replacement.
- Speed governor test: Run the tool at no-load and listen. The RPM should be steady, not surging. Surging indicates a worn governor or vane motor issue.
- The LE-G1343L Angle Die Grinder and LE-G2543R Flexible Die Grinder both feature spindle lock-out mechanisms — always engage the lock before changing bits.
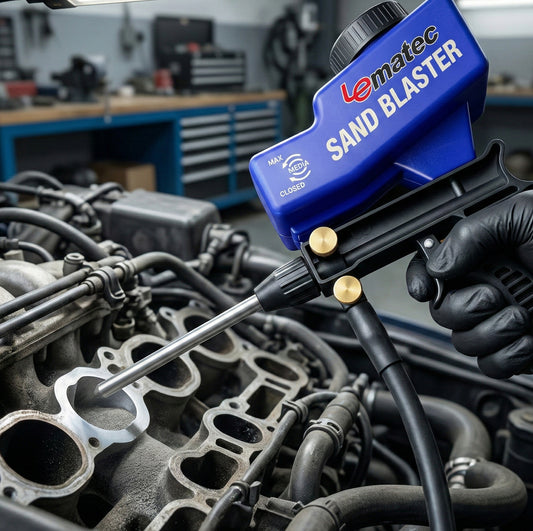
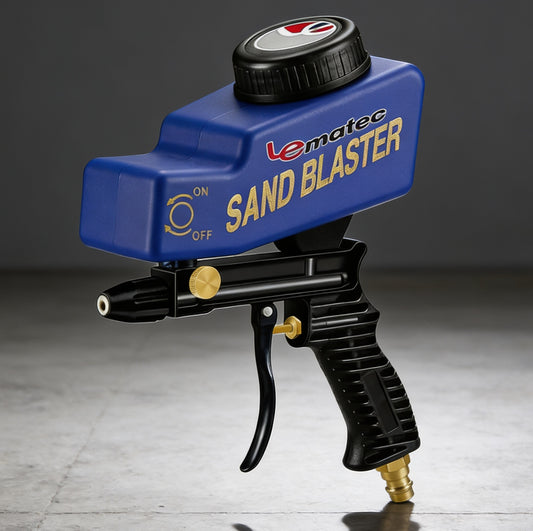
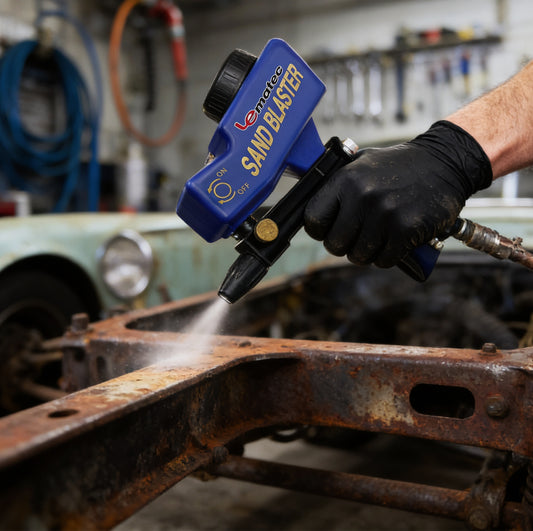
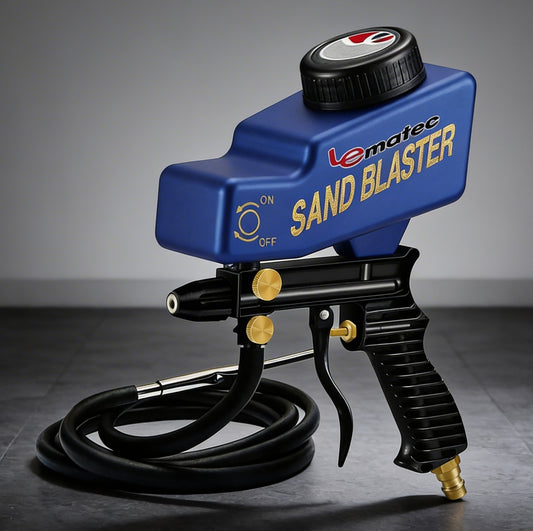
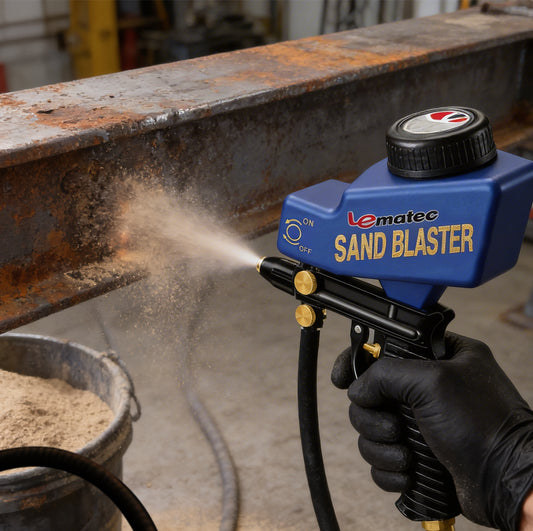
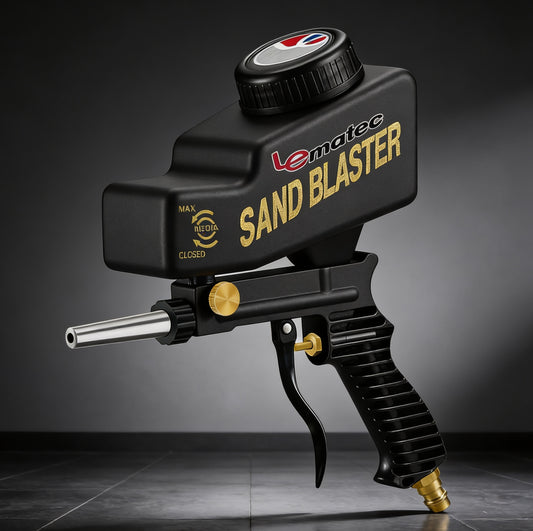
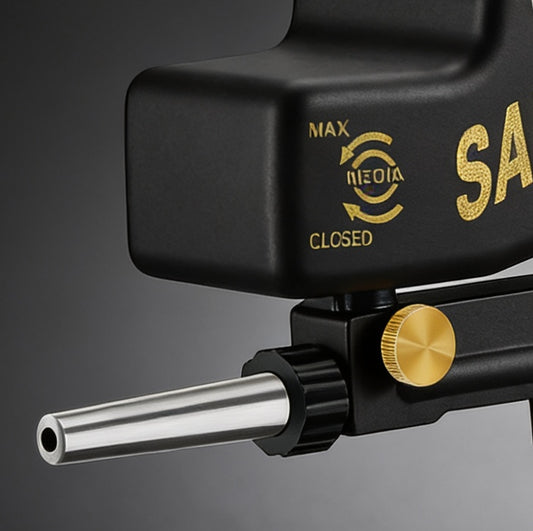
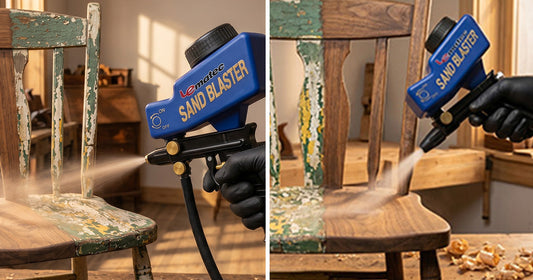
Sandblasters
- Nozzle inspection: Check the nozzle orifice for wear. A worn nozzle produces an irregular blast pattern and wastes media. Ceramic tips last 10x longer than steel — keep spares from the AS118 Accessory Kit.
- Media pathway cleaning: After each session, blow compressed air through the gun with no media to clear residual particles from the mixing chamber and nozzle.
- Hopper seal check: Inspect the hopper lid gasket for cracks or compression set. A leaky seal lets media dust escape and moisture enter.
- For detail nozzle attachments: The Long Nozzle Attachment should be inspected for internal wear and straightness after heavy use.
Needle Scalers
- Needle inspection: Check needles for bending, mushrooming (flattened tips), or excessive shortening. Bent needles reduce coverage and can jam the tool. Replace the full set when any needle shows significant wear — our 19-Piece Replacement Needle Set keeps you ready.
- Retainer spring check: The LE-120 Spring Retainer holds needles in place during operation. Inspect for fatigue, stretching, or breakage. A failed retainer lets needles fly out — replace proactively.
- Piston and cylinder: If the scaler loses BPM at proper air pressure, the piston or cylinder may be worn. This requires professional service or replacement.
Air Hammers
- Chisel retention: The retainer spring or quick-change retainer must hold chisels securely during operation. Our LE-B74 Quick-Change Retainer makes chisel swaps fast while maintaining secure retention.
- Valve mechanism: Oil the valve chest assembly through the air inlet. The valve is the most wear-prone component — regular oiling extends its life significantly.
- Chisel shank inspection: Check chisel shanks for mushrooming or burring where they contact the piston. Mushroomed shanks cause poor energy transfer and can jam in the retainer.
Troubleshooting Common Problems
| Symptom | Likely Cause | Fix |
|---|---|---|
| Tool won't start | Insufficient air pressure; trigger valve stuck; air inlet blocked | Check regulator, oil trigger mechanism, clear inlet |
| Low power / weak output | Low CFM; worn vanes; exhaust restricted; internal leak | Check compressor output, inspect vanes, clear exhaust, check seals |
| Tool runs but surges | Inconsistent air supply; worn governor; water in air line | Check hose for kinks, drain filter, service governor |
| Excessive vibration | Worn bearings; damaged collet; unbalanced accessory | Replace bearings, inspect collet, check bit/socket |
| Air leaking from housing | Worn seals; cracked housing; loose fasteners | Replace seals, inspect housing, tighten case screws |
| Rust in exhaust air | Internal corrosion from moisture | Flush with oil, install air filter/dryer, may need rebuild |
| Oil splattering from exhaust | Over-lubrication; wrong oil type | Reduce oil to 2-3 drops; use only pneumatic tool oil |
| Sandblaster spitting media | Moisture in air line; clogged nozzle; media bridging | Install dryer, clean nozzle, break up media clumps |
Storage Best Practices
- Oil before storing. Add 4–5 drops of pneumatic tool oil and run the tool briefly to coat internal surfaces. This prevents corrosion during storage.
- Store in a dry location. Humidity is the enemy even in storage. A sealed tool box or cabinet with desiccant packs is ideal.
- Disconnect from air supply. Never leave tools connected to pressurized lines when not in use. Constant pressure stresses seals and can cause slow leaks.
- Hang, don't pile. Pegboard hooks or dedicated tool holders prevent damage from tools banging against each other in a drawer.
The Maintenance Investment
A complete maintenance kit — pneumatic tool oil, replacement filter elements, spare O-rings, and a few drops of discipline — costs less than $30 per year. Compare that to replacing a $150 impact wrench or a $200 die grinder because moisture destroyed the vanes. Maintenance isn't overhead — it's the cheapest insurance your shop can buy.
Start with the right air preparation: clean, dry, regulated air from a quality filter/regulator system. Then build the daily oiling habit. Your tools will thank you with years of reliable service. For the complete air system setup guide, see our Air Compressor Accessories Buying Guide.
Shop Professional Air Tools
Factory direct from Le Lematec — professional quality, competitive prices.
Tags:
Previous
Pneumatic Tool CFM & PSI Chart: Air Requirements for Every Tool Type
Next
Soda Blasting vs Sandblasting: Which Method Is Right for Your Project?
Related articles

Air Die Grinder vs Angle Grinder
Jul 02 2026

Guide to Sandblasting Safety Gear
Jun 29 2026

Pneumatic Tire Inflator Gauge Review
Jun 27 2026
Guide to Pneumatic Die Grinder Bits
Jun 25 2026
Gravity Feed vs Siphon Sandblaster
Jun 23 2026
What Size Air Regulator Needed?
Jun 22 2026
How to Dry Compressed Air Lines Right
Jun 19 2026
Air Needle Scaler Review: What Matters
Jun 17 2026